Cowl Vents and a New Chimney!
Another really warm day here in the south. I was looking at the chimney with the cowl vent and decided I needed two cowl vents instead! Since the Neverwas haul inspired me, I wanted to have something similar plus provide more air flow through the Summerhouse. Fortunately, I had purchased two plumbing pieces so I had another one on hand. The first thing to do was drill out the threads with a paddle bit in a small drill press. DH helped me with this part as it actually took three hands to accomplish.
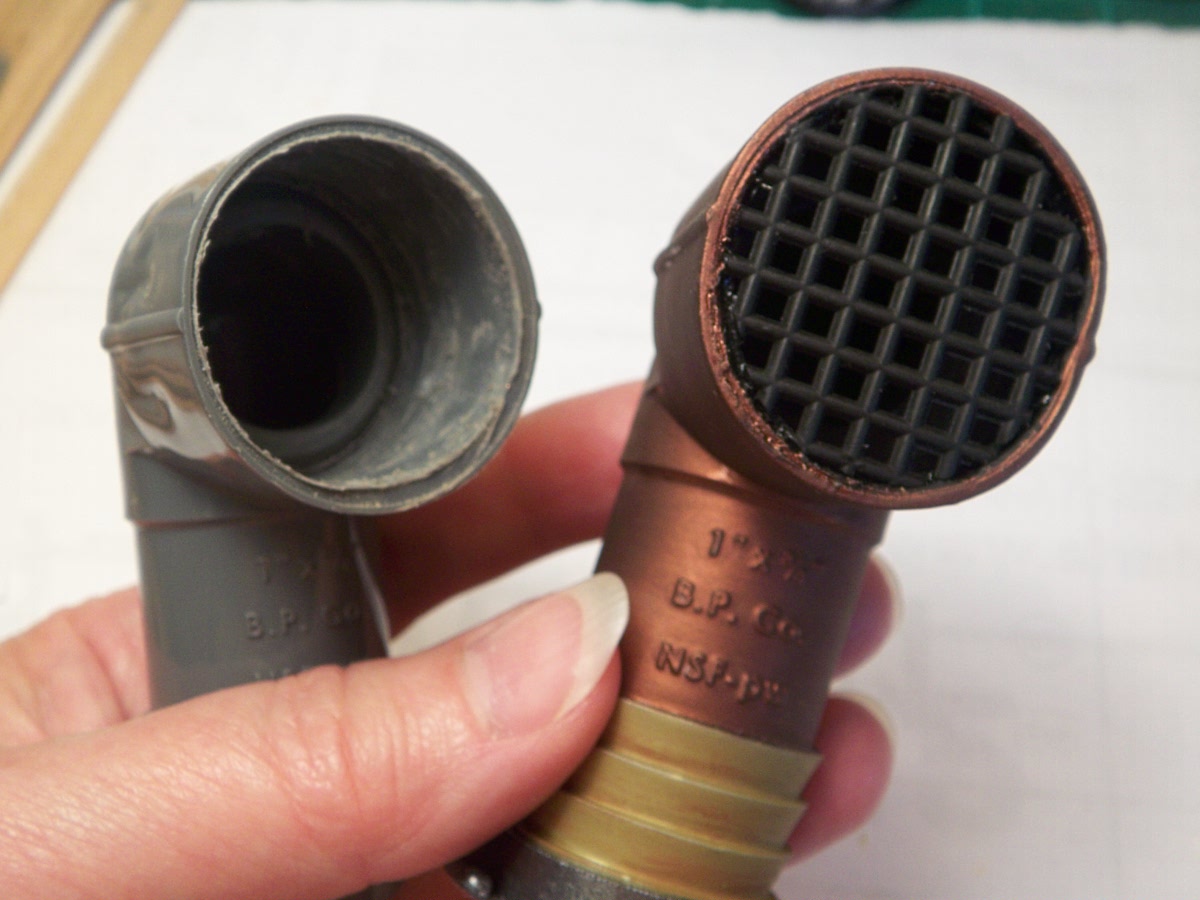 This made the walls a little thinner so that I could make the round opening more oval. I placed a clamp where I wanted it and heated the piece with my blow dryer. After a dunk in cold water, it held it's shape. It took a few times, but was finally close to what I wanted.
 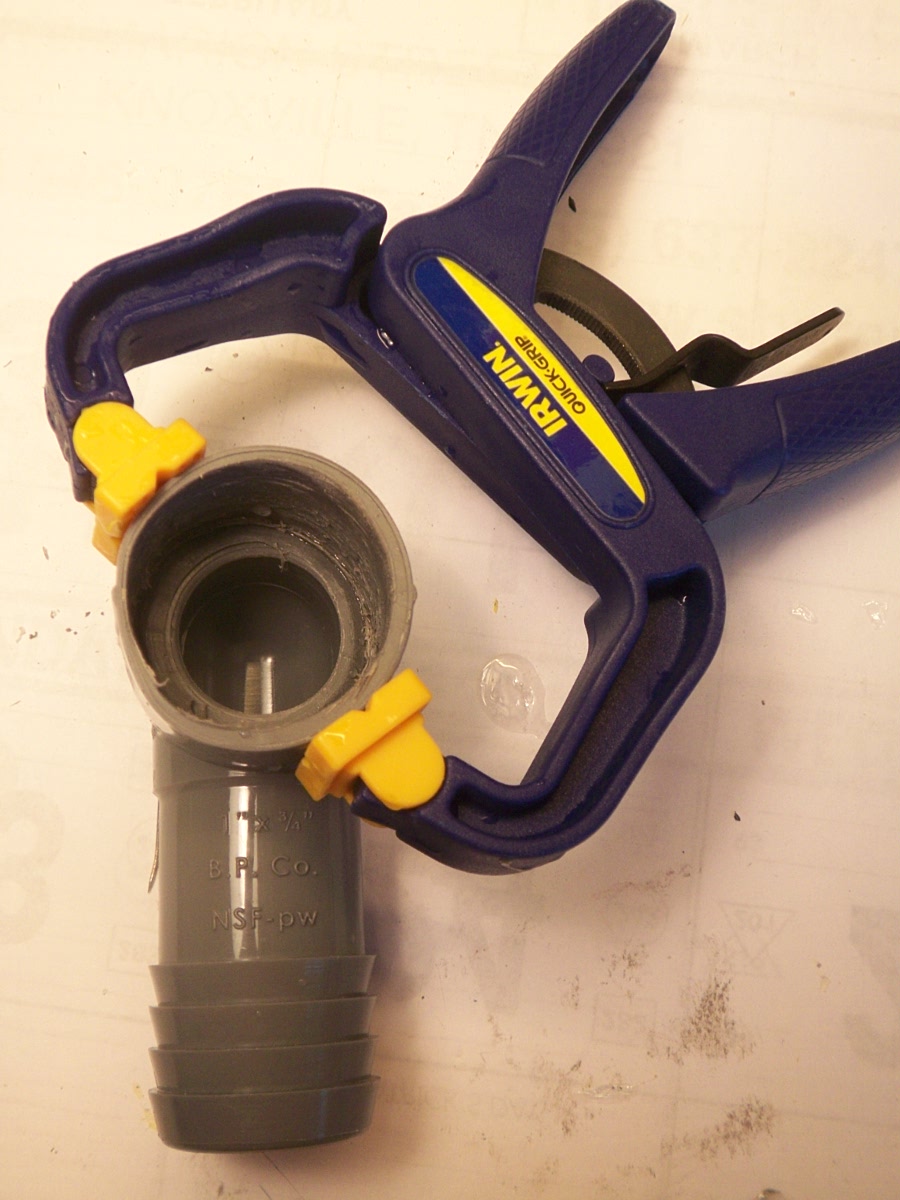 The next step was to cut a piece of plastic canvas roughly the shape of the opening. Then it was trimmed and adjusted until it fit. This piece was set aside until later.
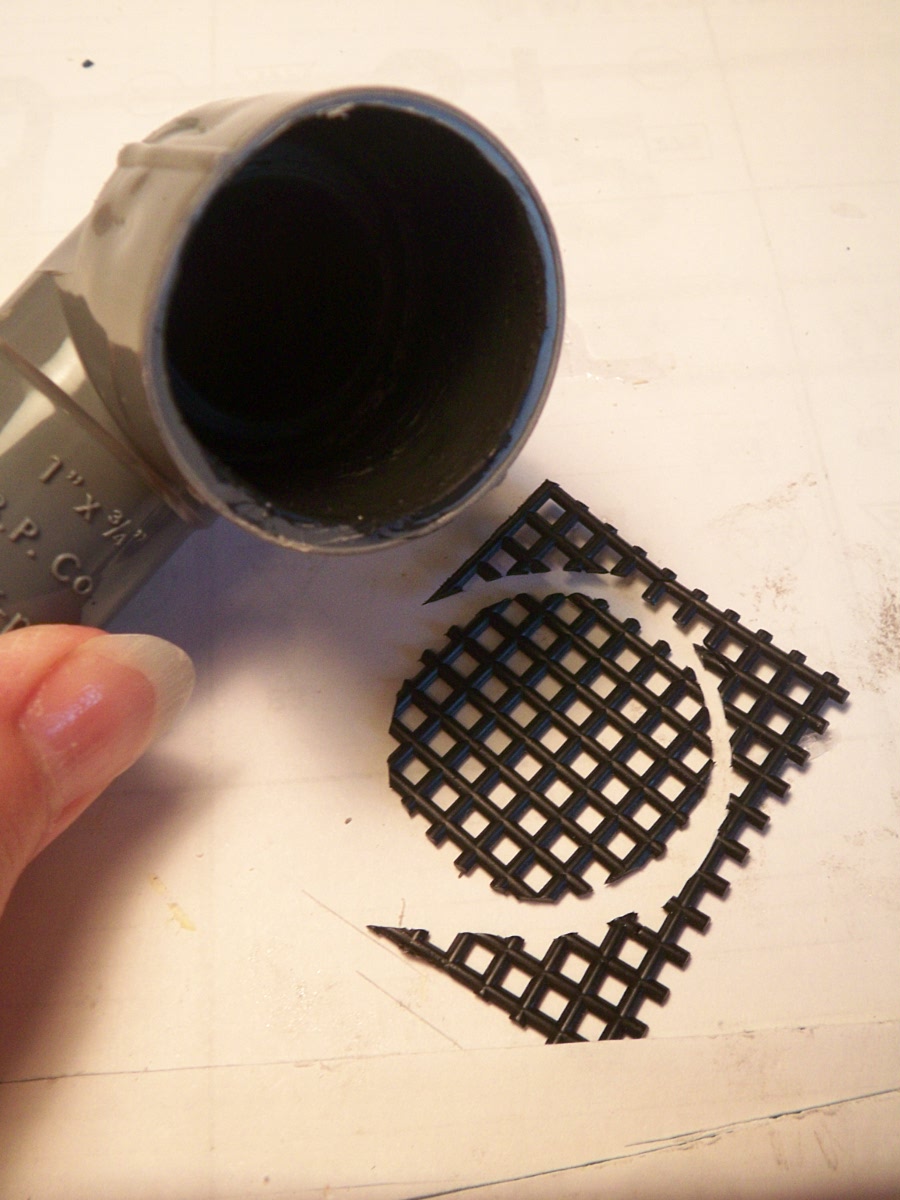 The interior was painted with two coats of flat black.
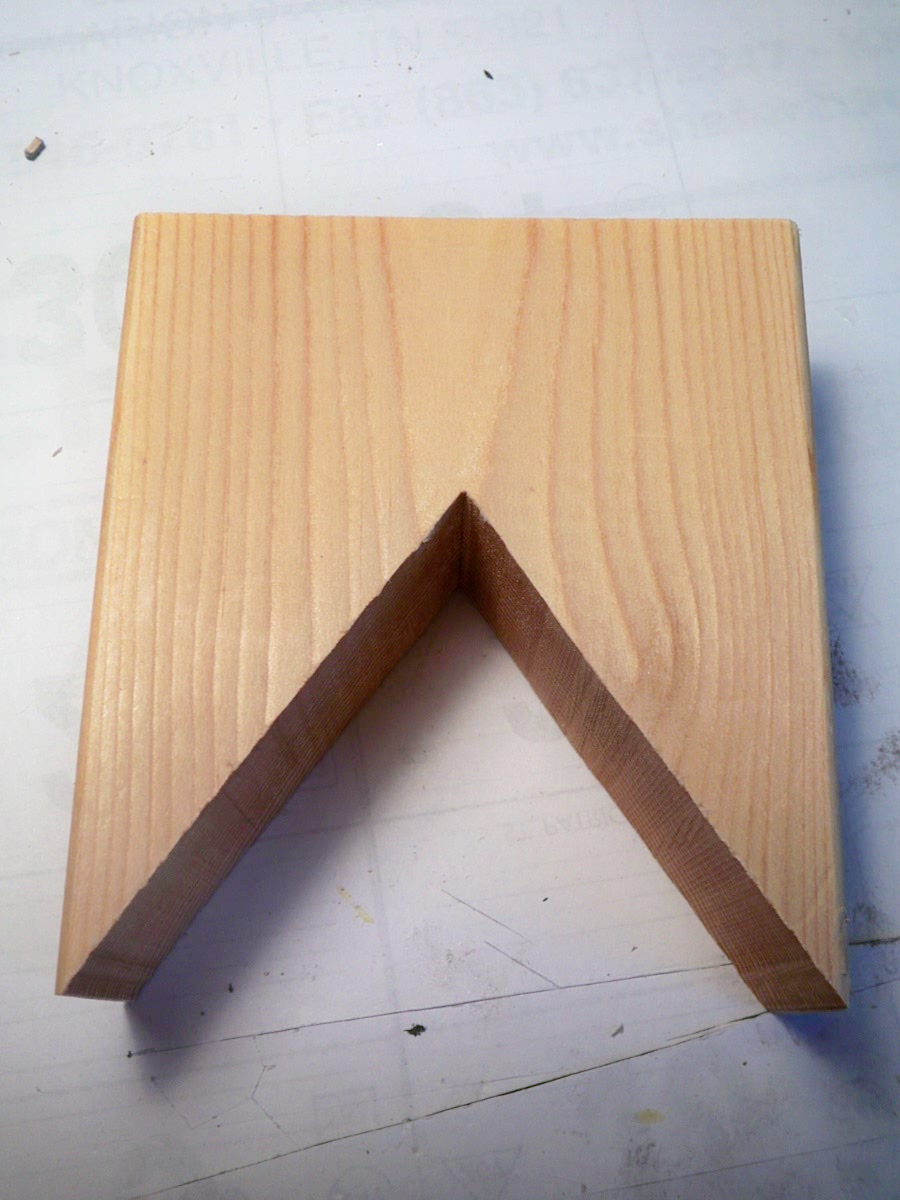
 The chimney had to be larger now to accomodate two cowl vents. I found a piece of 2X4 in my husband's shop and brought it in and measured and traced the roof pitch onto the piece of wood. DH cut it on his bandsaw and it fit just right!
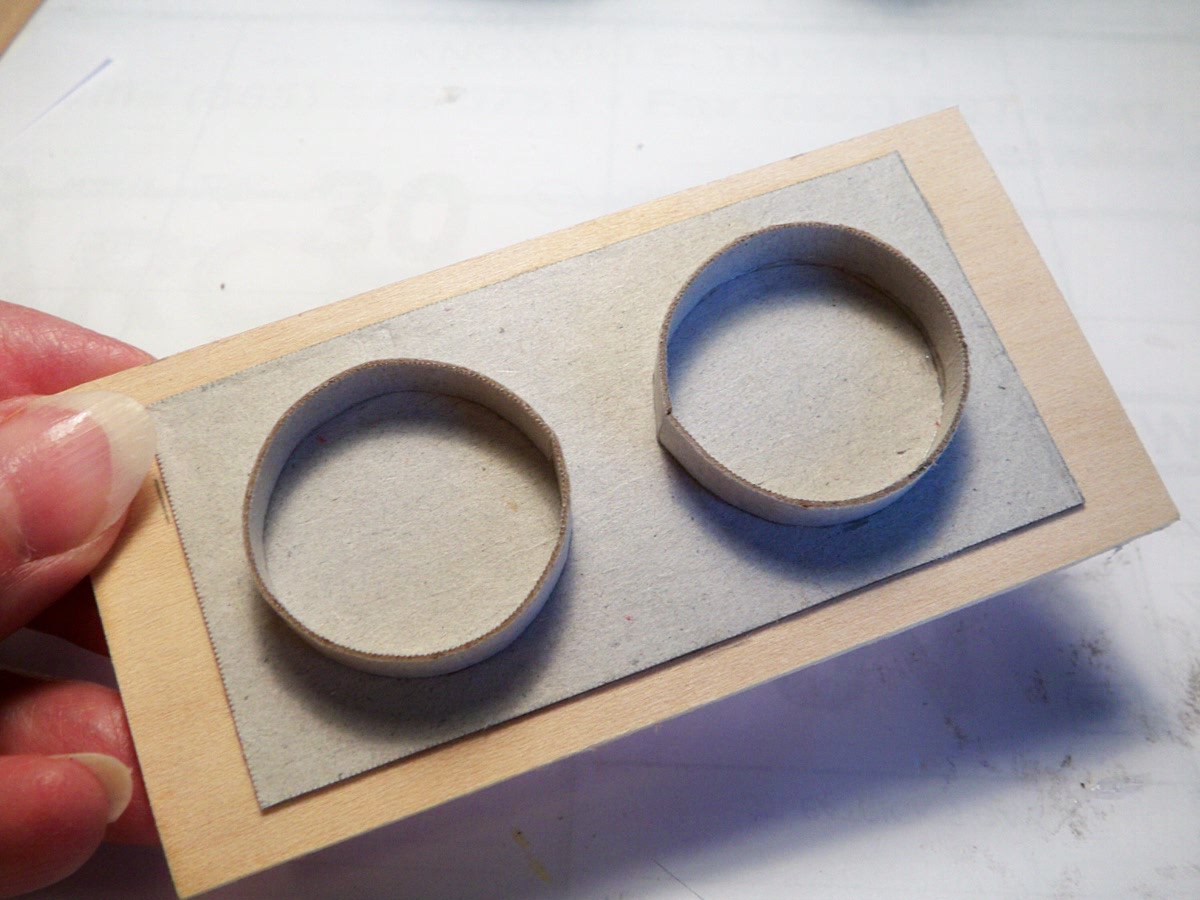
I cut out a piece from scrap wood for a chimney top and added the shirt cardboard "sheet metal". Also cut a couple of 1/4" strips of the same cardboard to make circles to hold the plumbing piece cowl vents.
 The next step gave the Captain pause....I glued on bling! LOL!
 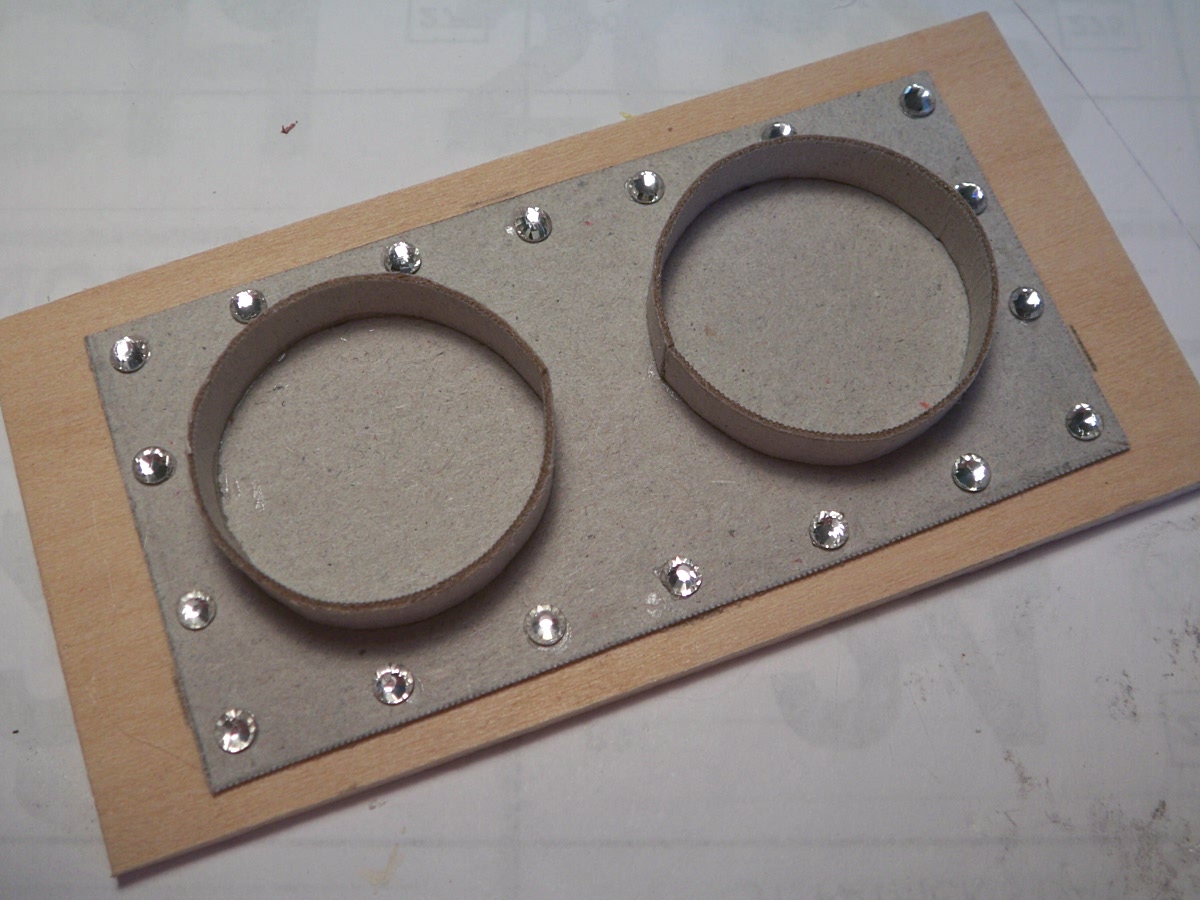 He walked off saying he just couldn't watch anymore. But, there is a method to my madness! Right now I have to let paint and glue dry, so this will continue tomorrow! Have a great day all!
No comments:
Post a Comment