Vents and Chimney....continue
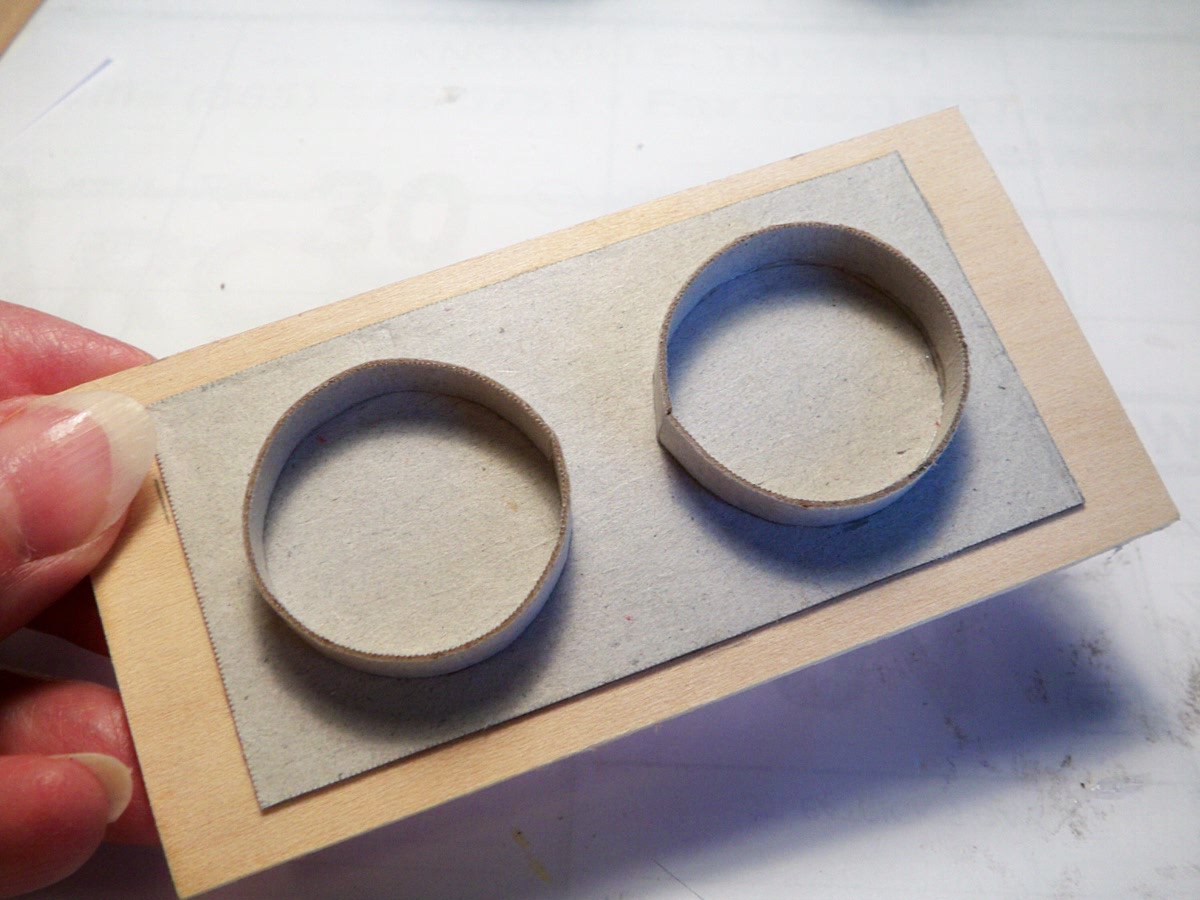
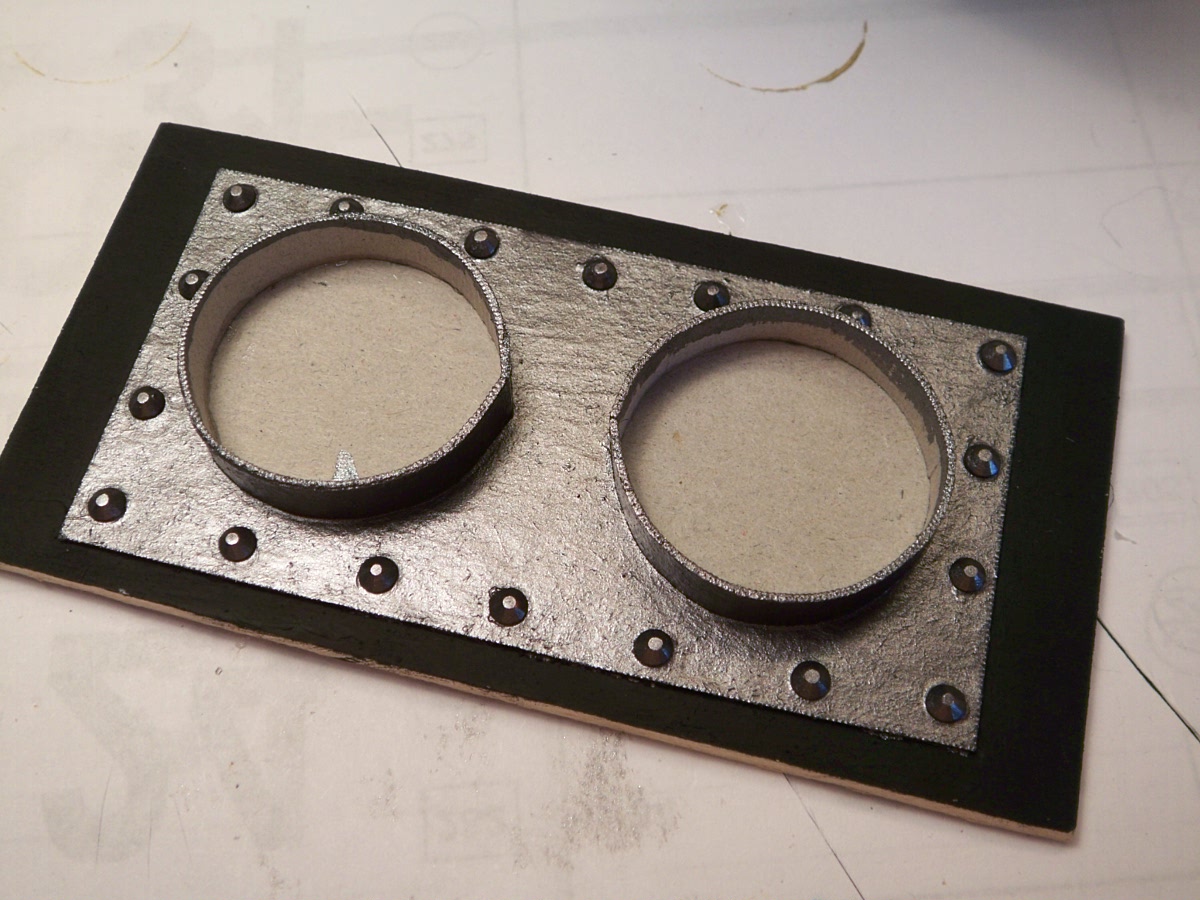
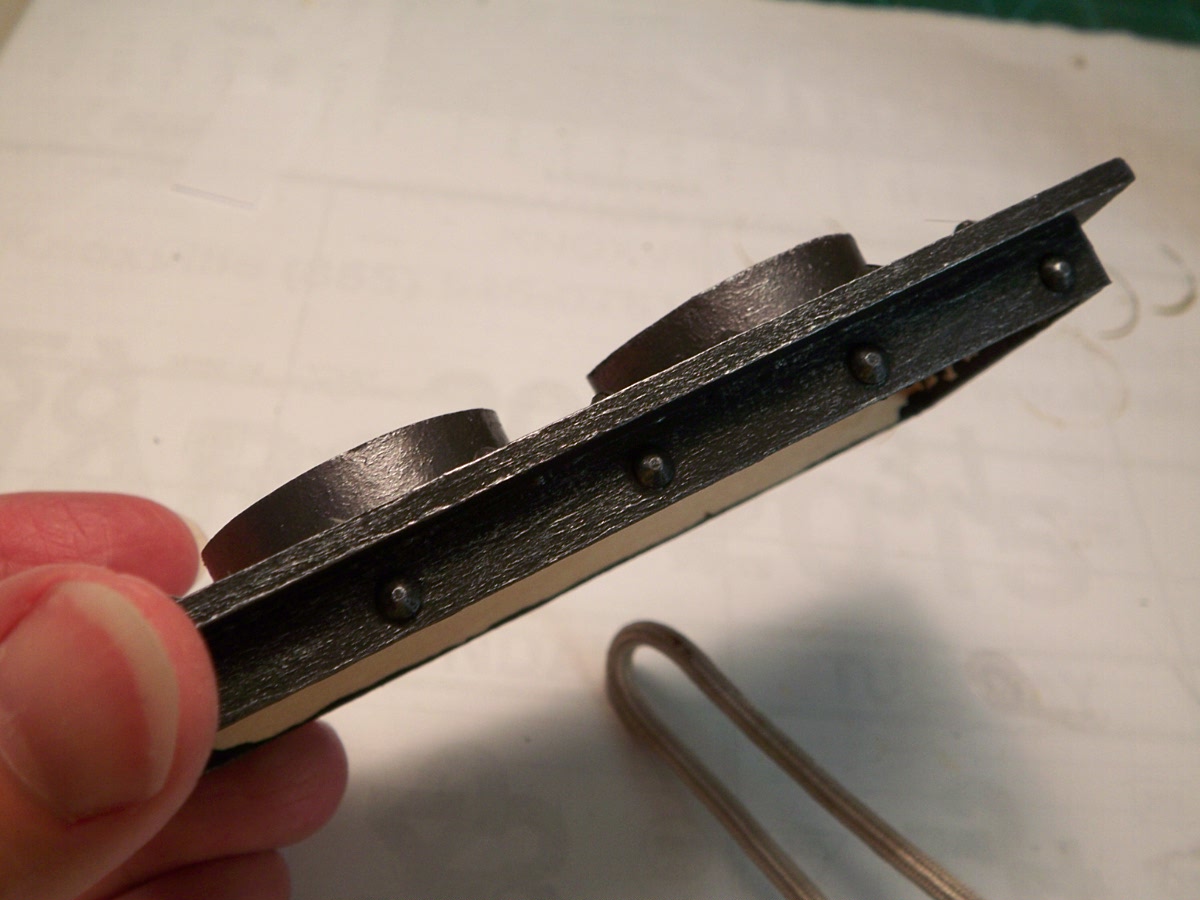
Well, let's finish our latest project! Remember yesterday when I was glueing flat backed crystals to the "sheet metal"? This is what it looks like now after three coats of Gunmetal Gray metallic paint:
 :
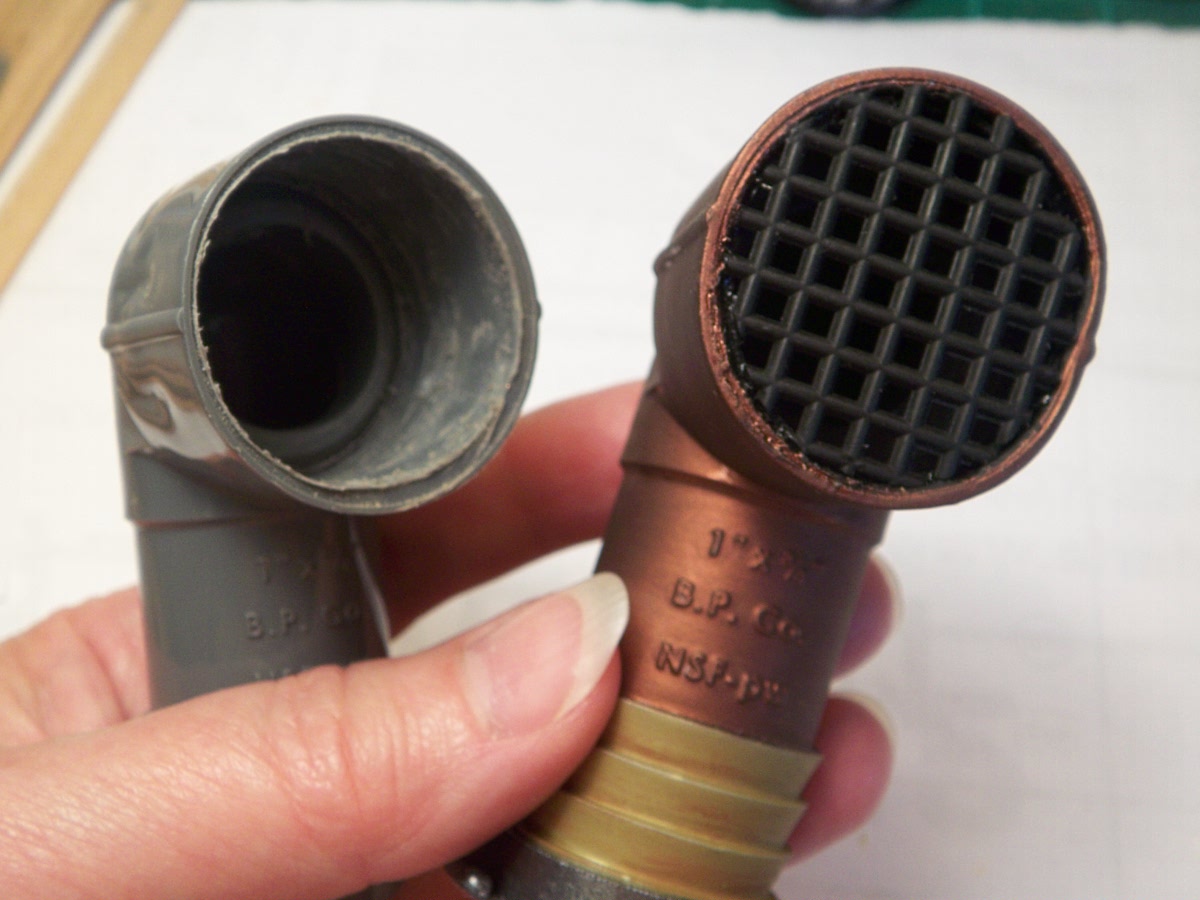
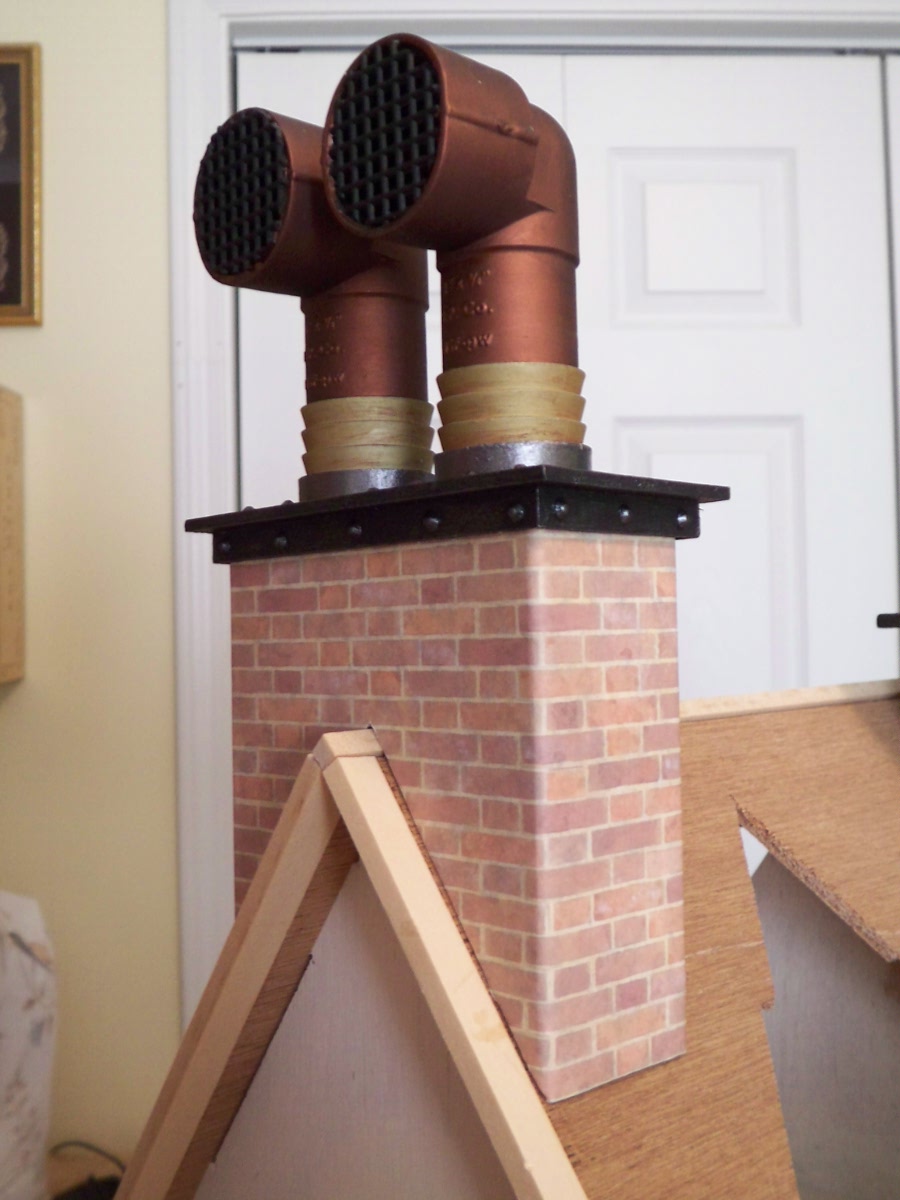
:The plumbing piece now has 3 coats of Antique Copper metallic and Brass metallic paints:
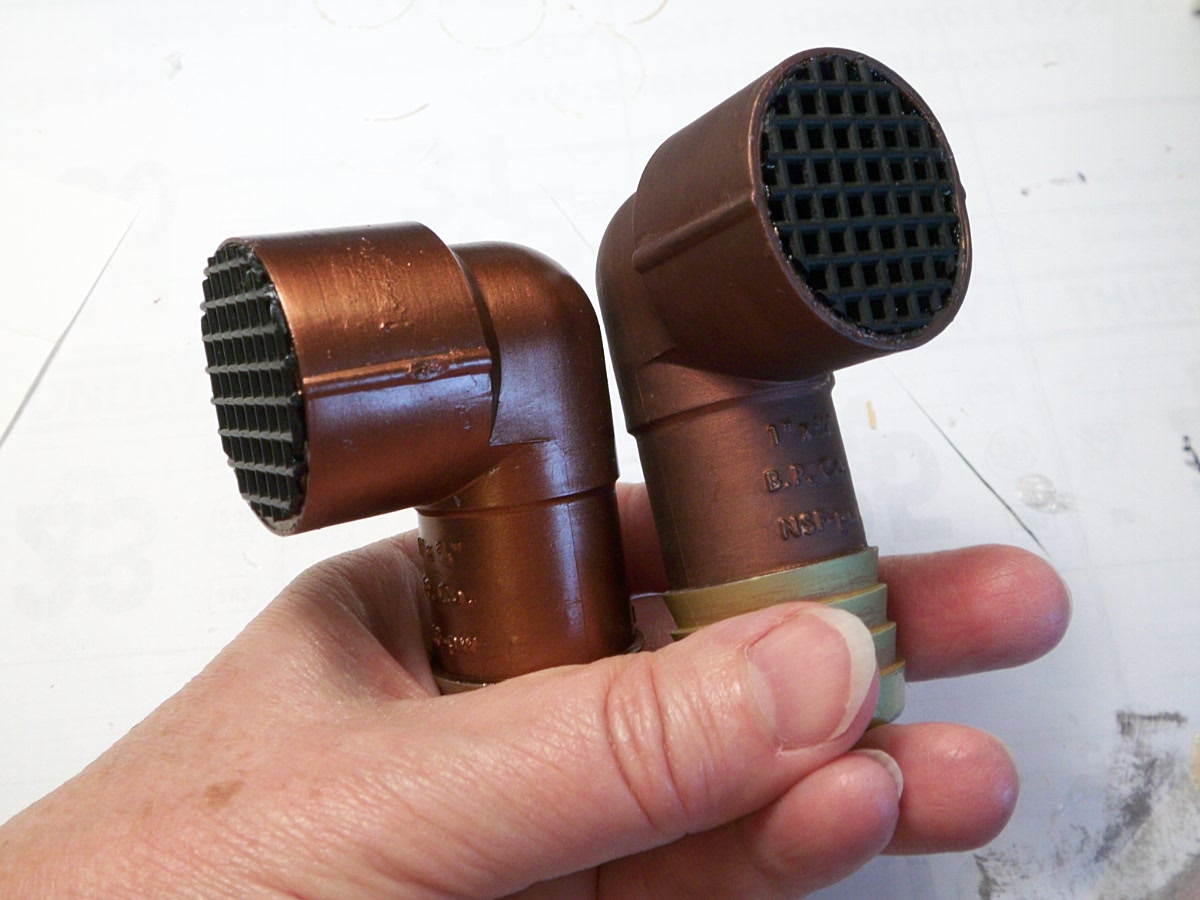 I know what you're thinking, it doesn't match the other one! After a couple of coats of Matte nailpolish, we're good!
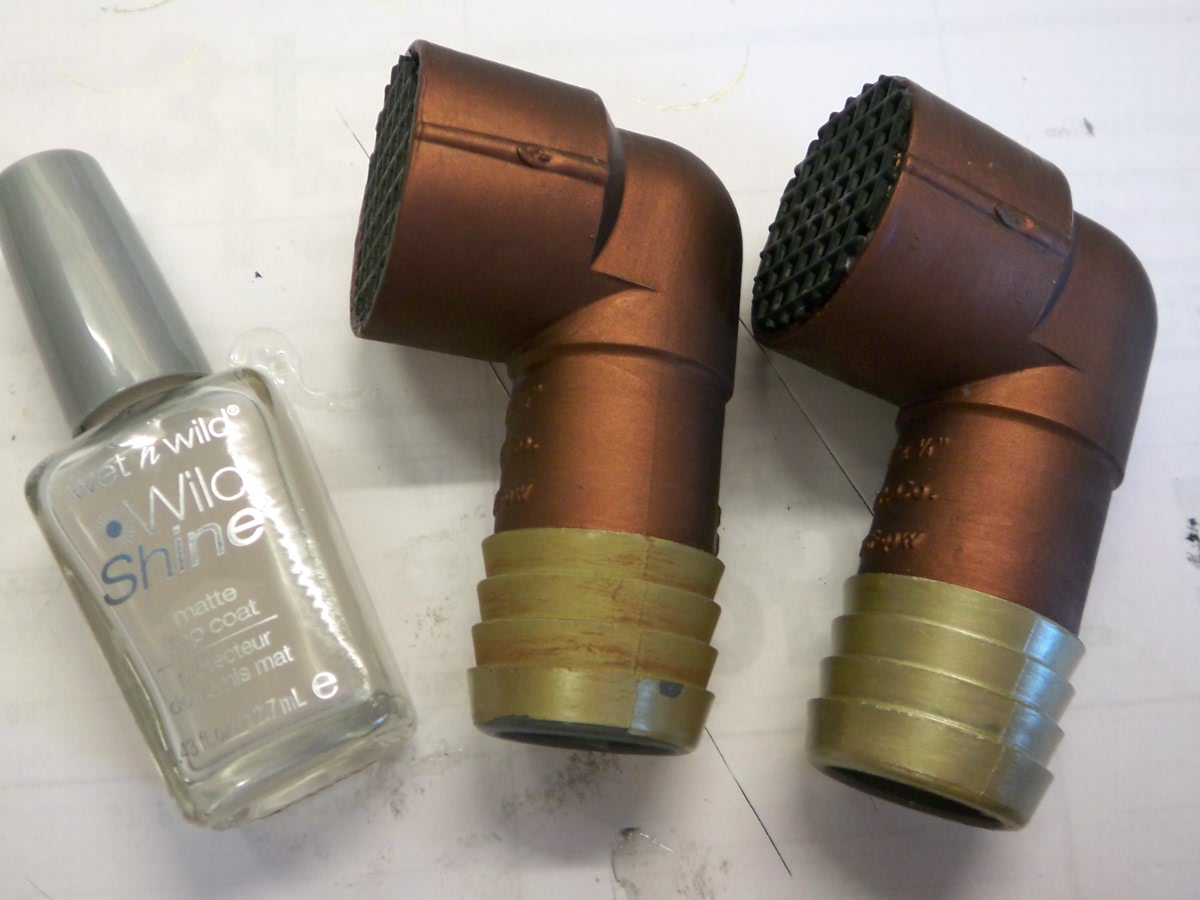
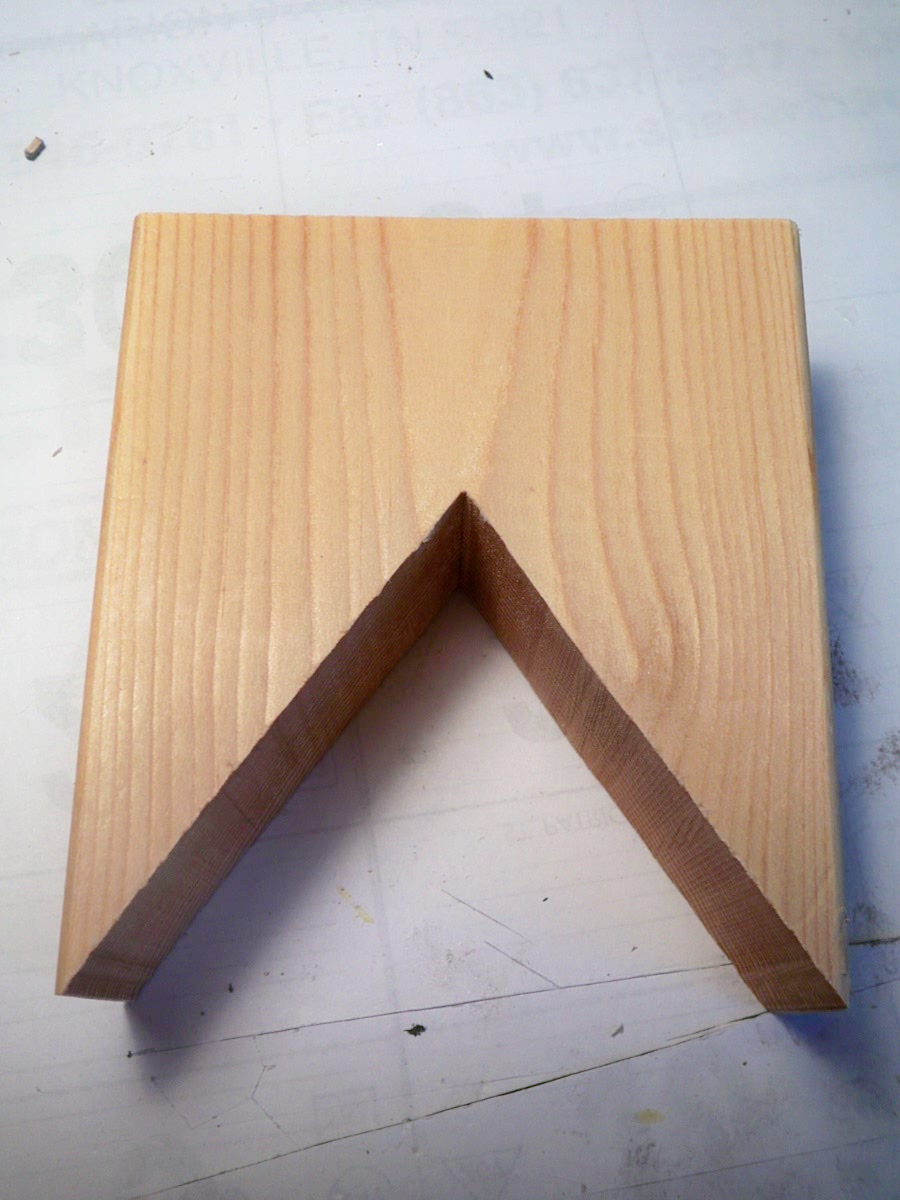
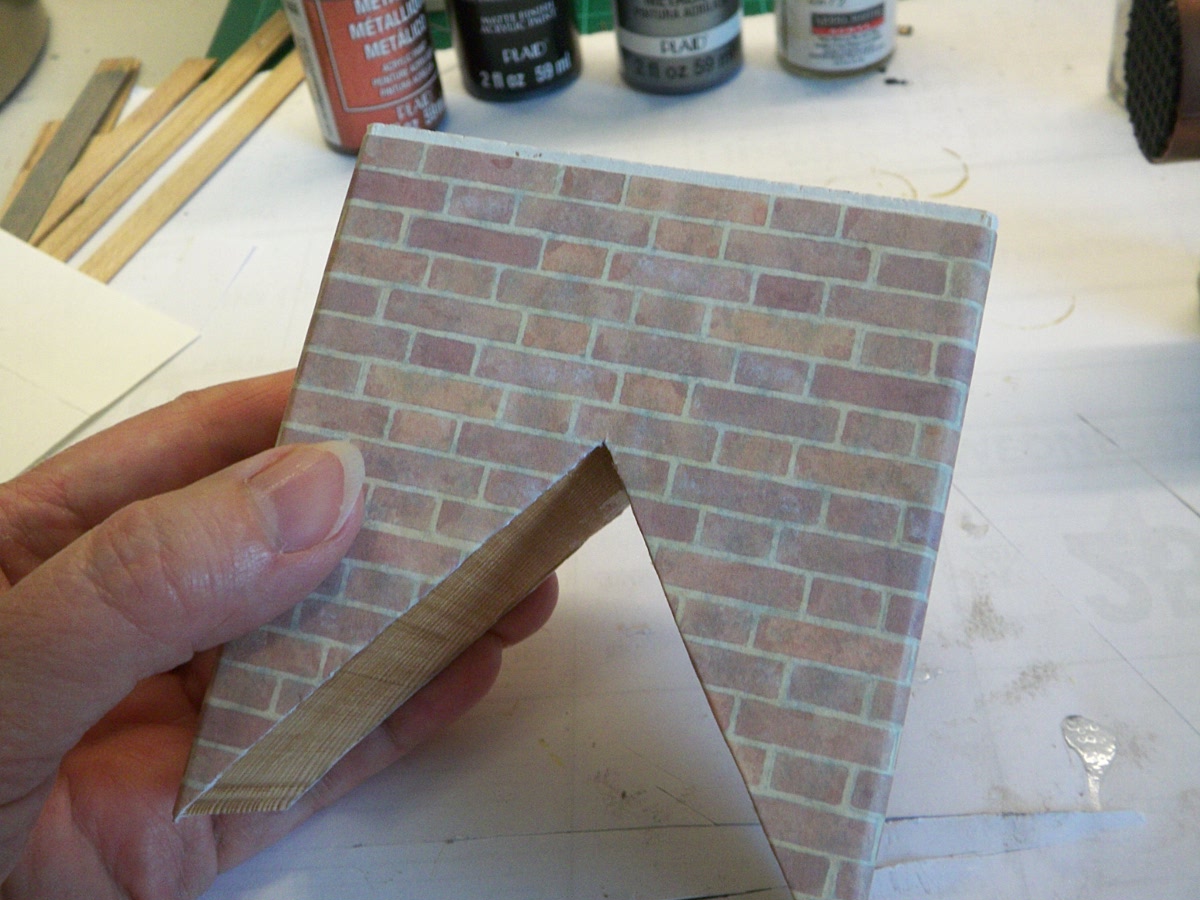
So on to the piece of 2x4. After priming it, I coated the wood with a thin layer of Elmer's White glue and applied brick paper. I figured if the white glue made the paper crinkle a little, it would just look more realistic. Came out the way I wanted:
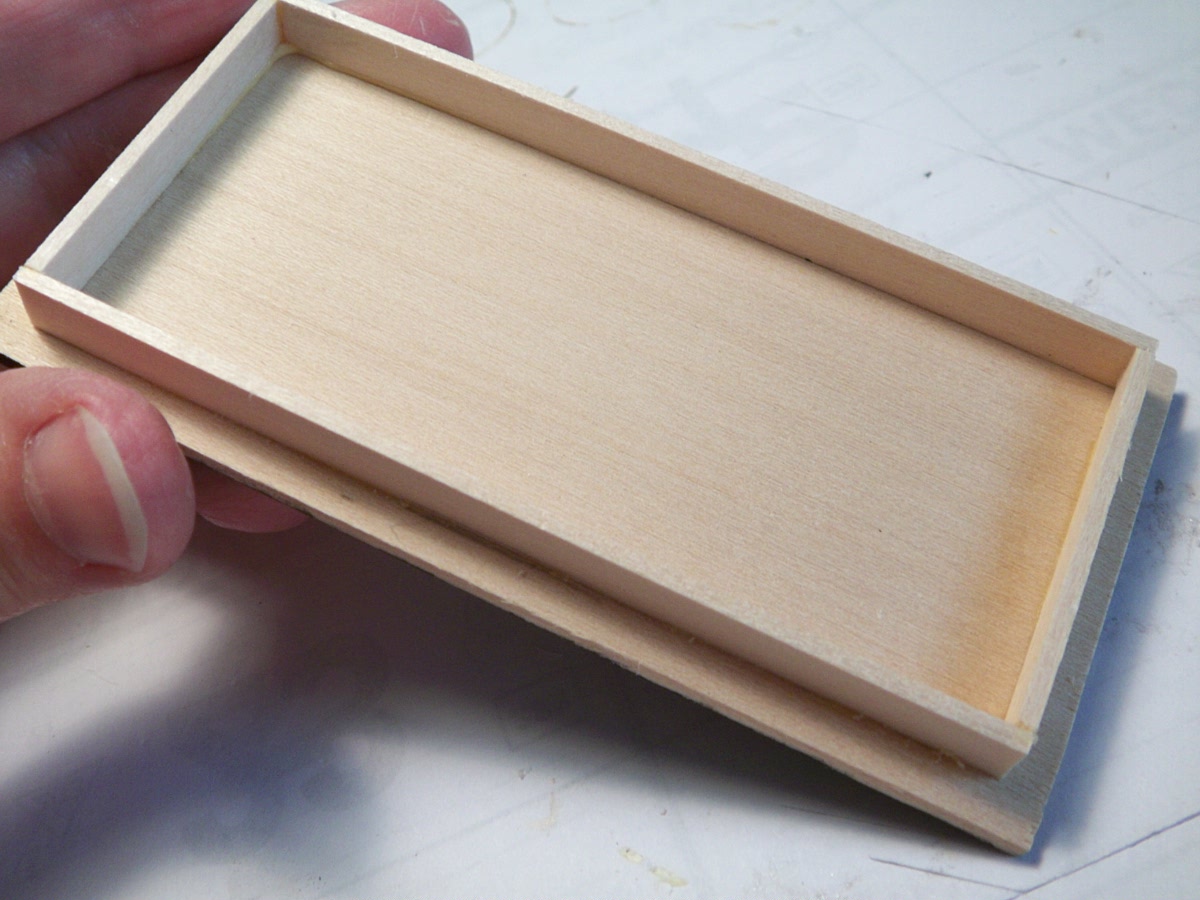
Now to finish the chimney cap. I cut strip wood to fit around the top of the chimney and glued it to the bottom of the piece of wood I cut and had added the "sheet metal" to.:
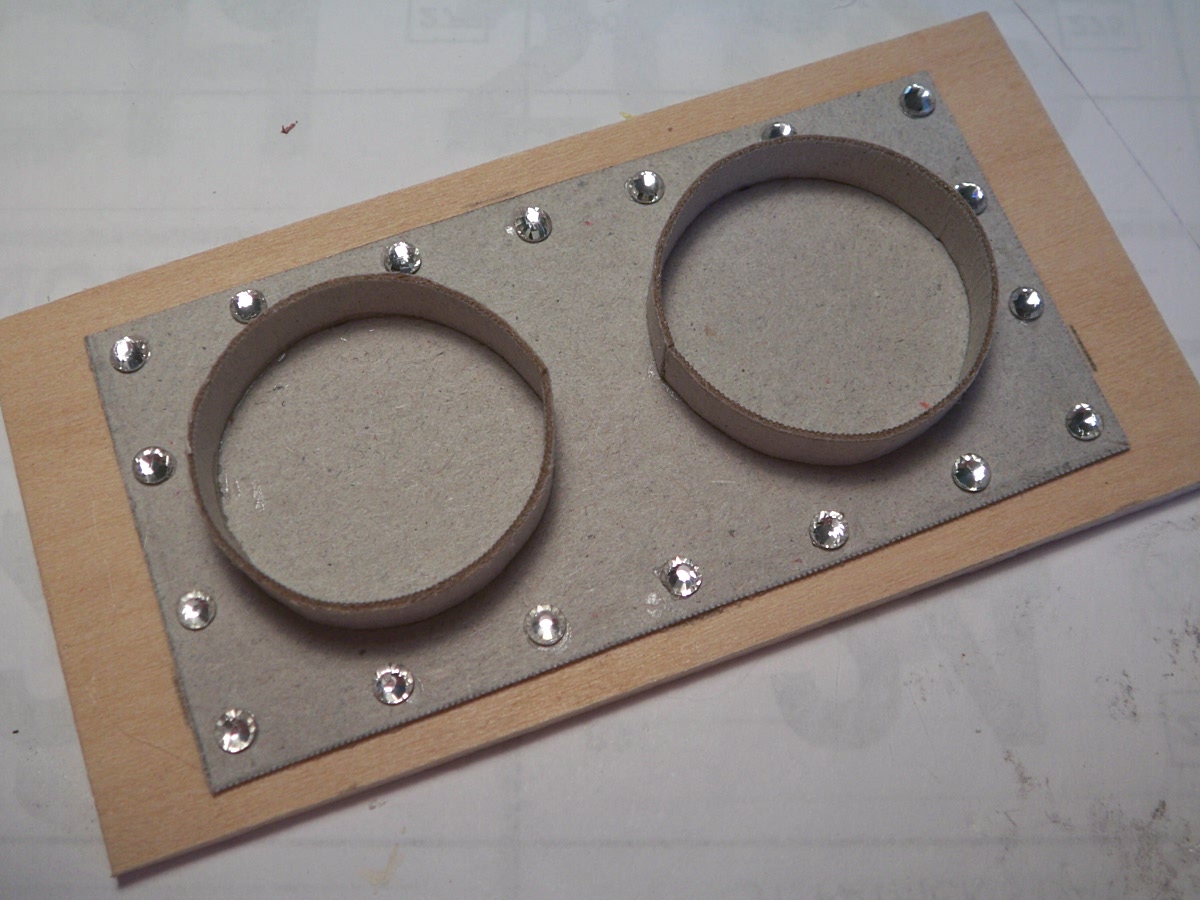
Dug out some more flat backed crystals and glued them on.
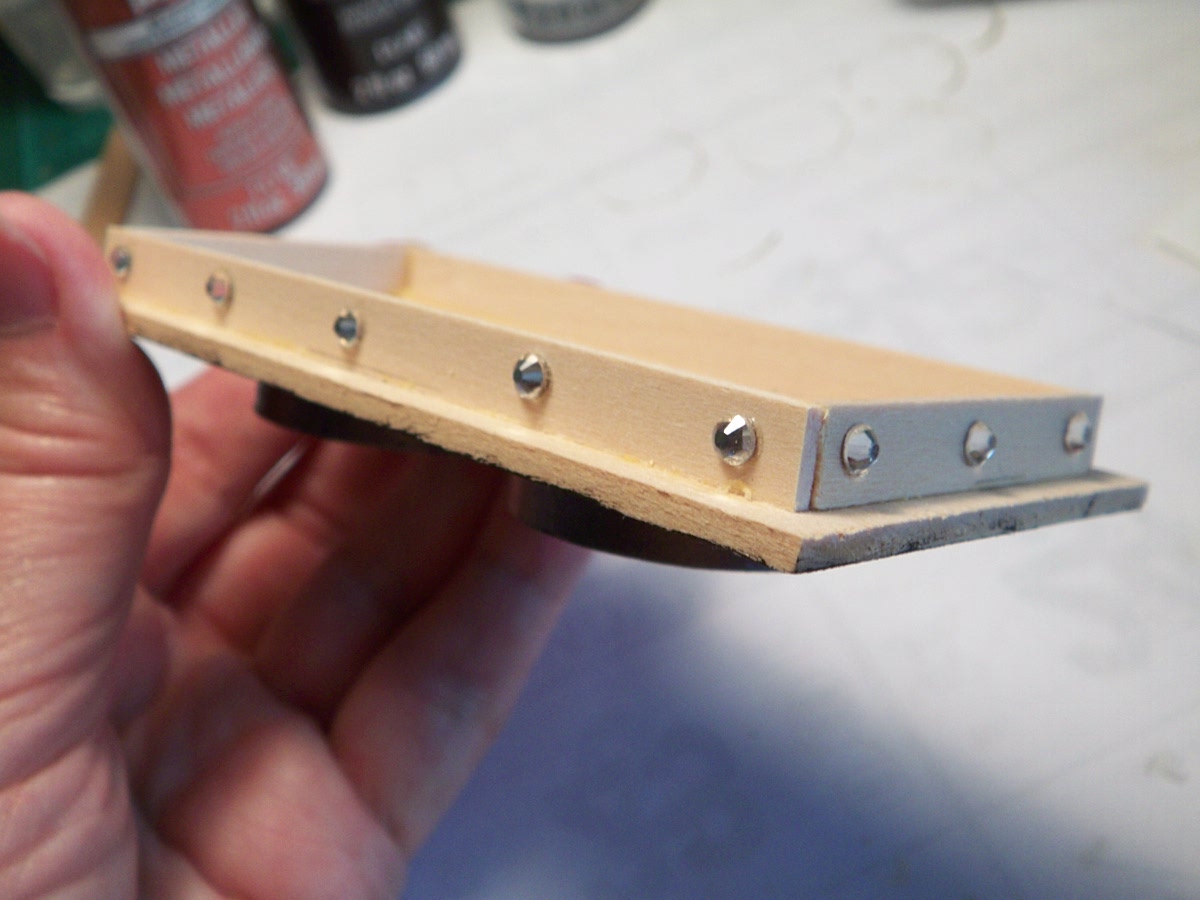
Two coats of black paint made the crystals look like rivets. A quick dry brush with Gunmetal Gray metallic made the cap look more like metal. The Captain was relieved that he didn't have to have sparklies on his Summerhouse! LOL!
Once all glued together, this is the new set of cowl vents for the Steampunk Summerhouse!
 What shall we tackle next?! Have a great evening all!