No, I've not been resting on my laurels...funny mind picture by the way...just some different life events. First off, I went back to the thrift shop to look for a shirt for my Dear Hubby. He's a tall, and for some reason, those are really hard to find in stores and I didn't have time to shop online. I found a brand new one by American Eagle and decided to poke around in the curtain section again. Guess what I found...another pink gingham valance! I came home hauling my treasures only to find that Bill couldn't button the shirt over his chest. I had a little bit better luck with the valance, after ironing the heck out of it, I transformed this:
into this:
More ruffles! Then I went online and ordered some pink butterflies to scatter across the wall over top.
So we went with Plan B for Bill's shirt and were off to Marlene and Jack's wedding!
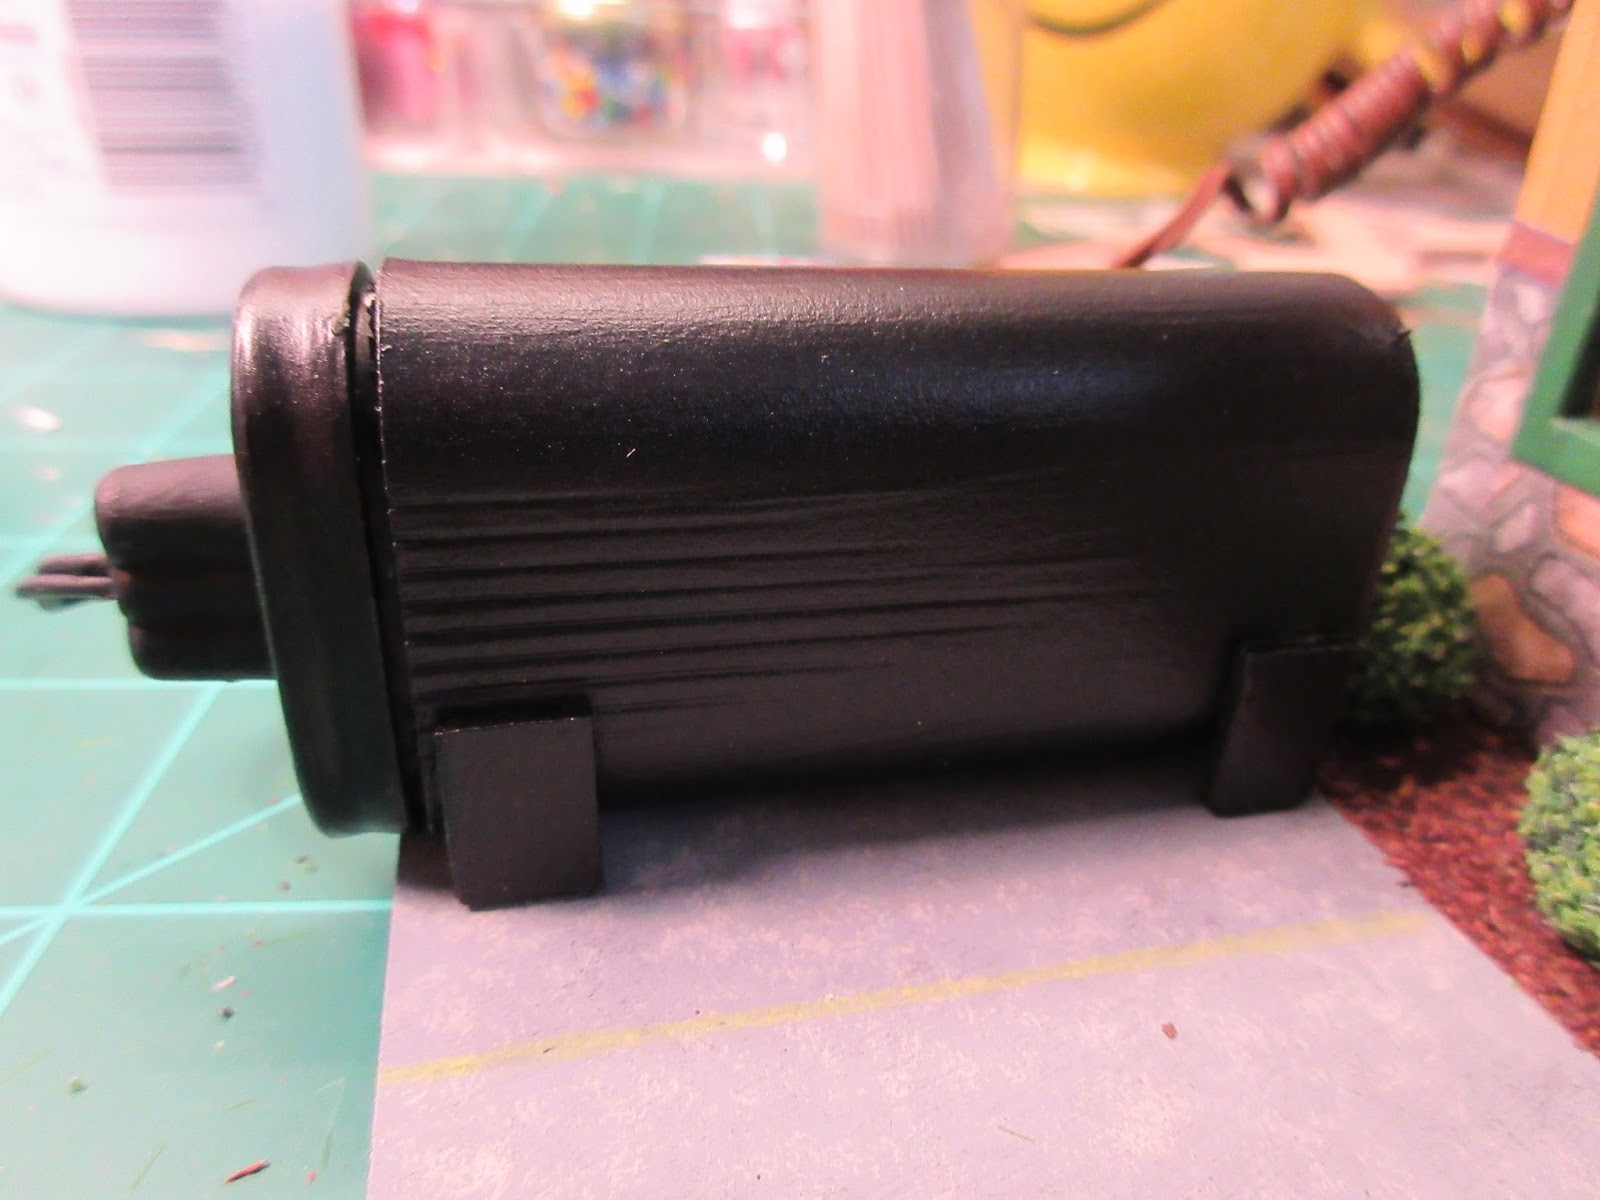
Mr. Skellie has been head over heels (skull over heel bones?) in love with Marlene for quite some time so he was sitting in the back crying. Fortunately, I had a tissue in my pocket for him. Good thing there wasn't the part in the ceremony about "anyone here objecting" cause he would have jumped to his feet for sure! So now I think it's time to rustle up a wife for Mr. Skellie. Hey! Then we can have a skellie wedding! Oh fun! Another thing I wanted to get done was some repairs on the minions Outback Steakhouse. The place is so busy that the door is starting to come off the hinges!
One of the minions fell off the ladder near the smoker, so I helped him back up and noticed the power for the restaurant had gone out so have to fix that too.
Maintenance, maintenance. I worked on that yesterday as it was raining like crazy outside!
But this morning the air is clear and cool...45 degrees! I guess it is cool!
Since all the laundry is done, I'm off to the store to pick up a few things so I will see you later! Have a great day!
Click on the pictures to make them larger
Showing posts with label Outback Steakhouse. Show all posts
Tuesday, October 24, 2017
Monday, January 18, 2016
Flower Boxes and Cold Weather!
They didn't want to stay out long! We had a little more snow overnight, so they were all excited about going out and perhaps building a snowman. I checked the thermometer, "Sorry guys, it's only 19 degrees out!" They decided to all have lunch together at Outback Steakhouse instead. That sounds pretty good to me too...I can dream can't I? LOL! So while they were lining up to have lunch, I got out the sheet moss to cut the rest of the pieces for the remaining 3 window boxes. It sure is messy stuff! I glued the boxes to the house and while that was drying thought about the translucent paper for the windows. Why was I doing each window separately when no one is going to see inside once it's done? Since I had plenty of the paper left, I just cut large pieces to cover each wall. Faster and fewer gluey fingers. So here is each side with the window boxes and windows done. I guess we can start the roof! I painted the edges white since they will show once the shingles are on and glued the first one to the roof. I made a small notch in the top edge of the remaining piece of roof for the interior light. Once the light was positioned inside at the level I wanted, the second roof piece was glued in place. The shingles were next. Since I wanted them black, I checked the instructions to see if there was any problem with this. The instructions said to seal them first if you are going to paint them. Well, since there are so many in the box, I thought I would just try painting three with just the paint and see what happens. They dried nice and flat and even and it looks like they will only need one coat. So looks like I will be busy painting more shingles this afternoon! In between laundry that is.....Have a great afternoon!
P.S. Here is what it looks like lit up! I'm having way too much fun with this! LOL!
Monday, November 9, 2015
Final Finishing, Final Glueing!
Woo Hoo! I used my satin finish varnish on the cord to protect the paint and then glued the oil tank in place.
The minions insisted on putting the smoker right next to the tank, I don't think that's a very good idea! They didn't seem too concerned, but I told them if the inspector comes by, my hands are clean! So they have been back to smoking meat for the big Grand Opening. No venison though. Kevin was all set to bag a nice big deer when Bob's bottom lip began to tremble and he started to hug his teddy bear tight. Well, since these guys look out for each other, they decided to shoot pictures instead so that little Bob wouldn't have an anxiety attack. I'd better not take him to a cattle ranch to look at calves...Now that everything is dry, I added the Outback Steakhouse to the Minion Village and we will be starting Buns and Roses soon!
I have a couple of Christmas projects to work on first so I will start one of those tomorrow and hopefully I can get them done in time! Well my friends, it's back to the laundry pile for me today...have a great day!
Friday, November 6, 2015
Finishing things, Glueing things...
I heard quite a ruckus this morning with a lot of hollering back and forth and clanging and banging noises. Well, the minions found themselves an old pickup truck and were packing up to go on a hunting trip! Before the restaurant officially opens, they thought the menu should include some venison. The pirate minions were invited to go along as they are the keepers-of-the-large-knives. The minions found a shotgun too, either that or it came with the truck. The headlights weren't working so two of the Bobs were hanging on to the front fenders with flashlights. I got a pic of them just as they were leaving.
I'm not too worried about the venison thing, I think they are more apt to come home with a pet deer, but I know they will enjoy themselves. Since it was quiet in the shop, I started by curling the extra length of wire to the battery pack around a knitting needle to take up the slack.
Maybe someday, I'll knit something with these! LOL! I finished up the painting on the roof ridge.....four coats of paint later!
Once that was dry, I glued it in place.
The oil tank was the next thing. I finished the cap and sealed the paint with the matte sealer. Had to paint some of the wire black too of course.
The coil of wire still stuck out in the back, so tried glueing it to the back of the restaurant.
This will sit and dry the full 24 hours and then I'll know if it will stay or not. So that is the progress for today! I'll be ironing shirts this afternoon and watching Murdoch Mysteries...have a great day!
Thursday, November 5, 2015
Hobby Lobby and the Roof Ridge
Went on an adventure to Hobby Lobby today! I say adventure because it's an hour away and I only make the trip every couple of months or so. Found two more of the miniature lanterns that I use in the minion buildings...at 30% off too! Found a few things for Buns and Roses too.
So after having lots of fun, had to get down to business. I looked at images of roof ridge treatments on metal roofs and decided to make mine out of cardboard. I cut it to size and then drew a line down the center.
Since I don't own a bone folder (I hear those are handy things to have by the way), I used a knitting needle to make a groove on the line to make folding a little easier. It worked pretty well.
The next thing was to make end caps. Fortunately, the angle for the roof on this building is an exact 45 degrees, so it was a little easier to cut the right angle.
After the glue dried, It got its first coat of green. Won't be long now! The next thing I worked on was the battery pack for the inside light. This is a necessary evil, so you have to think of ways of disguising it. The Steampunk Tudor one was done as part of the steampunk equipment. This one looks like an oil tank that we used to have at our house on the Cape. I added some cardboard legs and painted it with three coats of black. It still needs a coat of clear matte spray to seal the paint and I've started work on the lid too. Word got around the shop how close we are to finishing and this is what happened... no secrets around here! LOL! Have a great evening!
Went on an adventure to Hobby Lobby today! I say adventure because it's an hour away and I only make the trip every couple of months or so. Found two more of the miniature lanterns that I use in the minion buildings...at 30% off too! Found a few things for Buns and Roses too.
After the glue dried, It got its first coat of green. Won't be long now! The next thing I worked on was the battery pack for the inside light. This is a necessary evil, so you have to think of ways of disguising it. The Steampunk Tudor one was done as part of the steampunk equipment. This one looks like an oil tank that we used to have at our house on the Cape. I added some cardboard legs and painted it with three coats of black. It still needs a coat of clear matte spray to seal the paint and I've started work on the lid too. Word got around the shop how close we are to finishing and this is what happened... no secrets around here! LOL! Have a great evening!
Wednesday, November 4, 2015
Landscaping and Interior!
The first thing I did today was get pictures of the interior of the restaurant. What would have been really funny was a picture of me in my big fluffy robe trying to get these pictures through the teeny windows! LOL! But we won't go there! Front view and side view.
I thought there should be a parking lot on the side, although I haven't seen any minion cars driving around the shop. They do need a place for the smoker though, so parking lot it is. I used Ceramcoat Rain Grey but it looked a little too flat to me. You know how I can't leave anything alone, so I got out a small brush and proceeded to stipple some Craftsmart Grey all over. I've never painted concrete before and I guess this is pretty close. Besides, this project leans toward the cartoonish side so I guess we are good. I figured I was at the point where I could glue the house to the base, so with a deep breath, it was done. I wanted just a little landscaping on this project, so I used some Bella Espresso acrylic paint on the areas I wanted to work on first. Once that was dry, I spread a thick layer of white glue and sprinkled on some tea leaves from a tea bag. I pressed it down good and then tapped the extra off. A while back, Hobby Builder's Supply had a sale on tiny Squeeze-me bushes, so I glued some of those on too. After drawing some lines on the parking lot with a ruler and a yellow colored pencil, I would say this part of the build is complete. I have to look up metal roof ridge treatments to see what I need to make to cover the wire from the light. Also need to finish painting the battery pack.. I have a 50% off coupon that's burning a hole in my pocket....I think a trip to Michael's is in order! Have a great day!
Tuesday, November 3, 2015
Home Stretch?
Got too wound from watching Dark Matter last night so was back in the shop! The first coat on the porch posts was dry, so I used a small piece of brown paper bag to lightly sand the paint.
Doing this makes for a smoother final finish. Put the second coat on and set them aside. Still plugging away at the roof. I got the three coats of green on and then painted the edges.
A final clear coat and that was set aside to dry also. Let's see, what can we do while paint dries....oh, I know, the restaurant doesn't have any menus! On to the internet! I found all kinds of pictures of Outback Steakhouse menus but chose their kid menus as they were the most colorful. A little copying, a little pasting, a little shrinking and we have our menus! The host minion has them all arranged on his podium and is so ready to start bringing in customers. Since the paint still wasn't dry on the roof, I pulled out the ladder and did some dry brushing on it to make it look a little more like wood. The matte finish helps with the illusion and the minions inspected it and gave their approval. And guess what came via UPS yesterday.....the lights! Yay! I opened one of them up and found the bulb rolling around loose. So after some finagling, I managed to get it screwed in and it worked. I had cut a small v in one of the roof pieces to accommodate the cord and used a little cement to hold it in place. Once that was dry, I was able to glue the other roof piece on. The minions can barely contain themselves at this point and they are forming a line on my workbench already! After an eternity of waiting for the glue to dry, the roof was glued in place and the cord glued down along the roof ridge. I'll tell you, there are some happy minions in the shop today! LOL! The tarp they were using to cover the restaurant was folded and put away and I was just enjoying a little glow of happiness when one of them asked when I was starting Buns and Roses. No rest for the wicked.....we will tackle the landscaping and parking lot next and I have another idea for the battery pack for the light. Also need to make something for the roof ridge to cover the cord. Have a great day!
Subscribe to:
Posts (Atom)