Click on the pictures to make them larger
Showing posts with label Balcony. Show all posts

Saturday, August 8, 2015

Porch and Calamity!


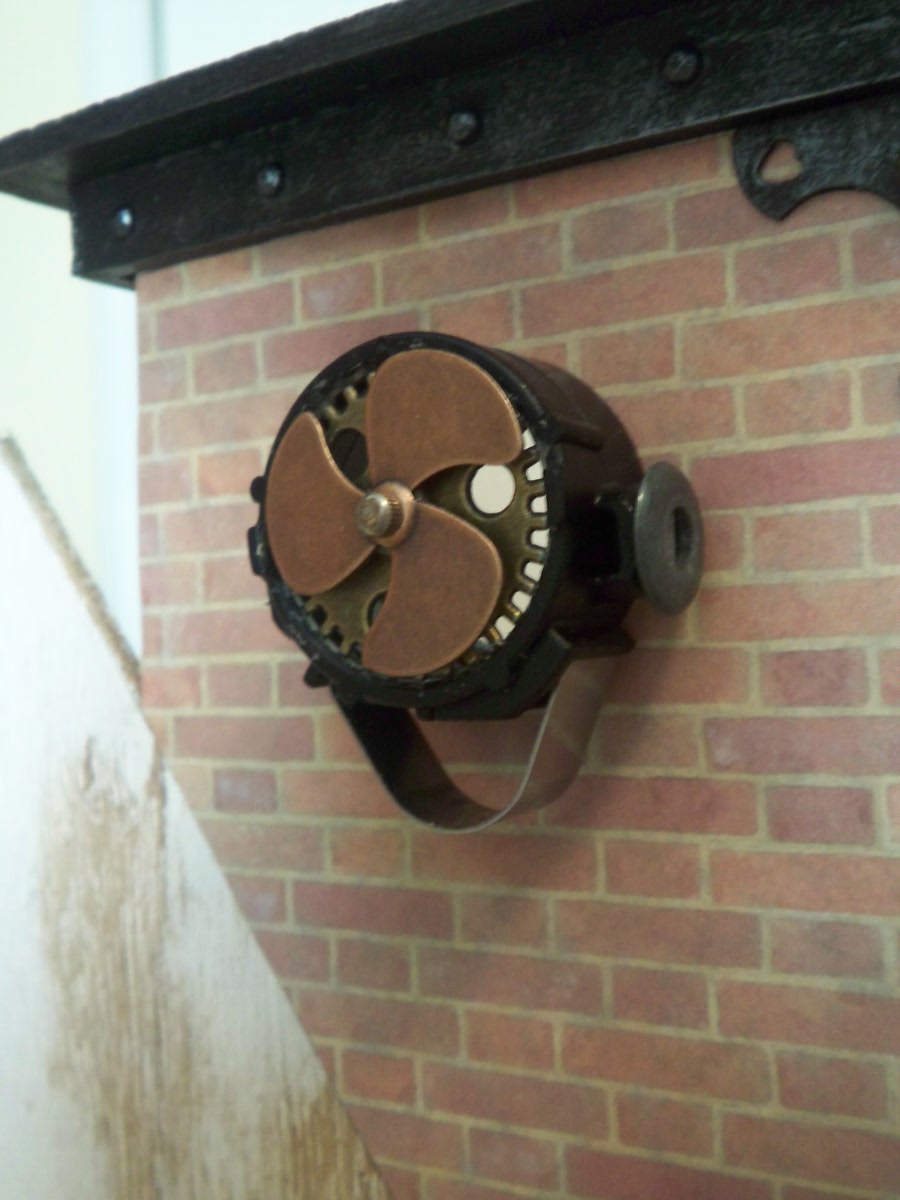
I have been cautiously glueing on bits and pieces that I have made for the Summerhouse. I try to think through whether it will be in the way of something else or there's a chance of it getting knocked off. The bathroom exhaust fan seemed to be okay to glue on, so here it is: 
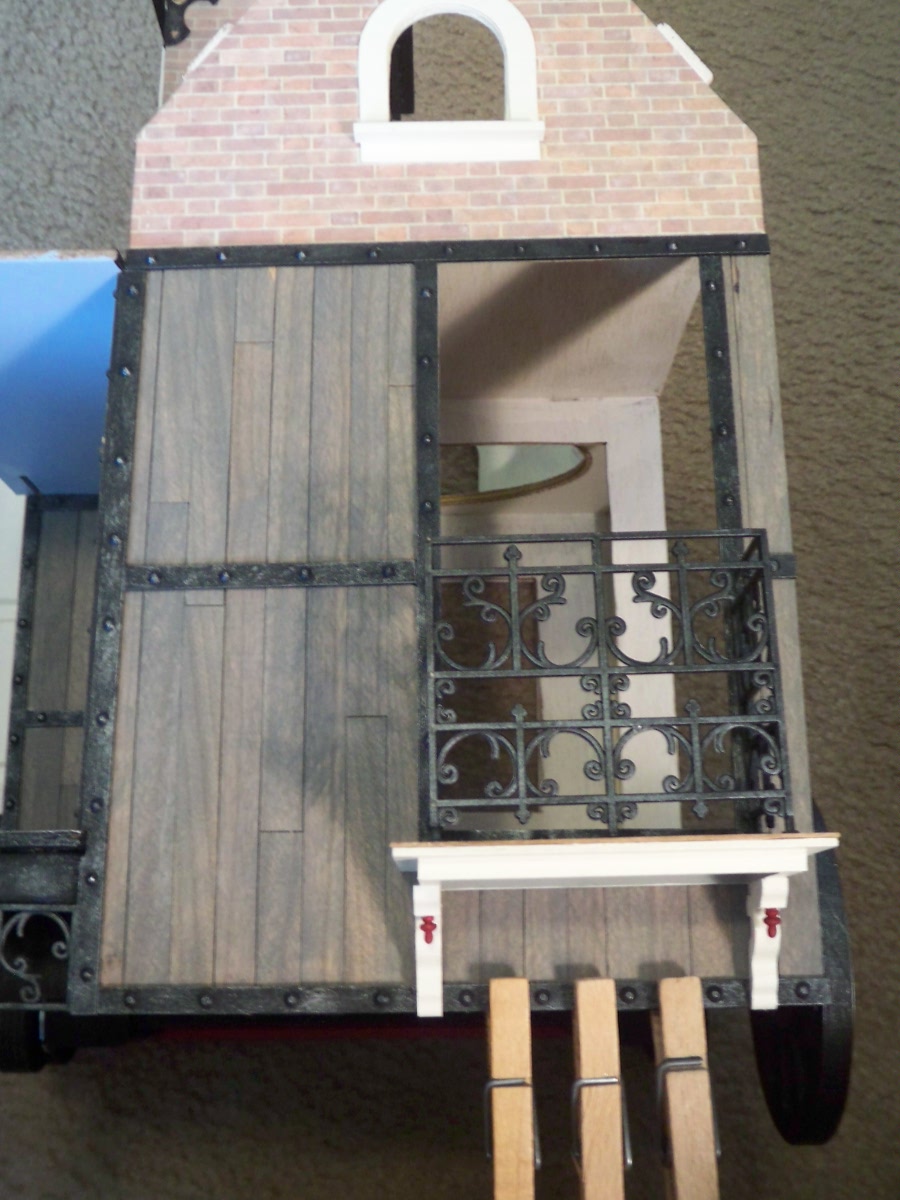
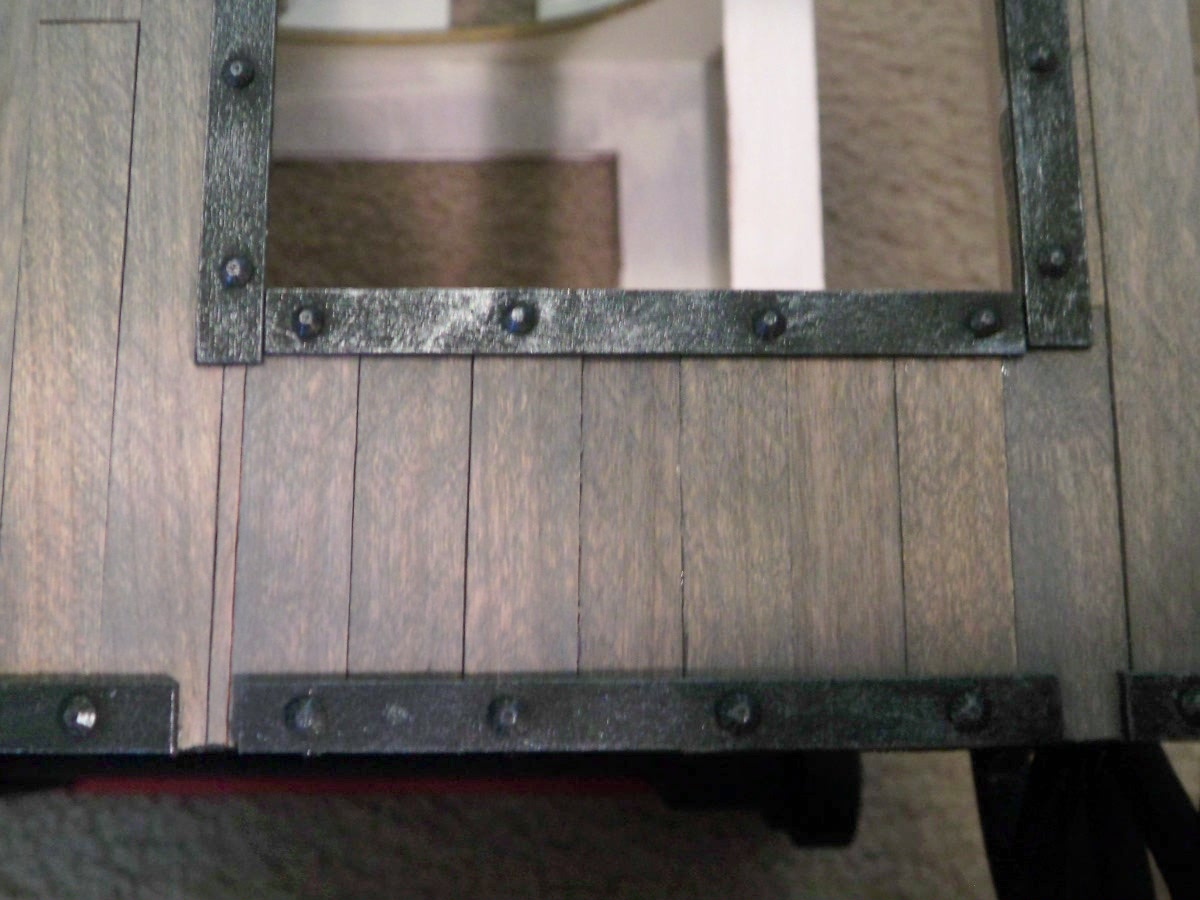
I know I can't glue the balcony on yet, but I can glue on the sticks with rivets: 
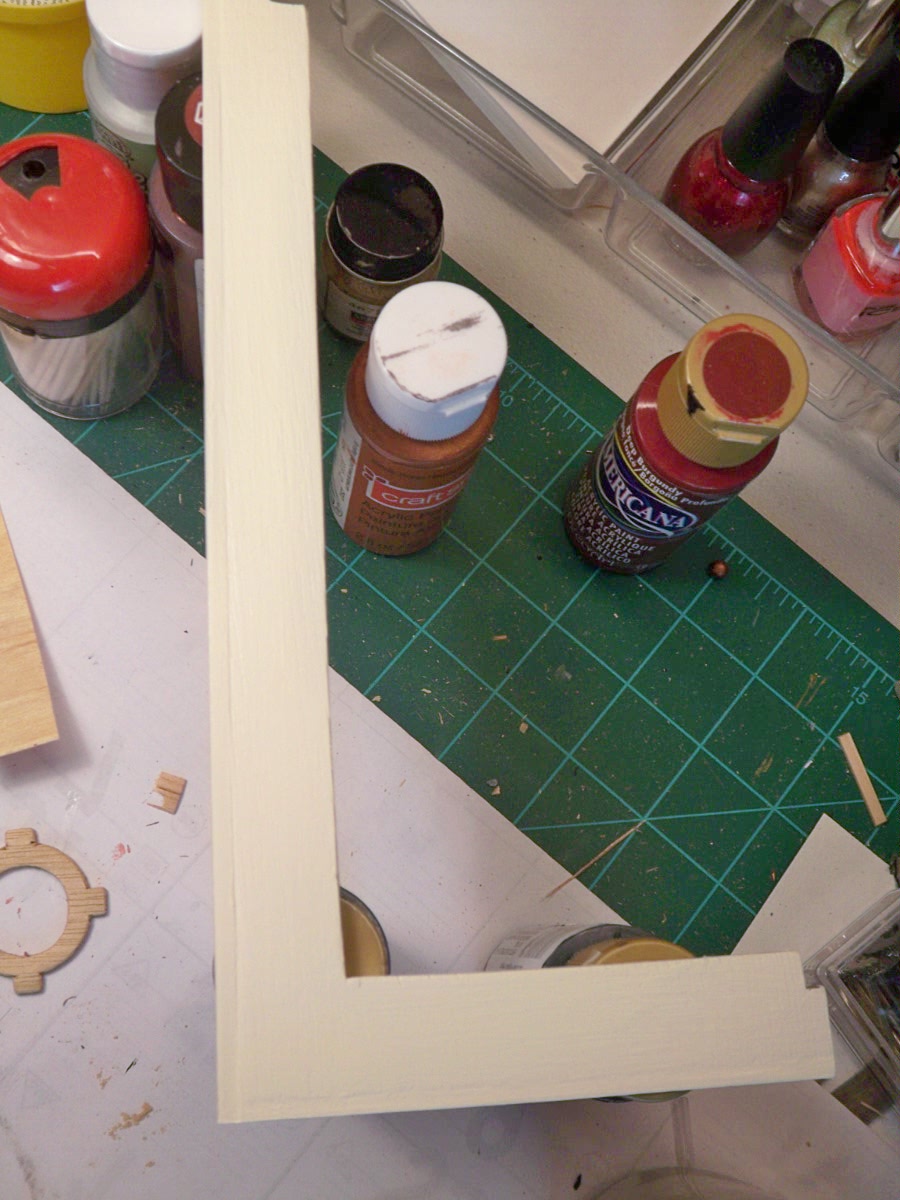
I glued the porch posts in place and borrowed one of my husband's clamps to hold them in place.  I also was able to finish painting another piece of the porch roof and glue it into place.
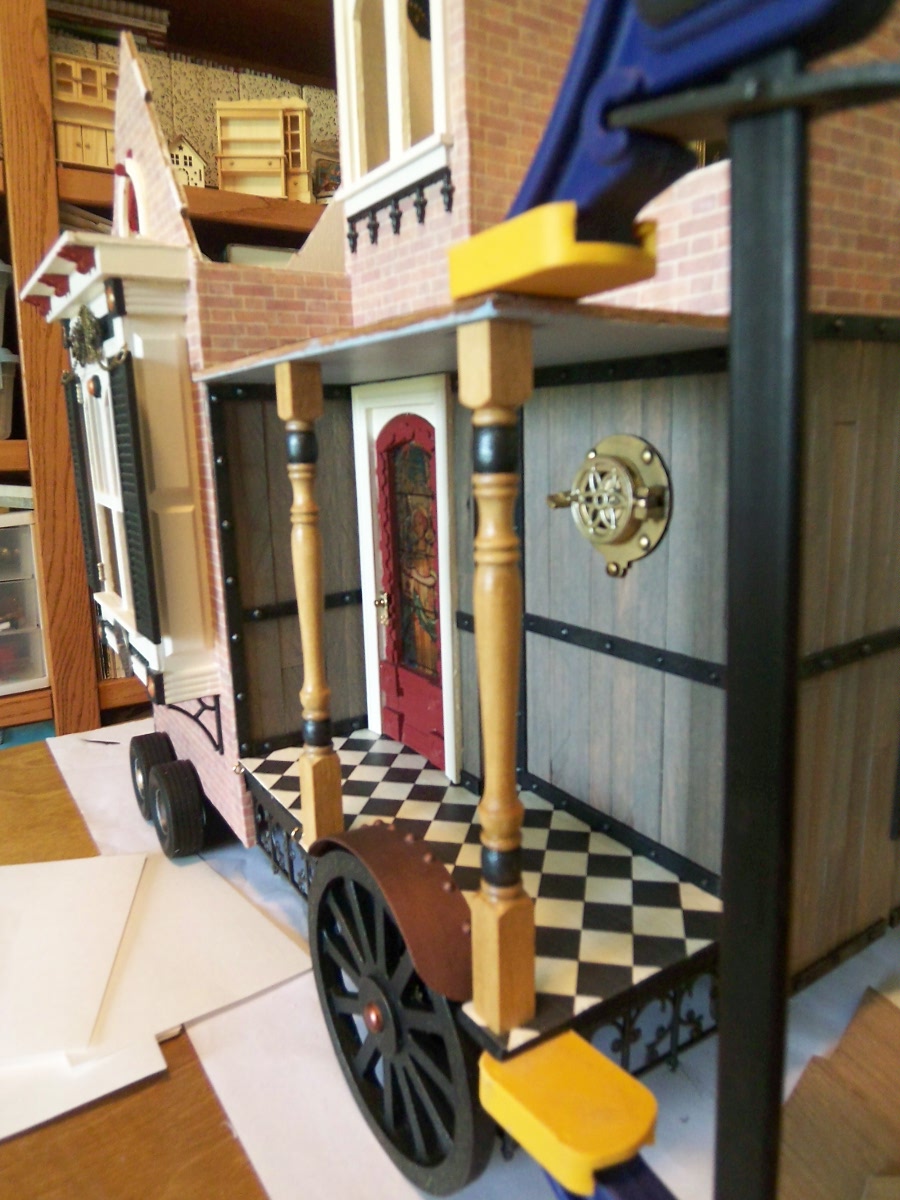
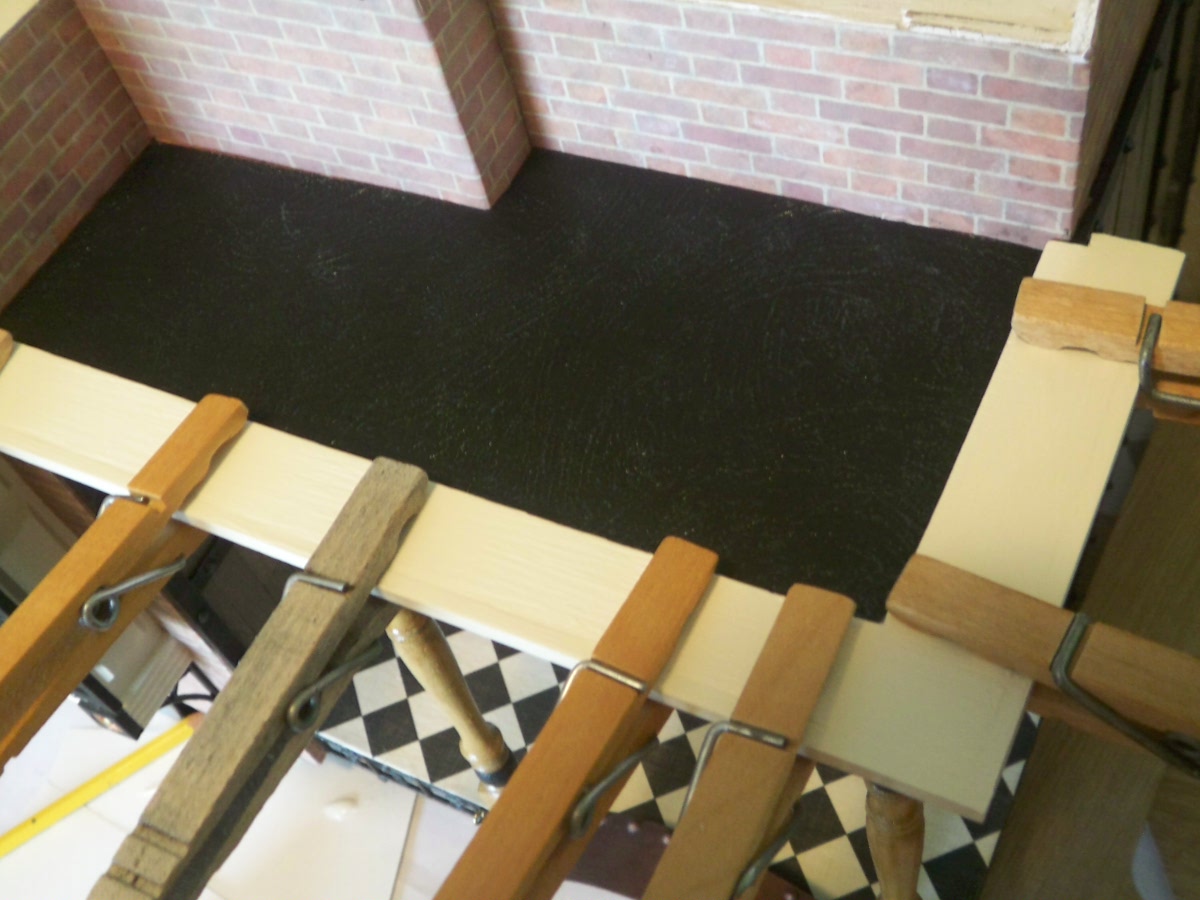
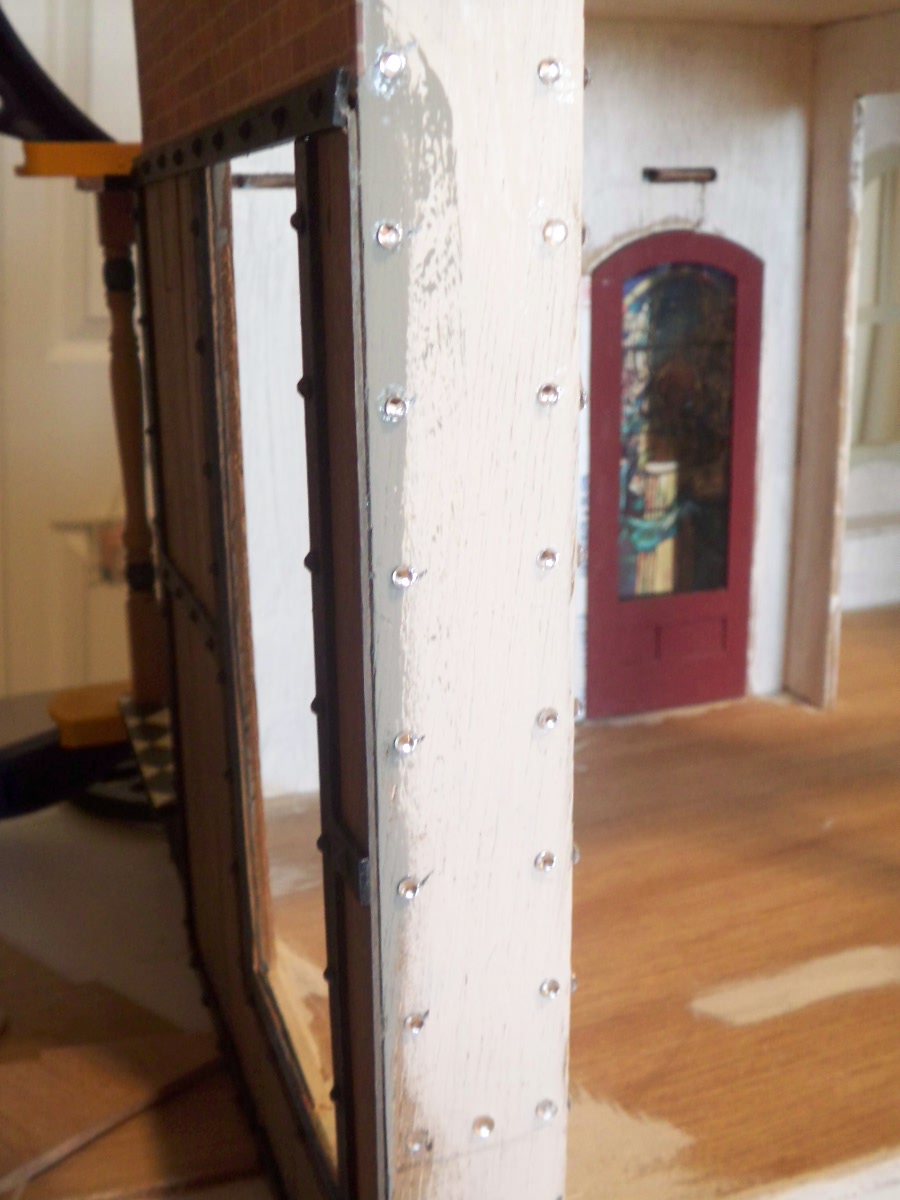
I knew it was time to quit, but I had another idea I wanted to start on the back of the house. I needed some, well, kind of alot, of rivets and wanted to use the smaller ones I had. It was kind of awkward trying to glue them on, so I had the house in my lap. Well, these smaller ones are adhesive backed and they were stuck to my fingers, stuck under my fingernails and stuck to the tweezers! Everywhere but where I wanted them! Of course I had a rapt audience and I swear one of the minions was selling popcorn as I was being quite entertaining! LOL! I managed to unstick them only to find that I had knocked out one of the porch posts and knocked the fender loose. Got those fixed again and finally got all of the rivets where they were supposed to be and now have to wait for glue to dry.  When things get tough, the tough get going...out of the room and on to something else! LOL! Have a great day all!
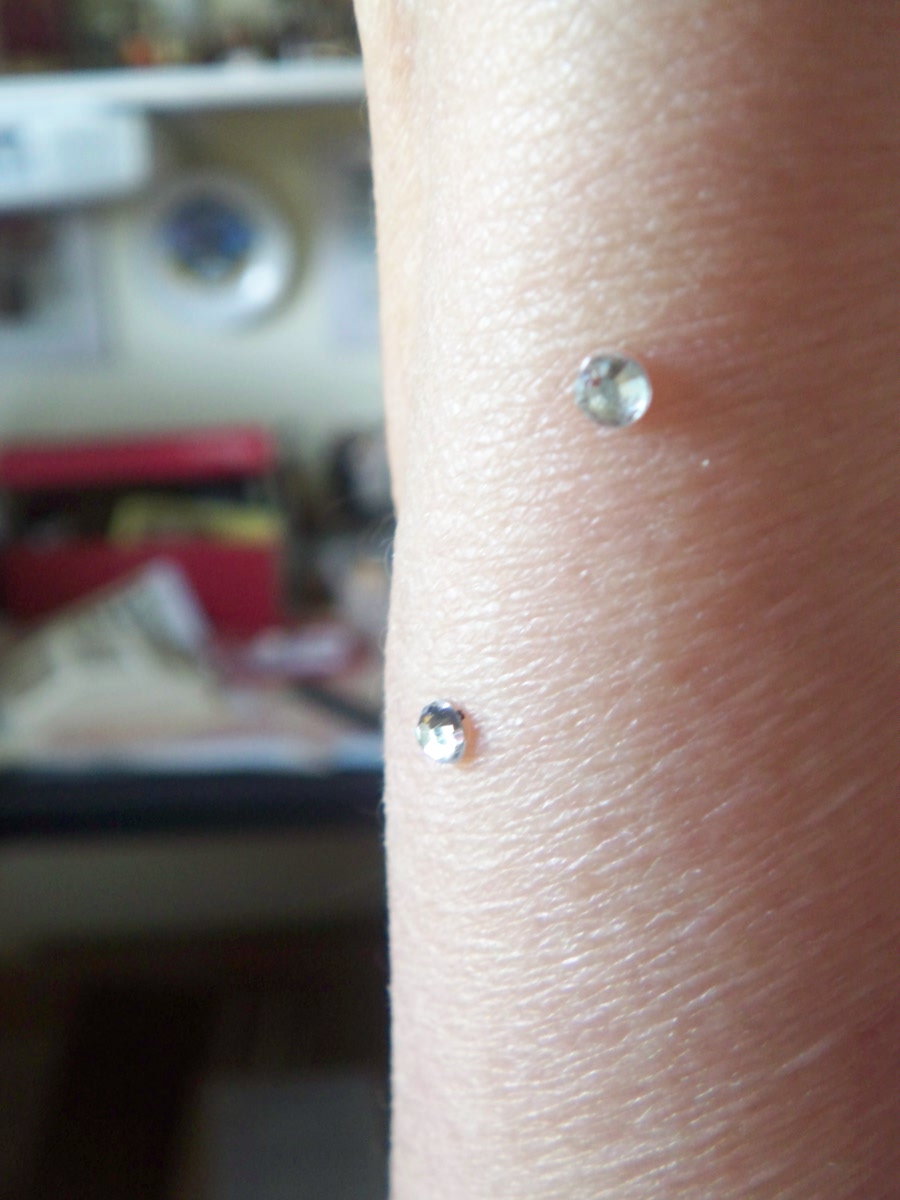
Had to add a PS to all this craziness....I was washing my hands and in the mirror saw two more of the adhesive backed rivets stuck to my arm:Then when I took off my flip flops, there was another one glued to my little toe! I guess I'm just stuck on this hobby! LOL!
Friday, August 7, 2015

Finishing the Balcony


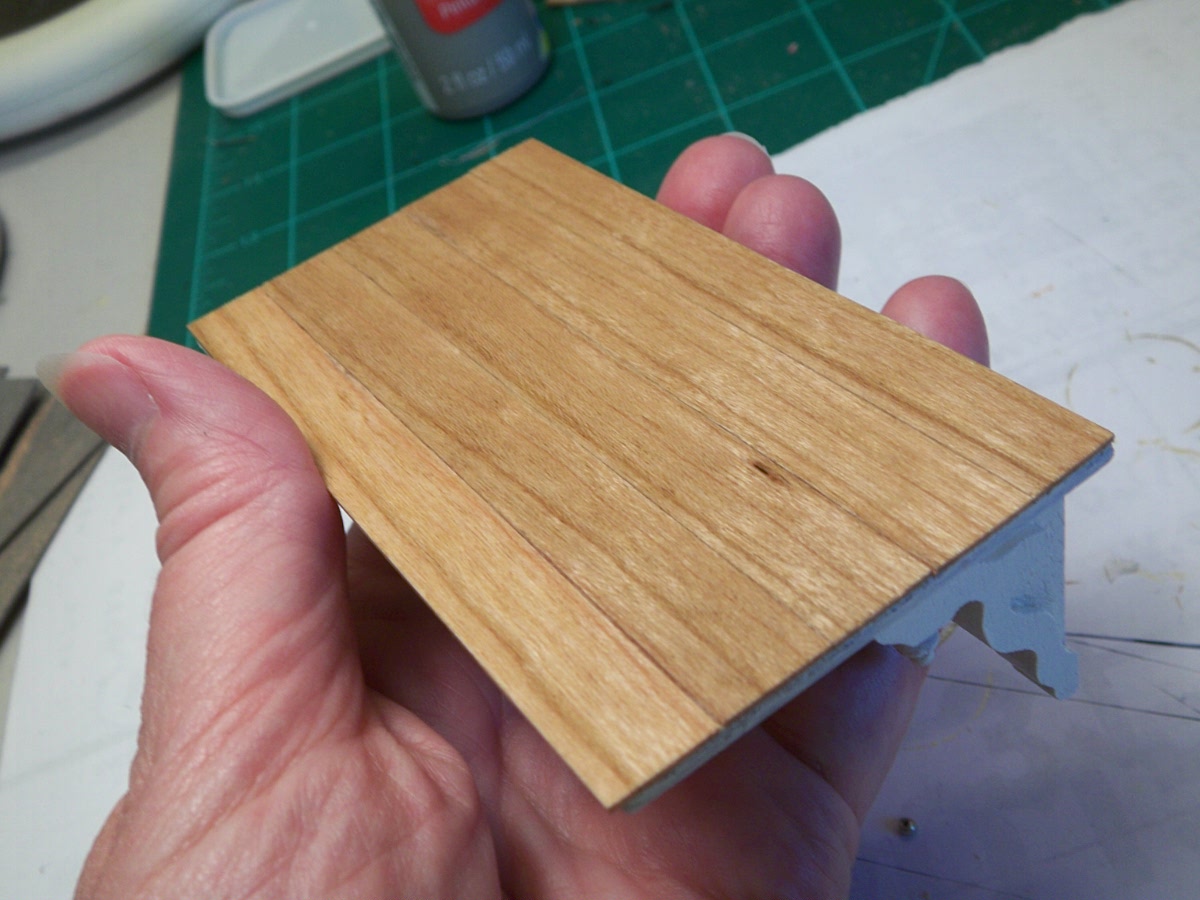
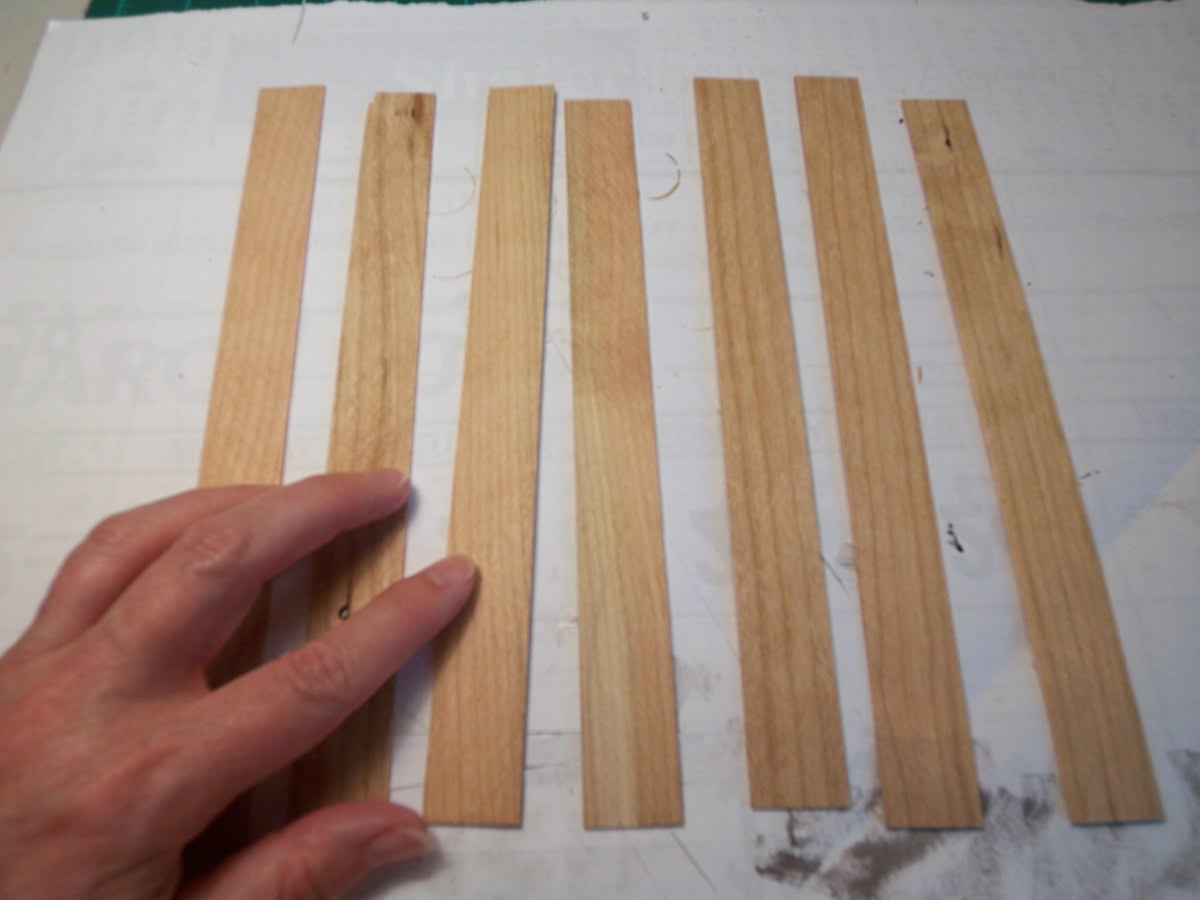
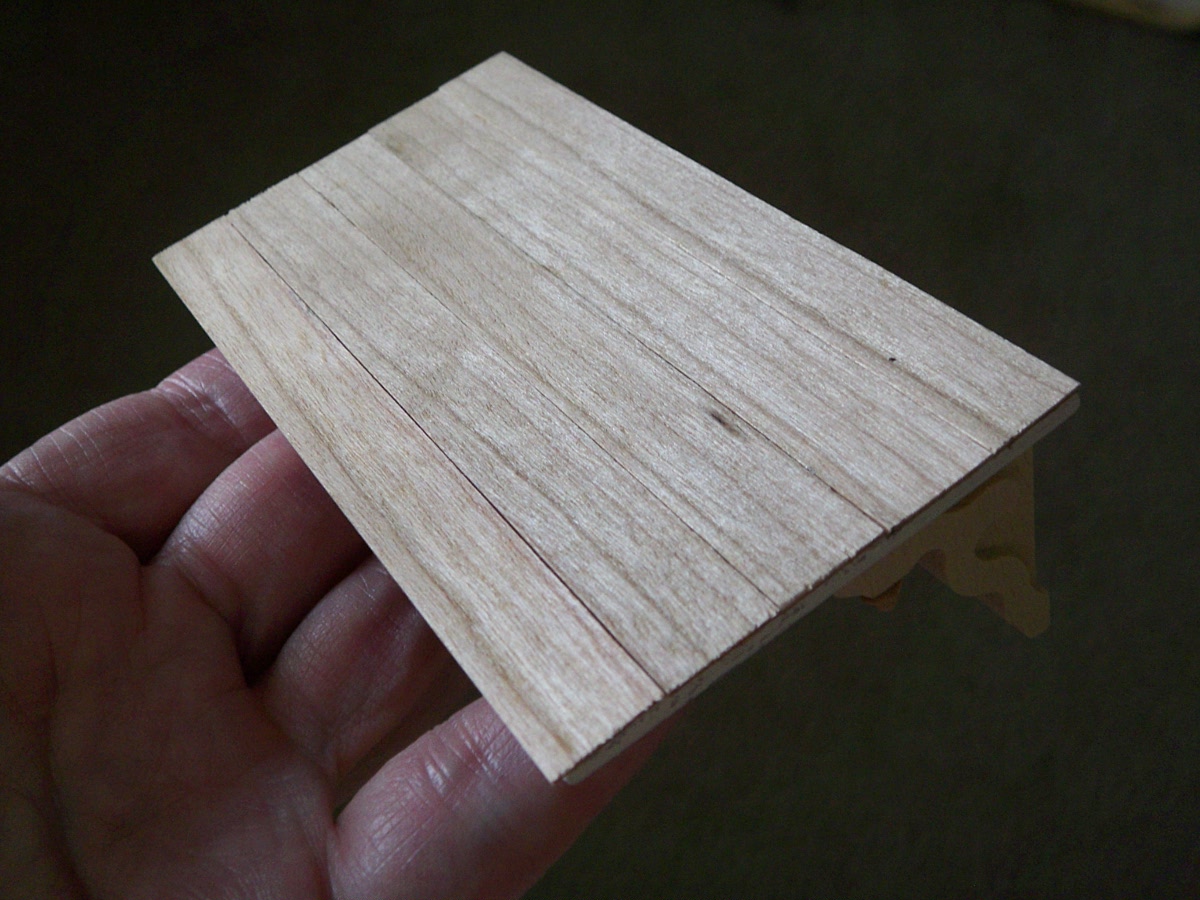
Well, ever since the Captain got back from his honeymoon, he has made himself project manager of this whole undertaking. He's started to make lists and I receive my assignment each day. He's a tough taskmaster for sure! LOL! Today's job was to finish up the balcony that I started a few posts ago. His instructions were very clear, he didn't want me to stain the cherry gray, he wanted it in a natural finish. Who was going to maintain that each year to keep it from weathering......you guessed it! So my first step was to go through the thin cherry pieces that my DH had cut for me. A few pieces were smooth on one side, so I chose those for the flooring pieces. I had plenty and I think this is going to work quite well. 

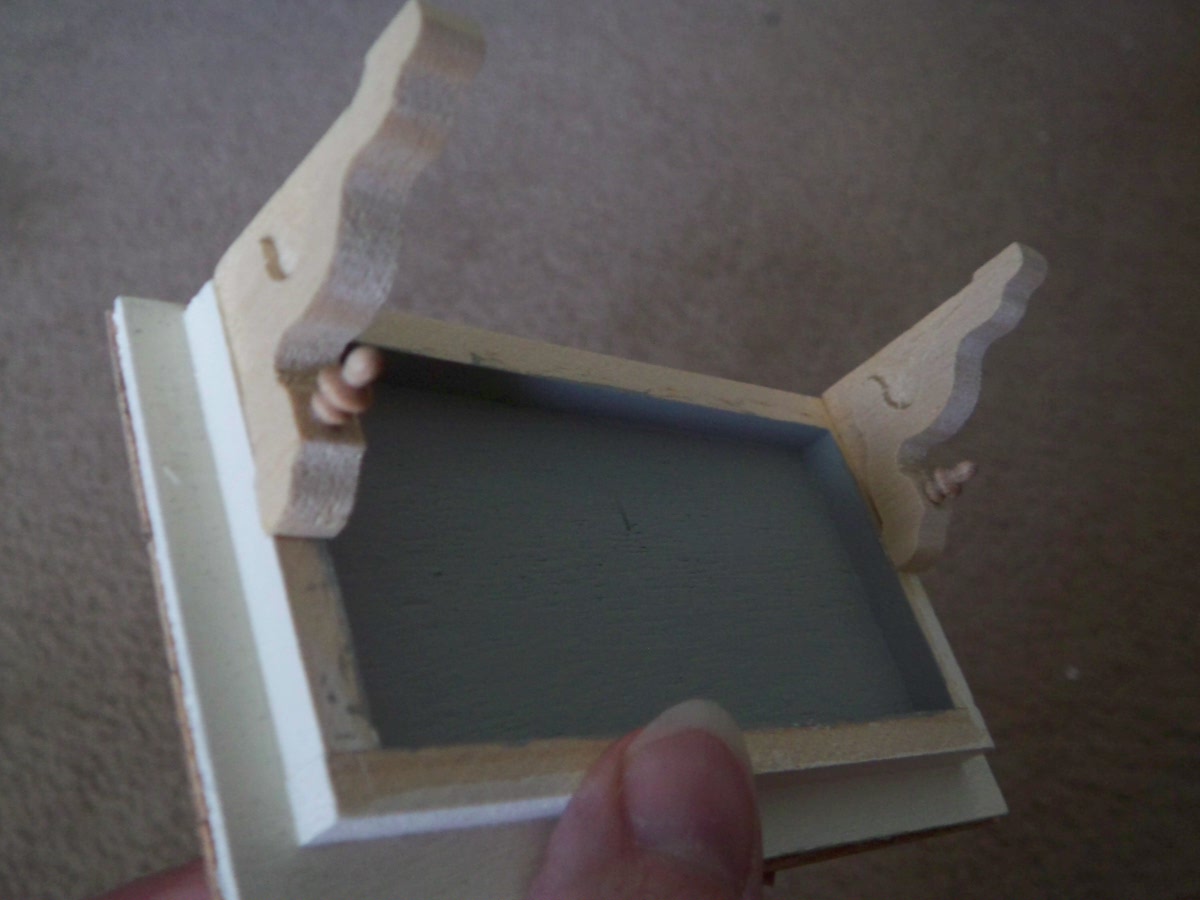
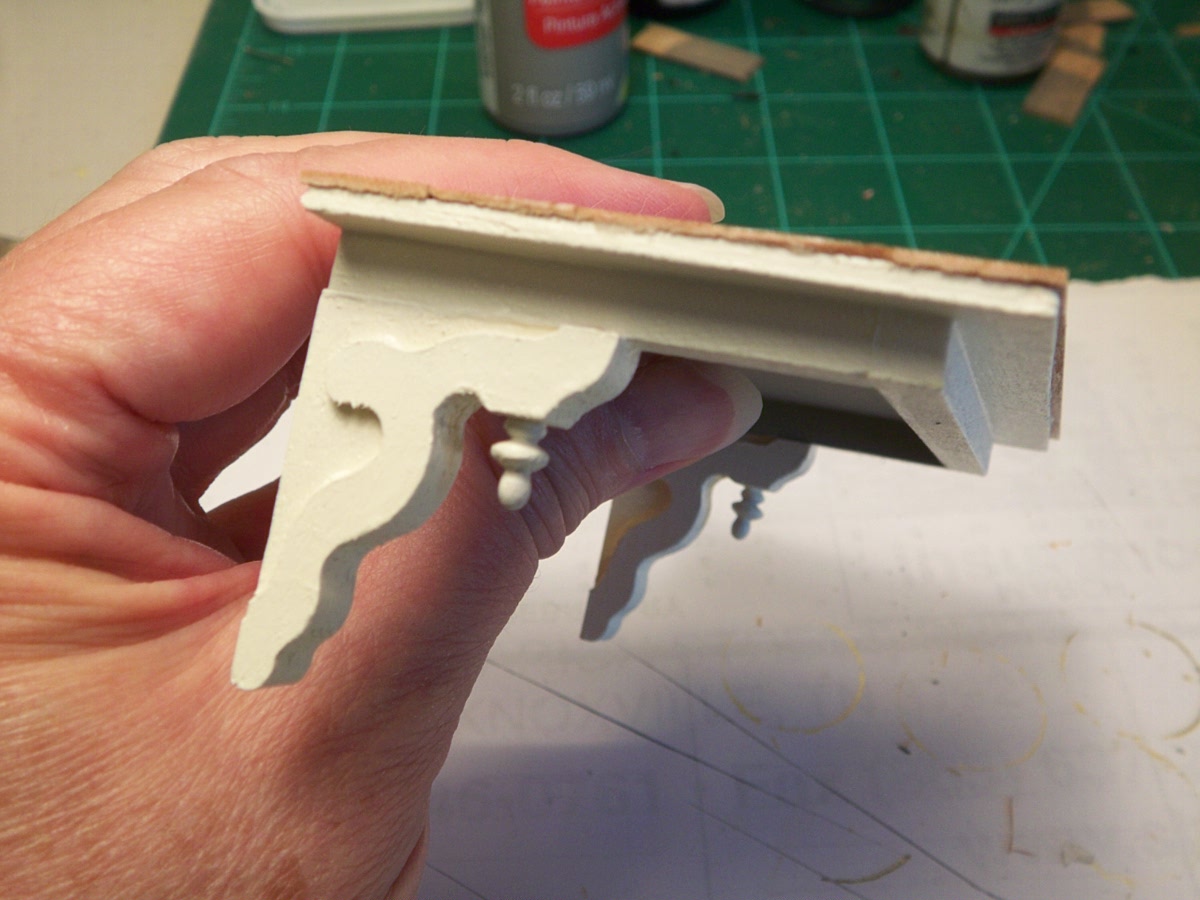
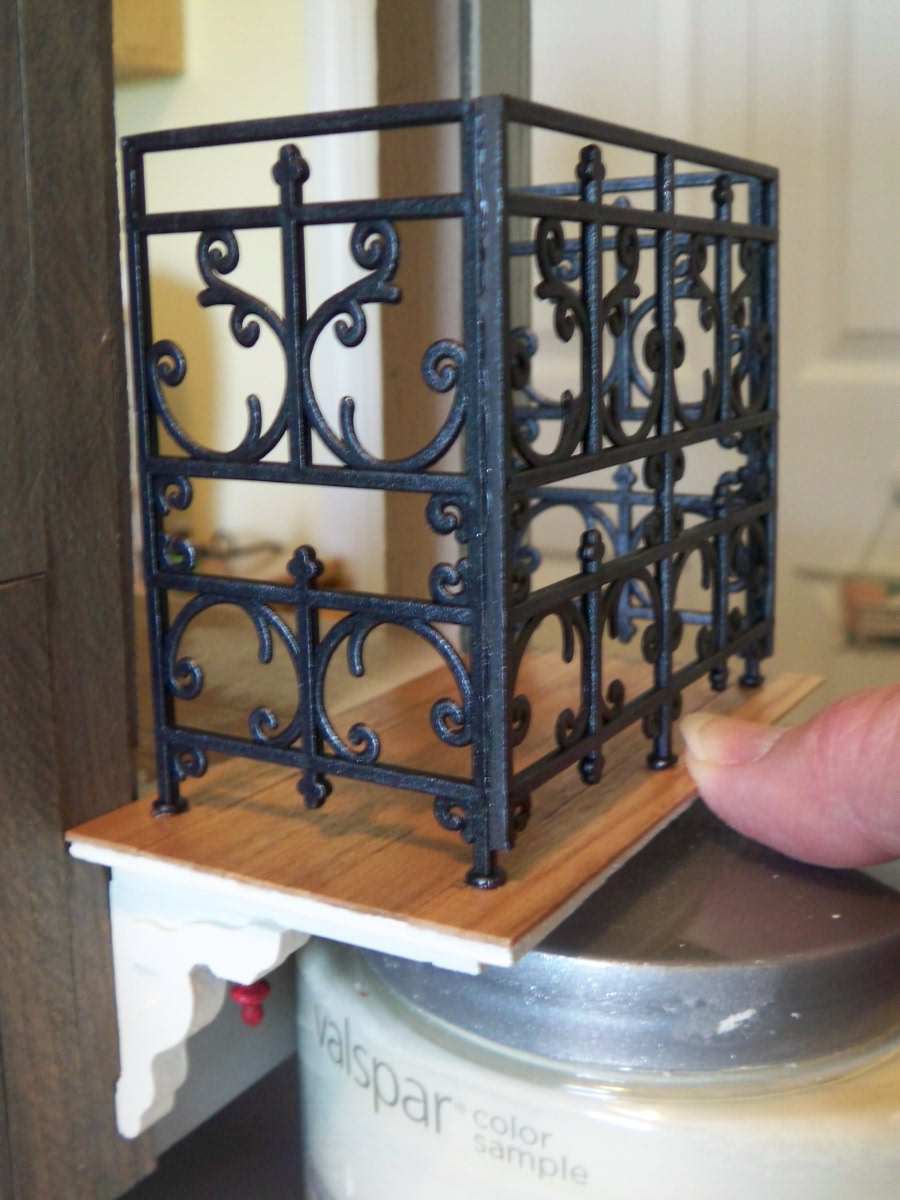
The Captain had approved of my choice of brackets to use under the balcony so I breathed a sigh of relief on that one. I painted the underside gray for no particular reason and glued the unfinished brackets in place.  I should have painted them first as it was a little difficult to get to some parts of the brackets. The Captain had this "I told you so" look on his face, but I just ignored him.  Once the paint was dry, I flipped it over and added a couple of coats of clear finish to the cherry floor. I have to admit, I liked how it came out.

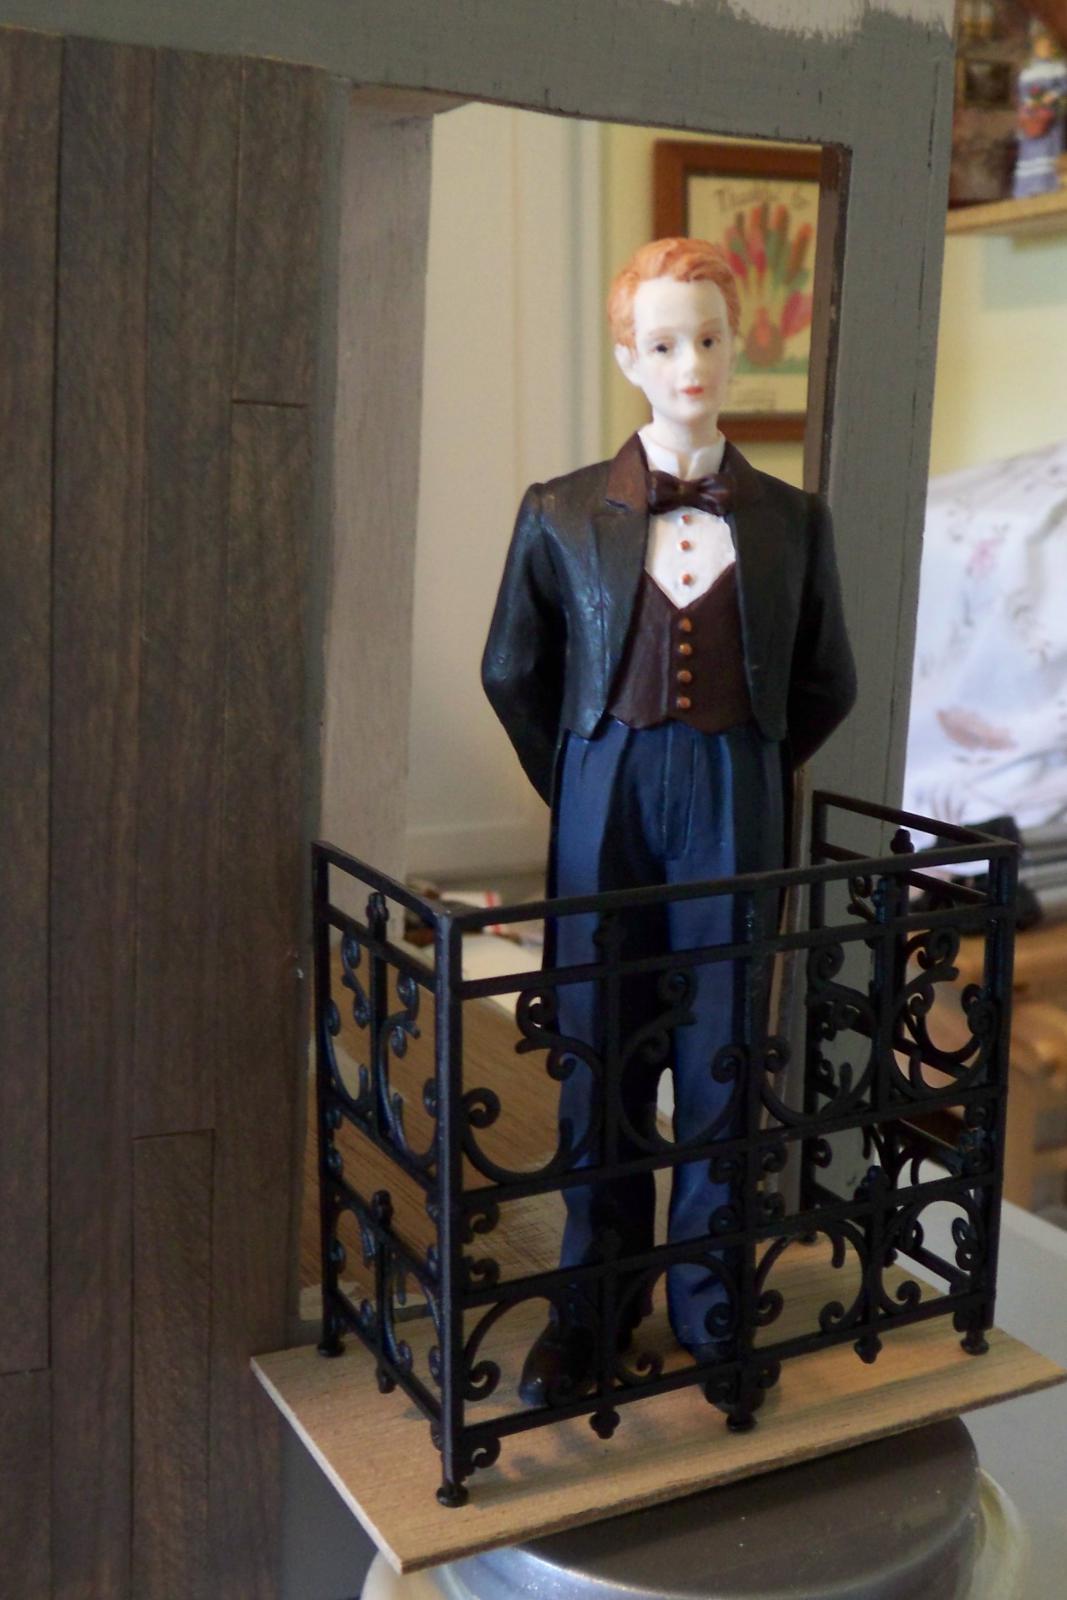
By this time, the Captain was looking at his watch wondering if I was going to fool around with this all day or was I going to get it done. The man has no patience whatsoever! It was a good thing I had already dry brushed the wrought iron, all I had to do was glue it down and it was done.....or so I thought. The last thing on the list was to add a "kiss of color"....so the paintbrush came back out and I took care of that too.  I'll be glad when I can attach all these accessories to the Summerhouse. I guess I'll have to get back to applying the wood siding tomorrow, it's not nearly as fun as building balconies, but is necessary. Have a great evening all!

News! News.


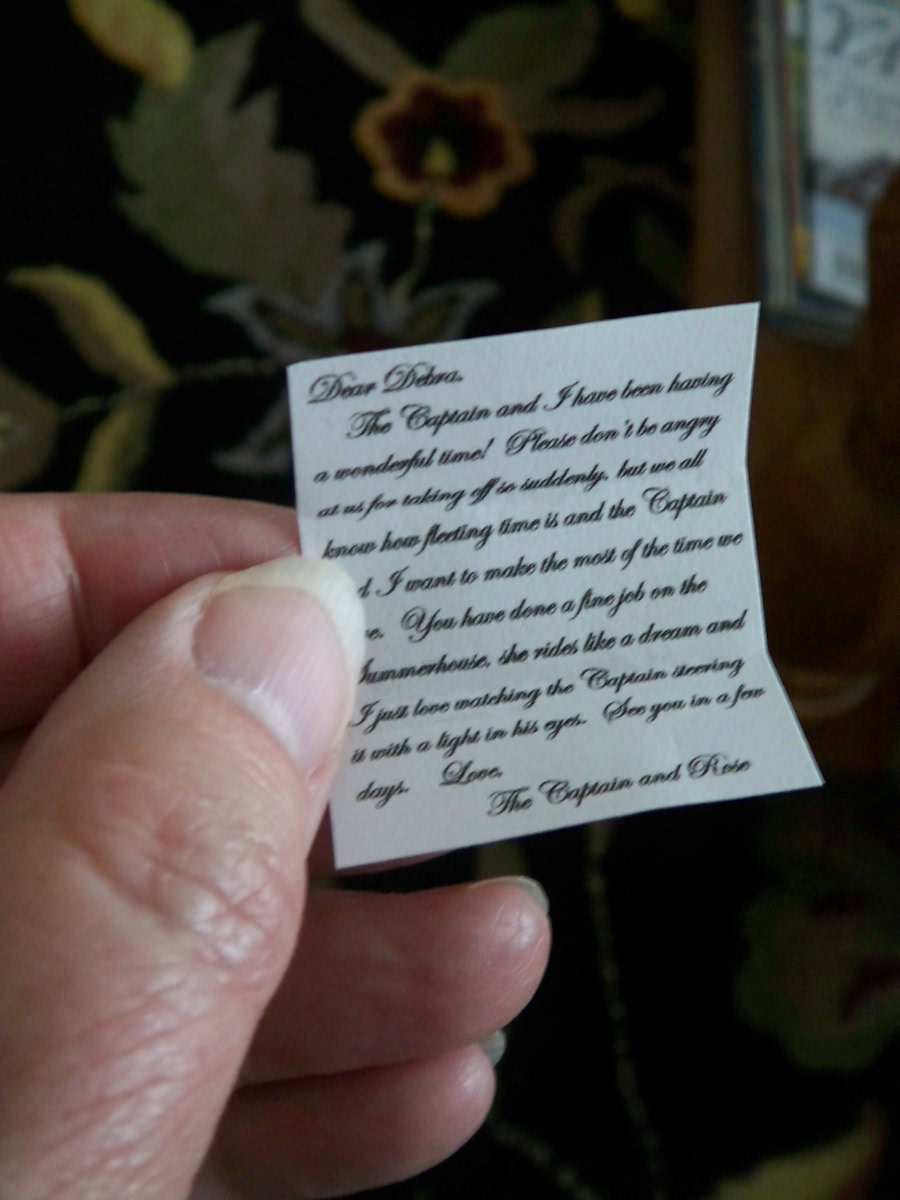
A letter has arrived special delivery! Sounds like the Captain and Rose are having a real good time and are enjoying tooling around in the Summerhouse. Wait 'til they see the steps I'm working on! While they were here, the Captain would pull her up with a little assistance by Reginald bringing up the rear so to speak. I think Rose just likes to make him blush. From now on, Rose can disembark in a more elegant way. Also, no more leaping into the Captain's arms to get down......that can't be good for his back.....

Not sure how much work will get done today, the laundry pile is again summoning me.....still puzzling away at the steps, not sure if they are glued to the pins or have to move freely but I will figure it out! Have a great day al!

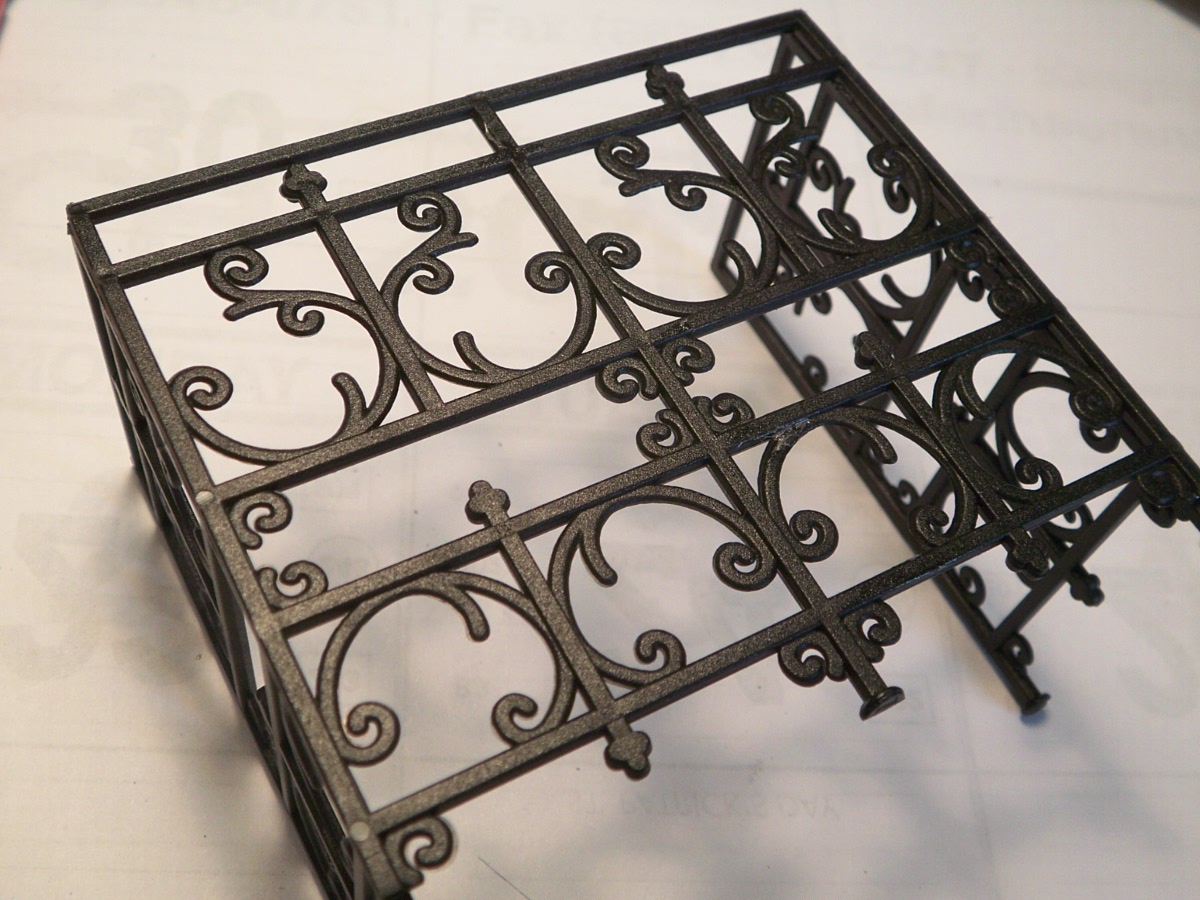
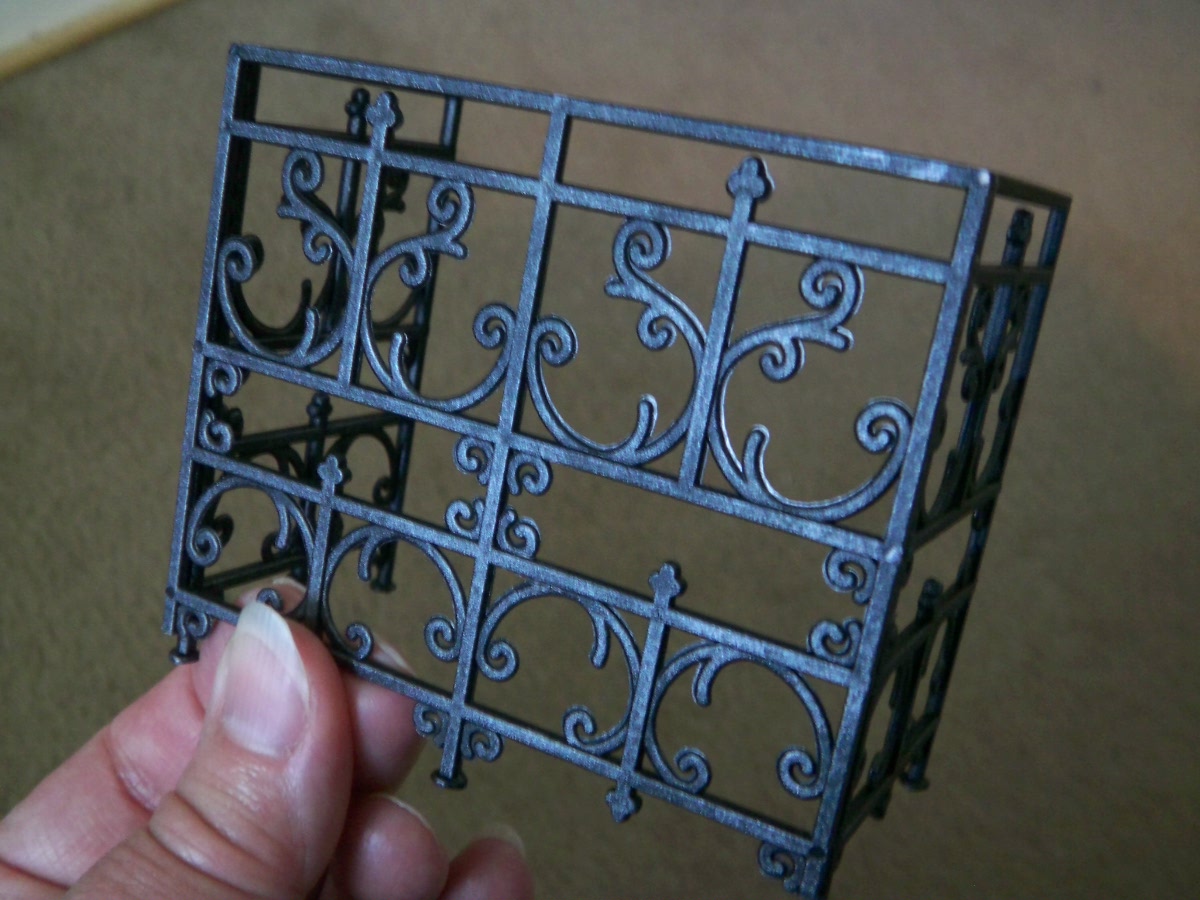
P.S. Grabbed a couple of minutes away from the laundry pile to dry brush the railing for the back balcony. I think all the iron on the Summerhouse will be done this way. I like it! Here are before and after pics, subtle but I like how it looks less "plasticy".
 
P.S. again...When DH saw the balcony all dry brushed, he said it looked more "metaly". LOL! We must be married!

Tipsy Captain and Back Porches


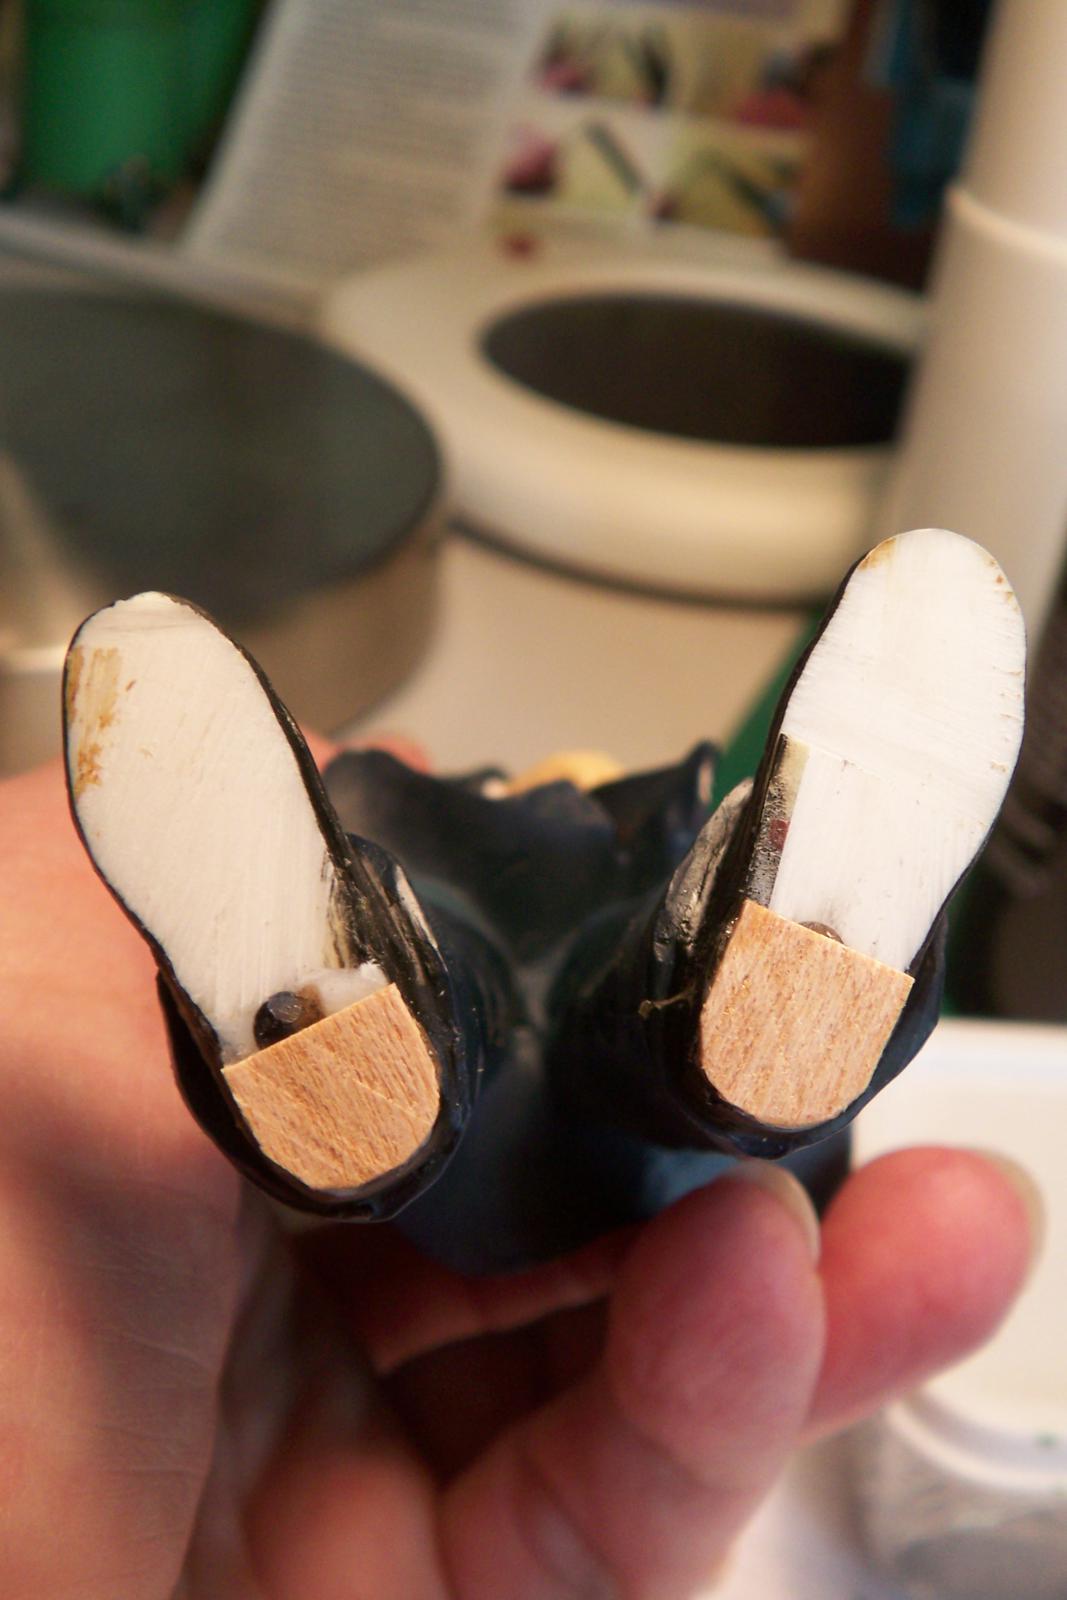
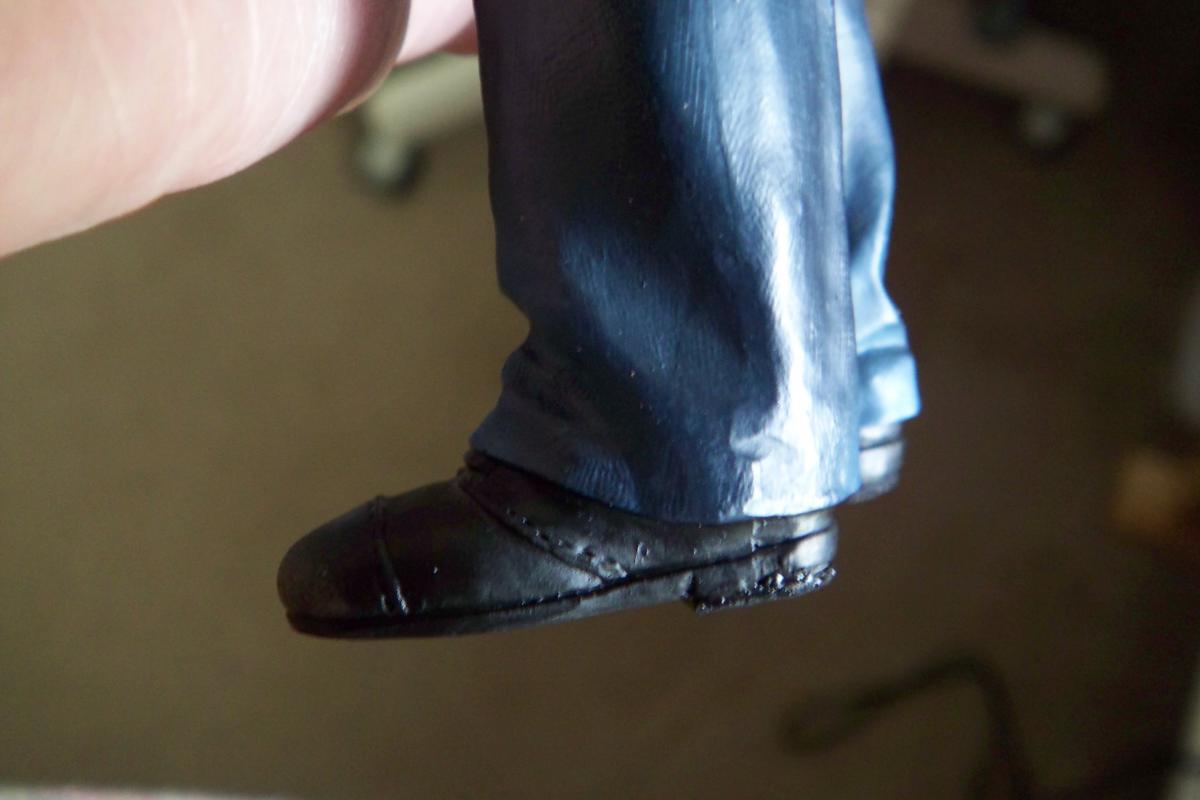
The Captain took another header yesterday but didn't lose his head this time! Decided it was time to correct the situation. I took a look at the bottom of his shoes and he had worn his heels completely off. I might not be a cobbler, but I am pretty good with wood so looked through my stash and found some very thin pieces to work with. Traced around the heels of his shoes and cut out a couple of heels out of wood.  He is much more stable now and with a little black paint, he is as stylin' as ever.  The Captain is not about to lose his head again over Rose.....oh yes, that's the ladie's name! He's going around humming "Wild Irish Rose" now with a bit of a blush to his cheek. It's nice to see him happy again.

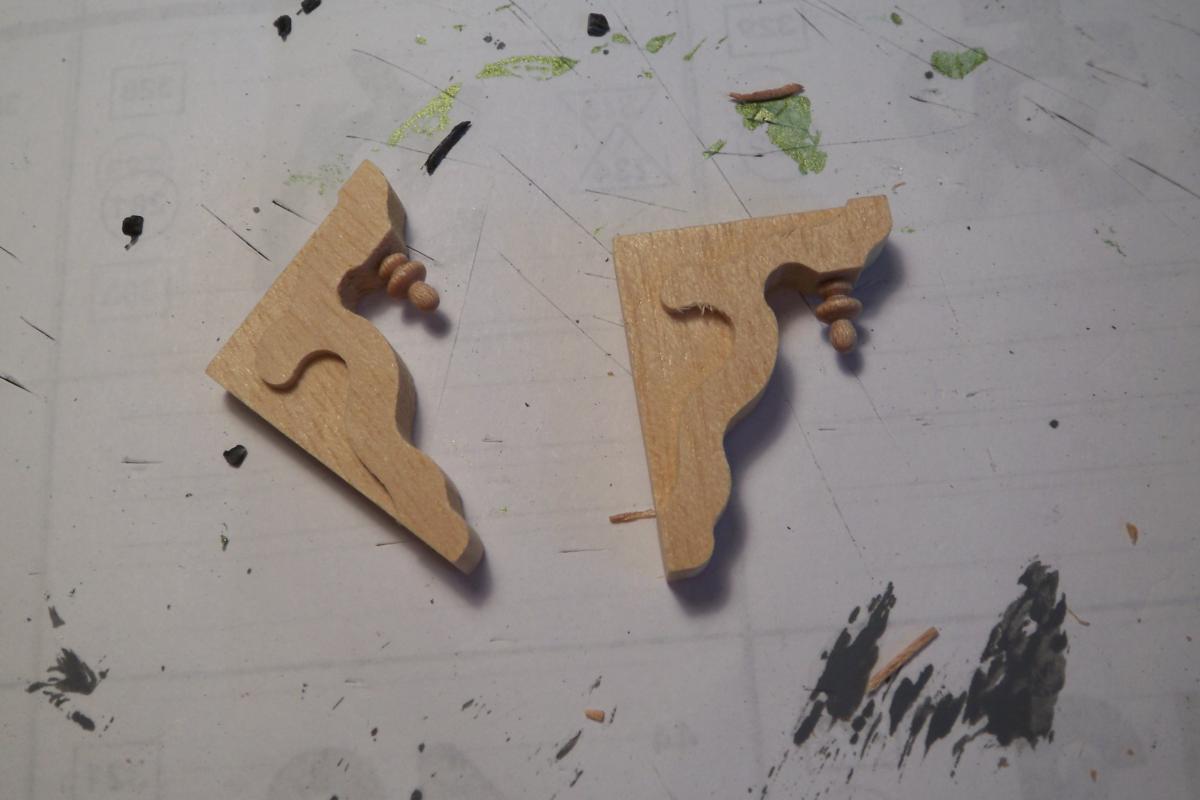
The Summerhouse is on it's way to having a balcony in the back. Went back and forth about whether to have a trap door with chains like the Neverwas Haul or a balcony with wrought iron. As you can see, the wrought iron won out! It's made from scrap wood and I want to put more of the gray siding down on it for floorboards. The railing was made with plastic wrought iron and my trusty little wire cutters. I cleaned up the cut areas with a craft knife and sandpaper and glued the side pieces on with E6000. I found that it sticks alot better when you let the pieces set for two minutes before sticking them together. Nothing like reading the instructions.........LOL! These are the brackets that will be supporting it underneath. So today I will be cutting more boards for the exterior and the floorboards then I can start on the metal strips with the rivets. It's another beautiful day in TN! Have a great day all!