Copper Roofs and Verdgris!
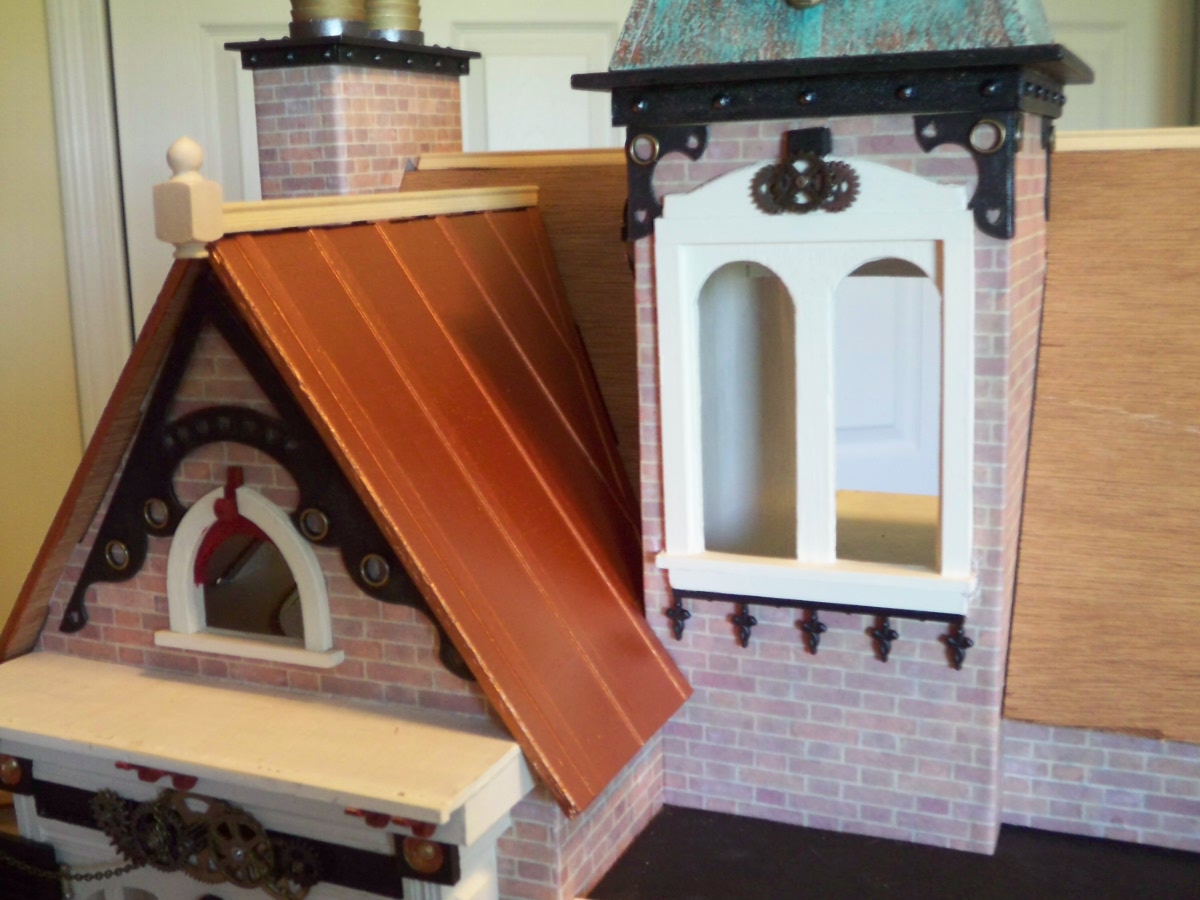
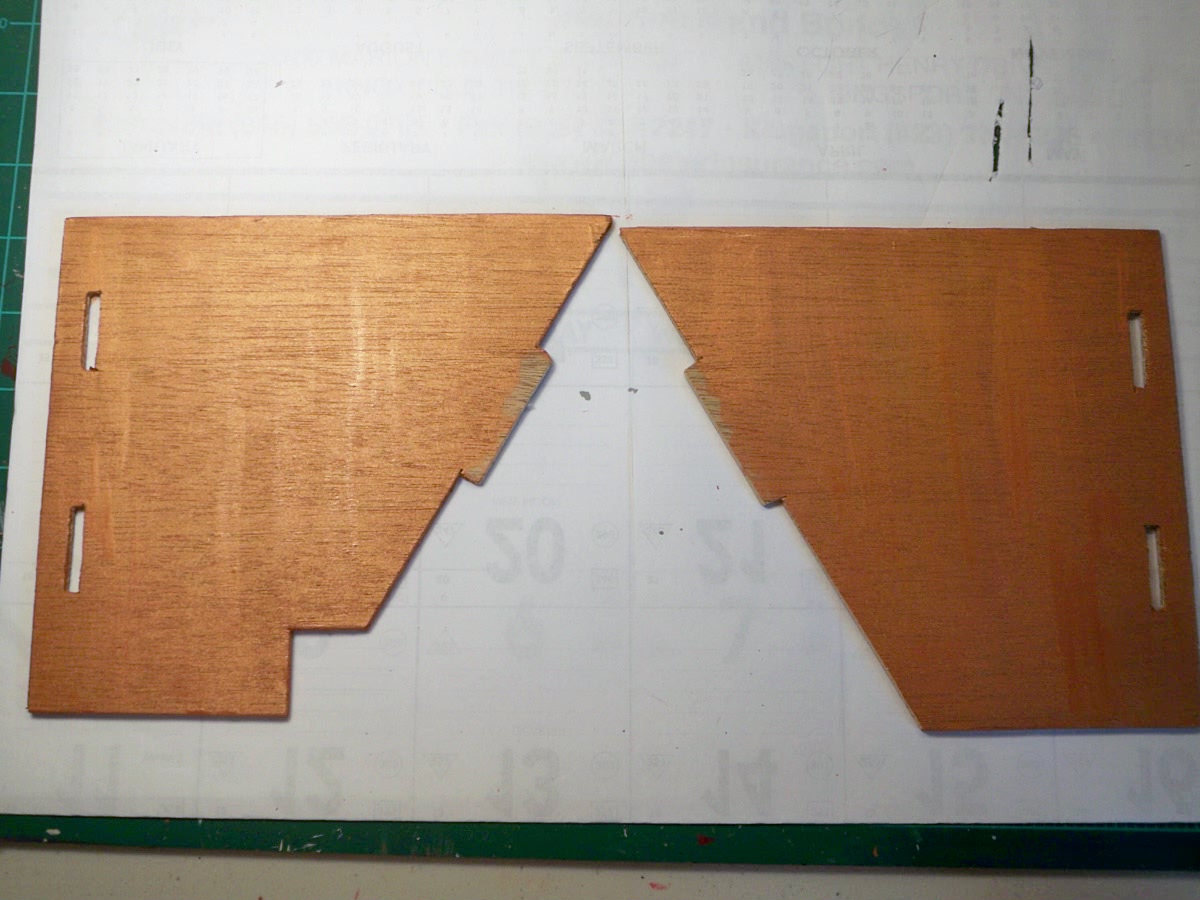
Now that I have moved everything from one blog to another, I can start on day to day things. I was slowly working on the Summerhouse so I wouldn't have alot to catch up on here. Here are the pieces of the main roof with the multiple coats of the Bronze:

You can still see alot of the wood grain, but I'm hoping that the verdigris treatment will hide that. It does look pretty on the roof this way though! LOL!

But enough fooling around and back to business. Dug out my sea sponge and dampened it and started the verdigris. After the first couple of layers, it was beginning to look the way I wanted. In the process, I noticed that it was impossible to get the sponge to paint close enough to the edges of the seams on the roof.
After thinking about this for a bit, I grabbed one of my small paintbrushes and proceeded to paint close to the seams and then blend the paint with my finger and a paper towel. So far, so good!
The next to last step involved using the Craftsmart Ocean Breeze which always makes me a little nervous because it's a bright turquoise color. I was really getting into the blending with the fingertips thing so things got kinda messy!
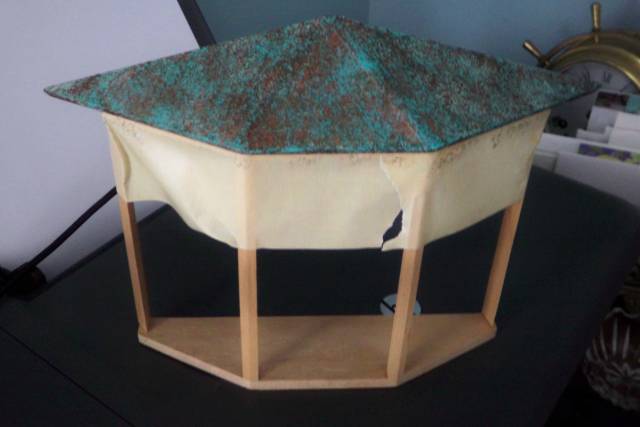
After the final step of a wash of thinned down white paint daubed off with a paper towel, this was the final result:
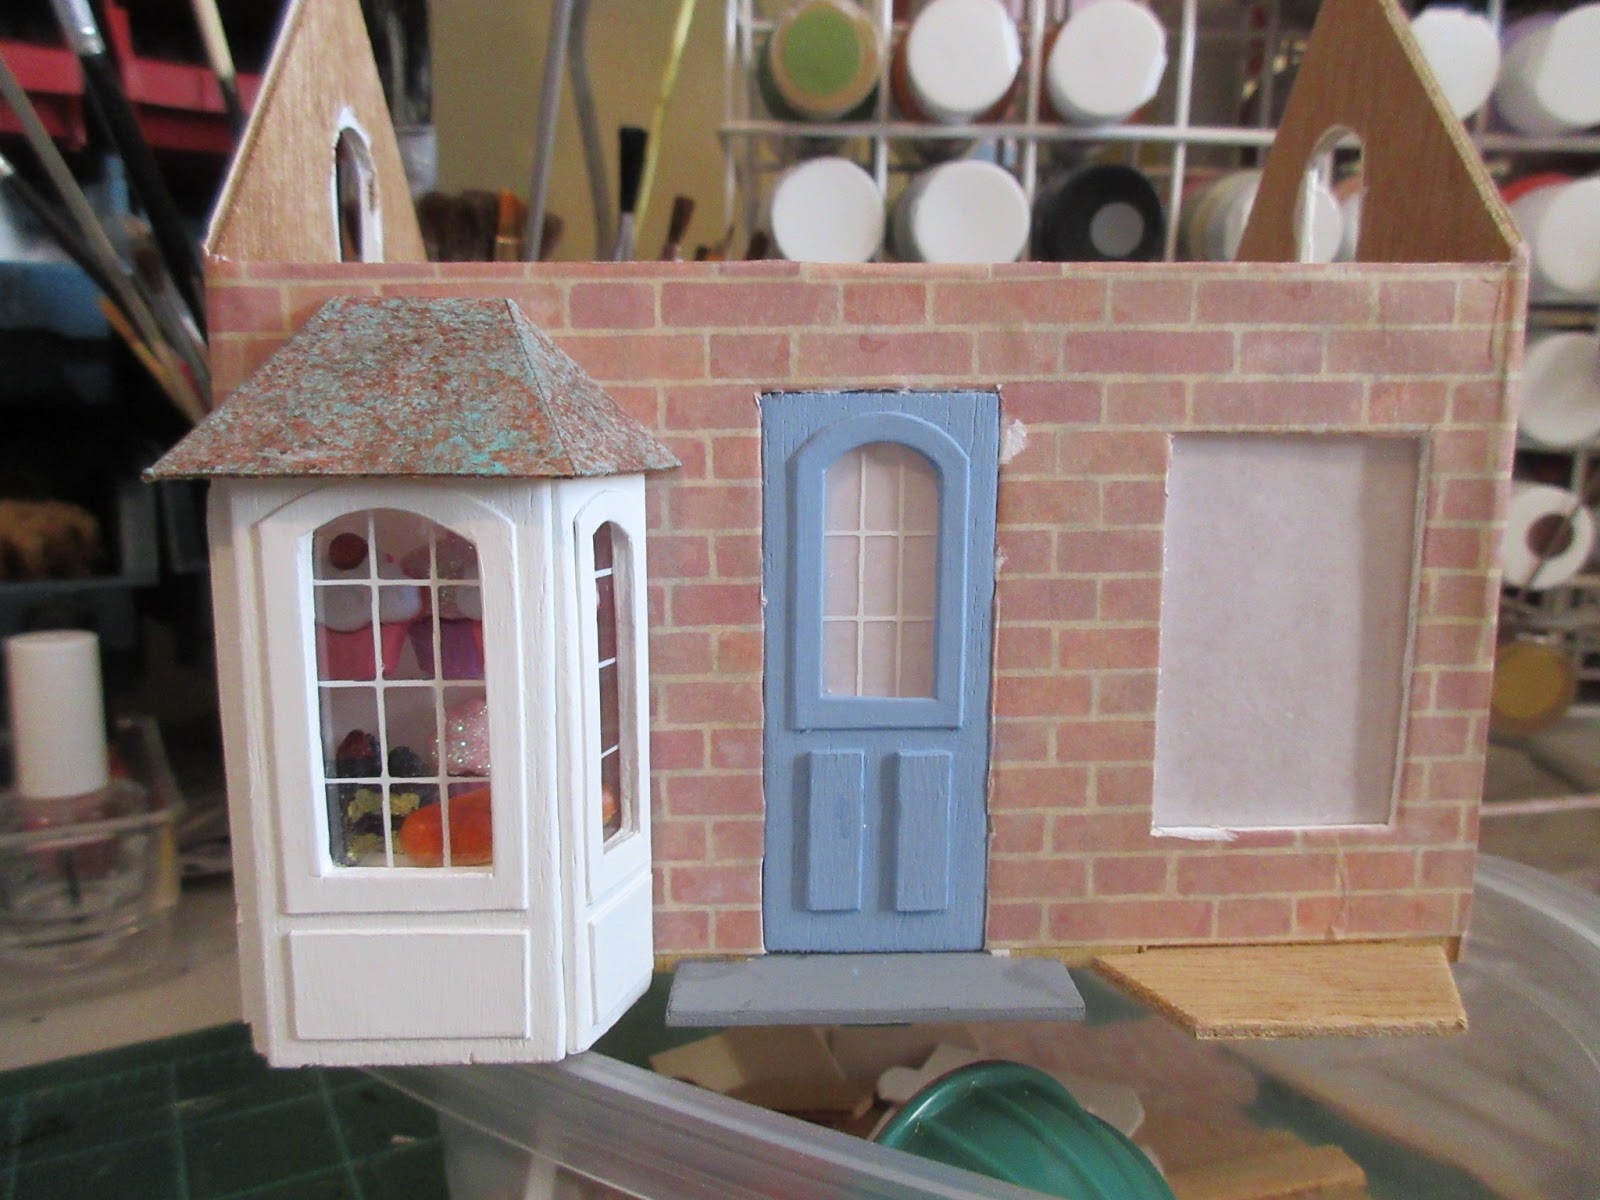
I would so like to glue this in place, but have to paint the underside first. However, I couldn't resist trying all the pieces in place.
After taking them all back off again, I painted the first coat of ceiling color on the inside.
This thin plywood sure inhales the paint for sure! But this coat is mostly for primer anyway...was standing here thinking about that and I do have to paint the bathroom ceiling so will have to make sure that's done before I glue because it will be next to impossible to reach everything without making a mess in general. Speaking of making a mess in general, I got help for some of the last bits!
I appreciated the break, as I was getting tired of all the painting. It was my turn to be the supervisor! LOL! Have a great day all!


 You can still see alot of the wood grain, but I'm hoping that the verdigris treatment will hide that. It does look pretty on the roof this way though! LOL!
  But enough fooling around and back to business. Dug out my sea sponge and dampened it and started the verdigris. After the first couple of layers, it was beginning to look the way I wanted. In the process, I noticed that it was impossible to get the sponge to paint close enough to the edges of the seams on the roof.


 I was puzzling about this when I decided to check out images online. So, on most of the roofs the seams lined up, but then there were some that didn't so I guess I am okay. I'm not sure how much the seams will show anyway after I do the verdigris work. Have to go finish some grass mowing, then I will be back.
 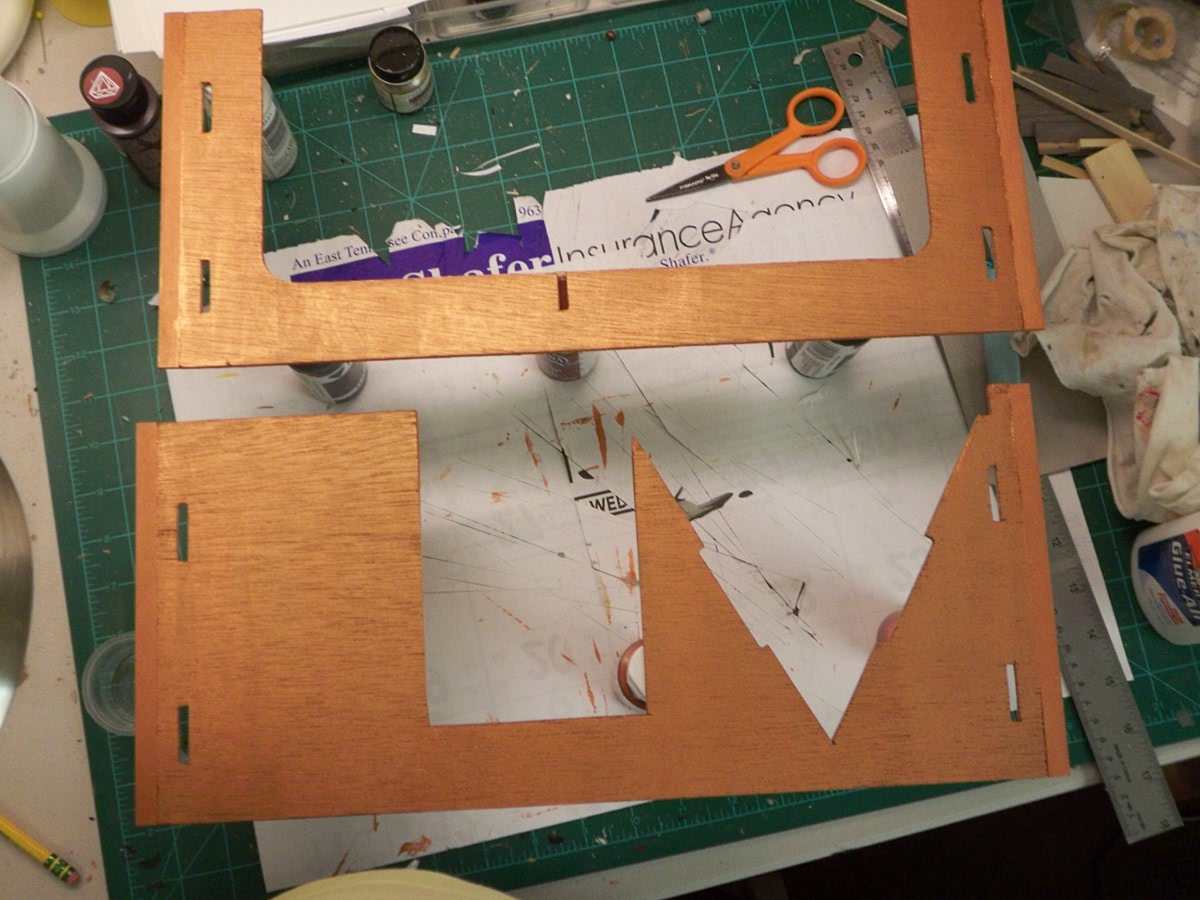 After a light sanding, I temporarily put them on the house to start laying out the seams.
 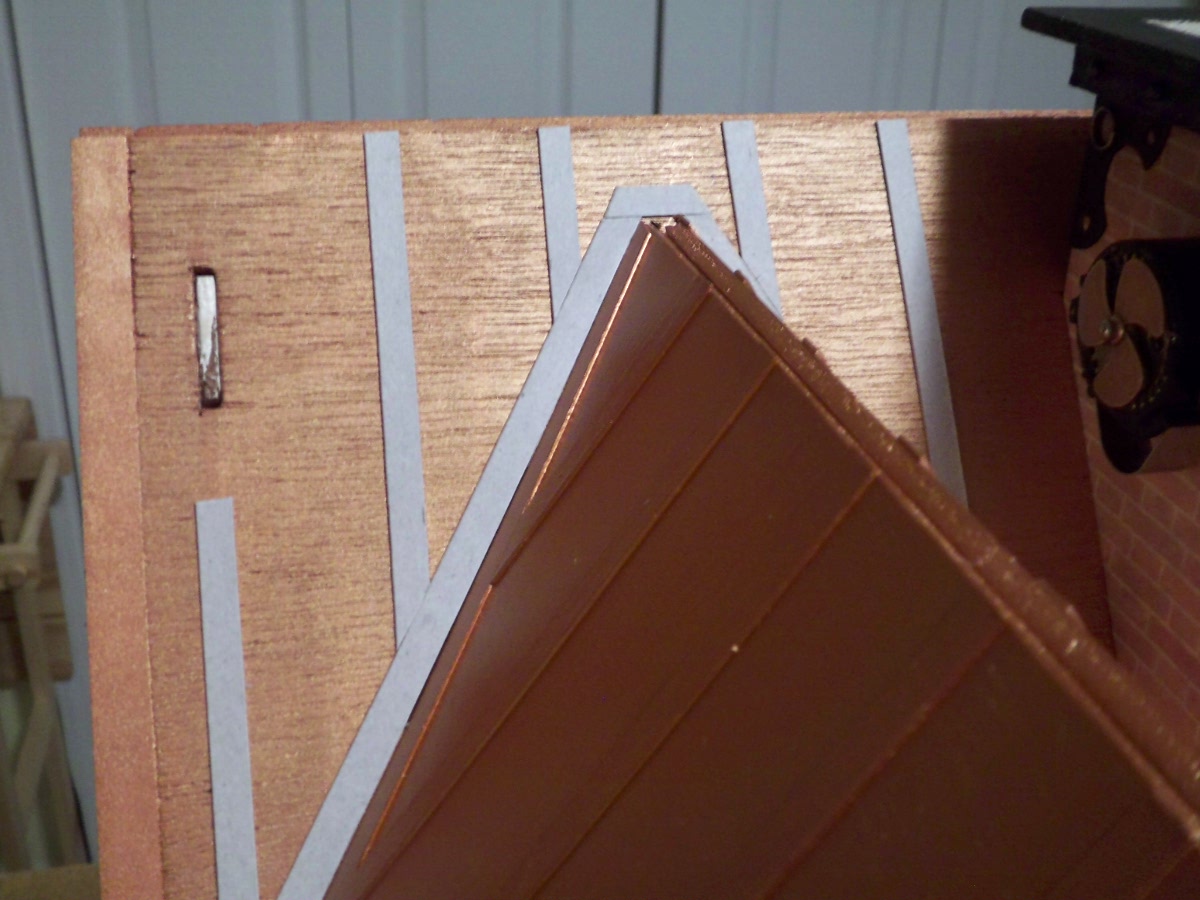 Here is the front roof piece with the seams almost complete.
 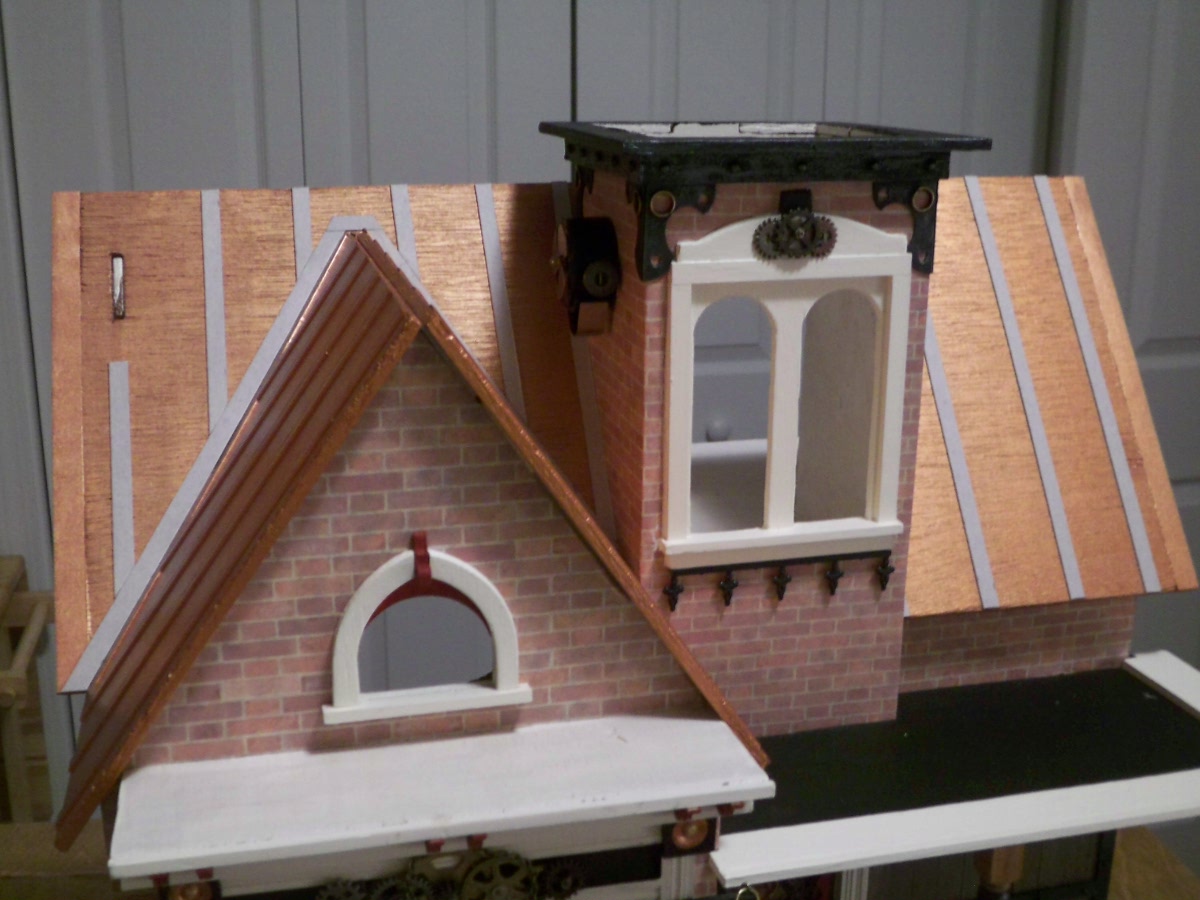 It's been a little tricky covering the tab slots and lining up the seams, but I figure life is full of imperfection, right? LOL!
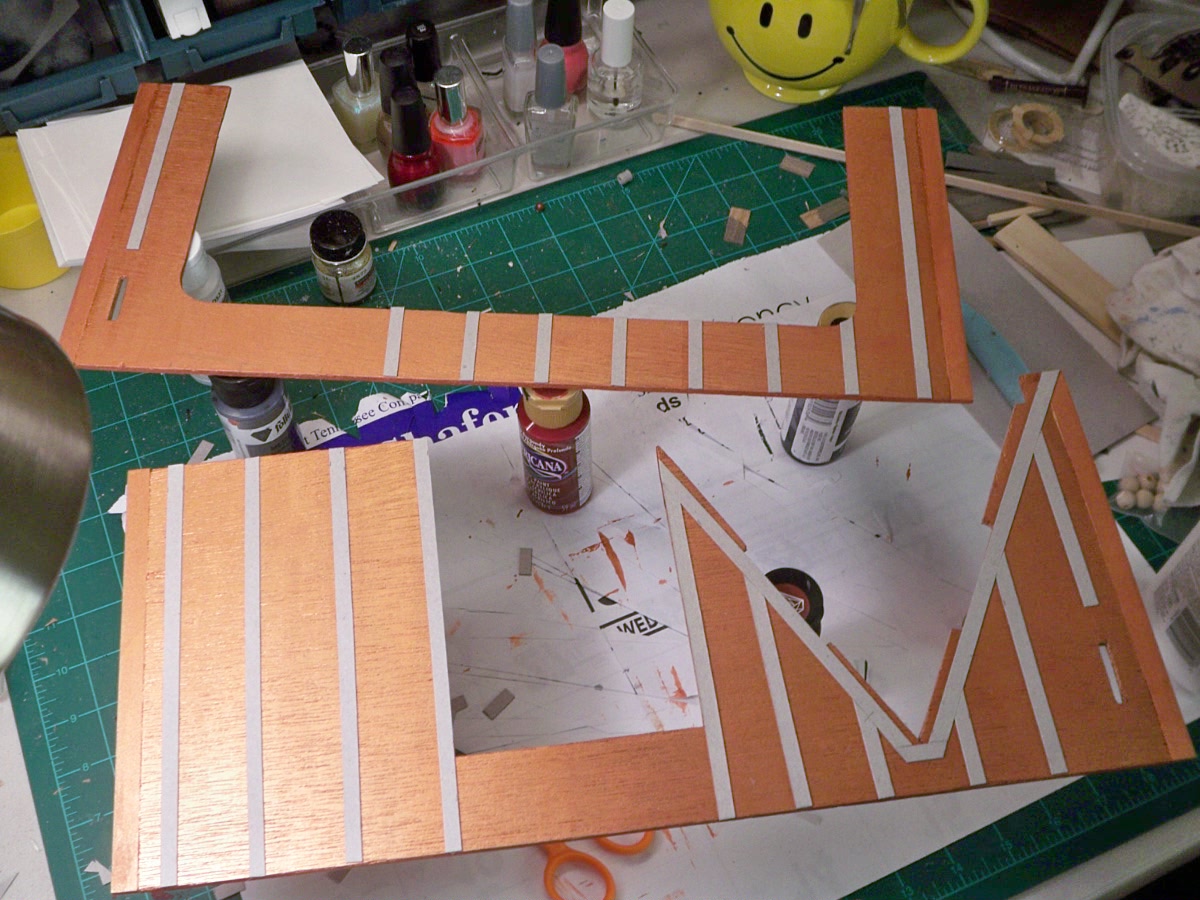 This still needs a piece here and there and then the painting can start! Have a great evening all!
 I thought I did a major oopsie for a minute as I was going to glue strips on the roof before painting. Then I realized without the strips, I'd be able to sand the first coat smooth. Serendipitous for sure! I cut 1/4 inch strips from thin cardboard and glued them down.
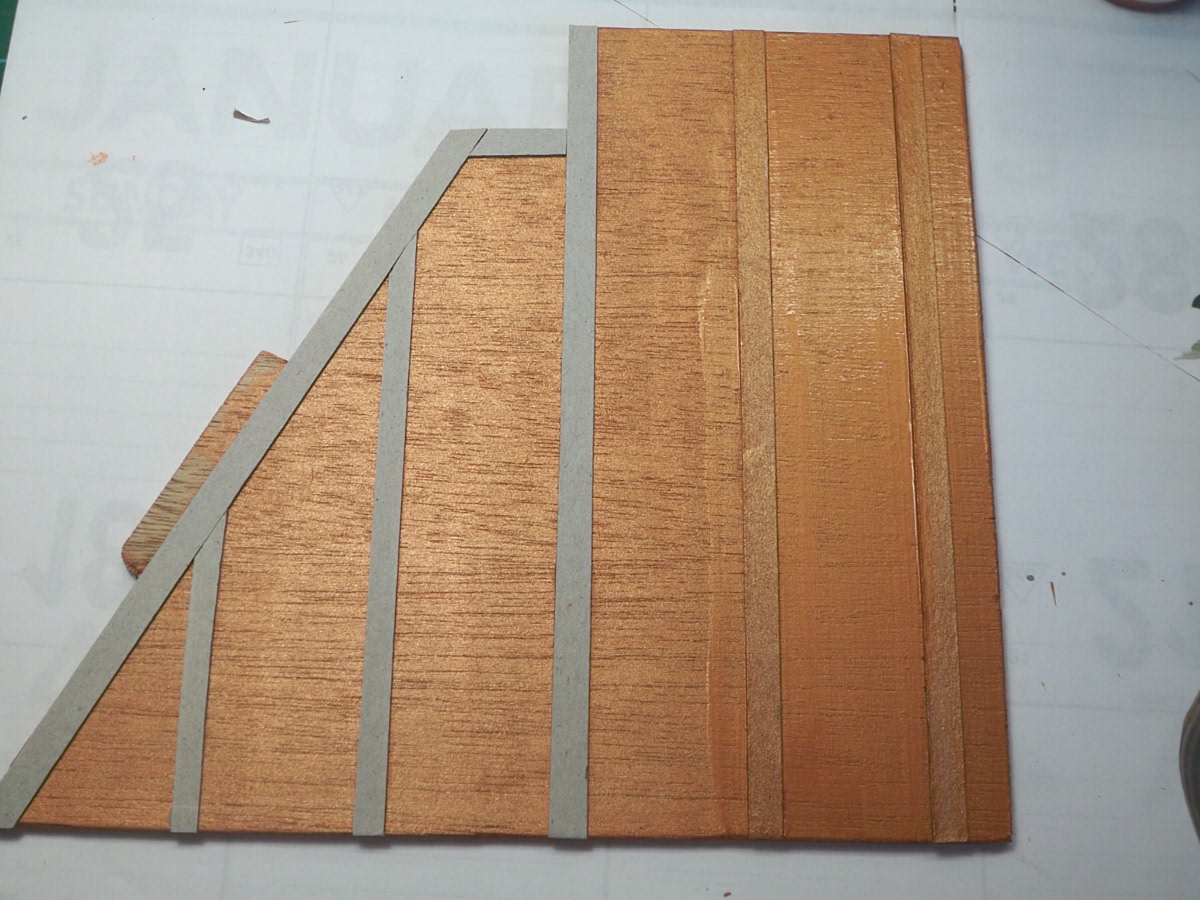 After a couple more coats of the Bronze, these pieces were set aside to dry overnight.
 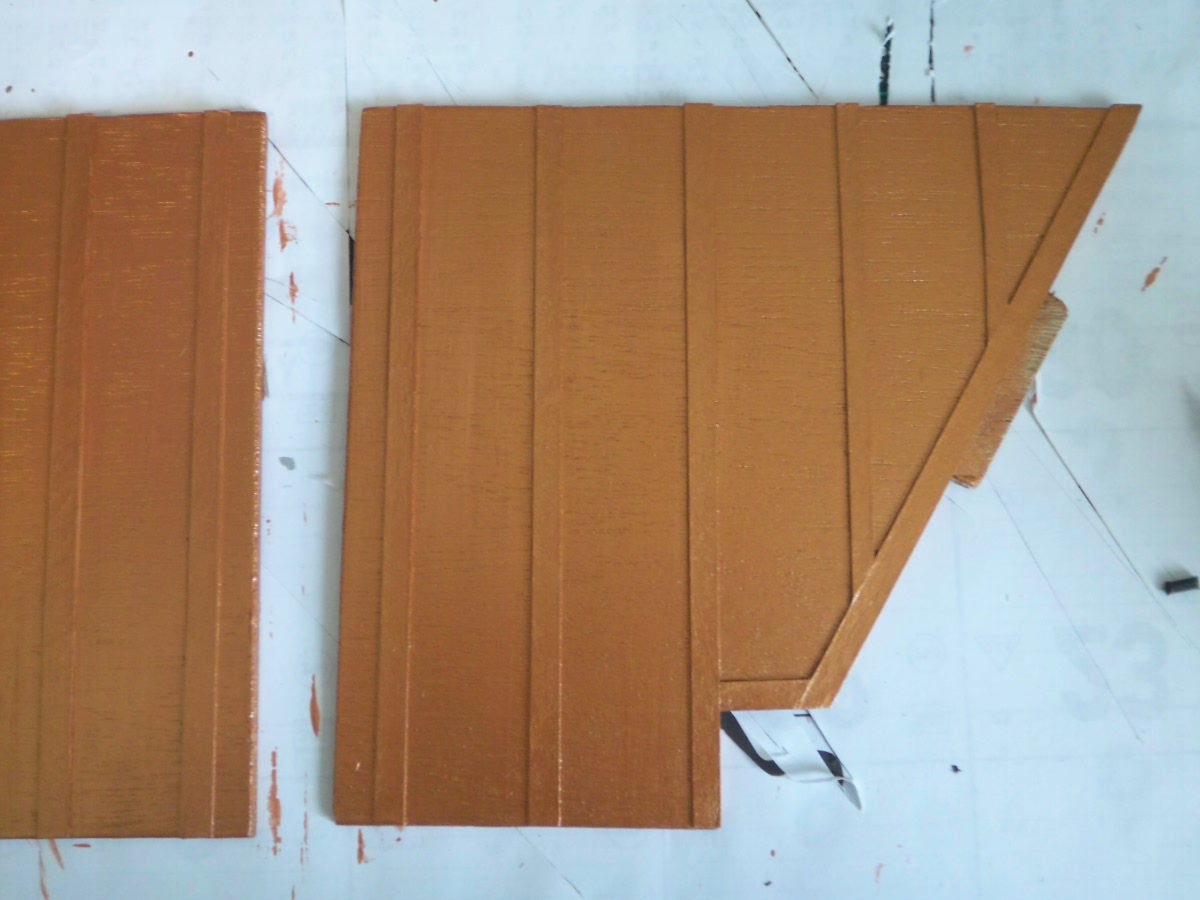 Really like how this is looking and found I can arrange the cardboard strips to hide any gaps here and there. I've been working on a ridge cap that I hope is not too over the top...just not sure how to paint it yet. Mulling this over.
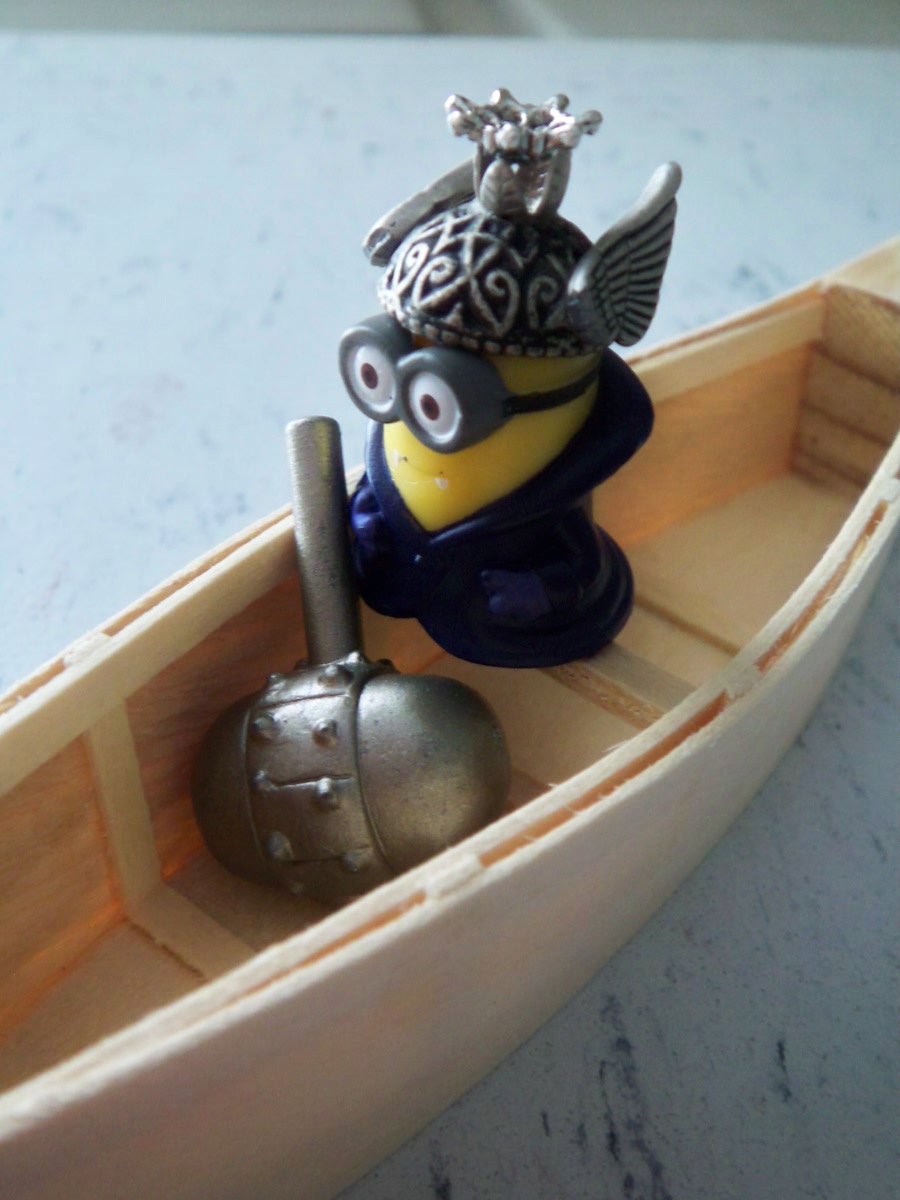 As you can imagine, it didn't take long before all this joy was noticed by the other minions. Before I knew it, they were all on board and singing Viking songs at the top of their lungs!
 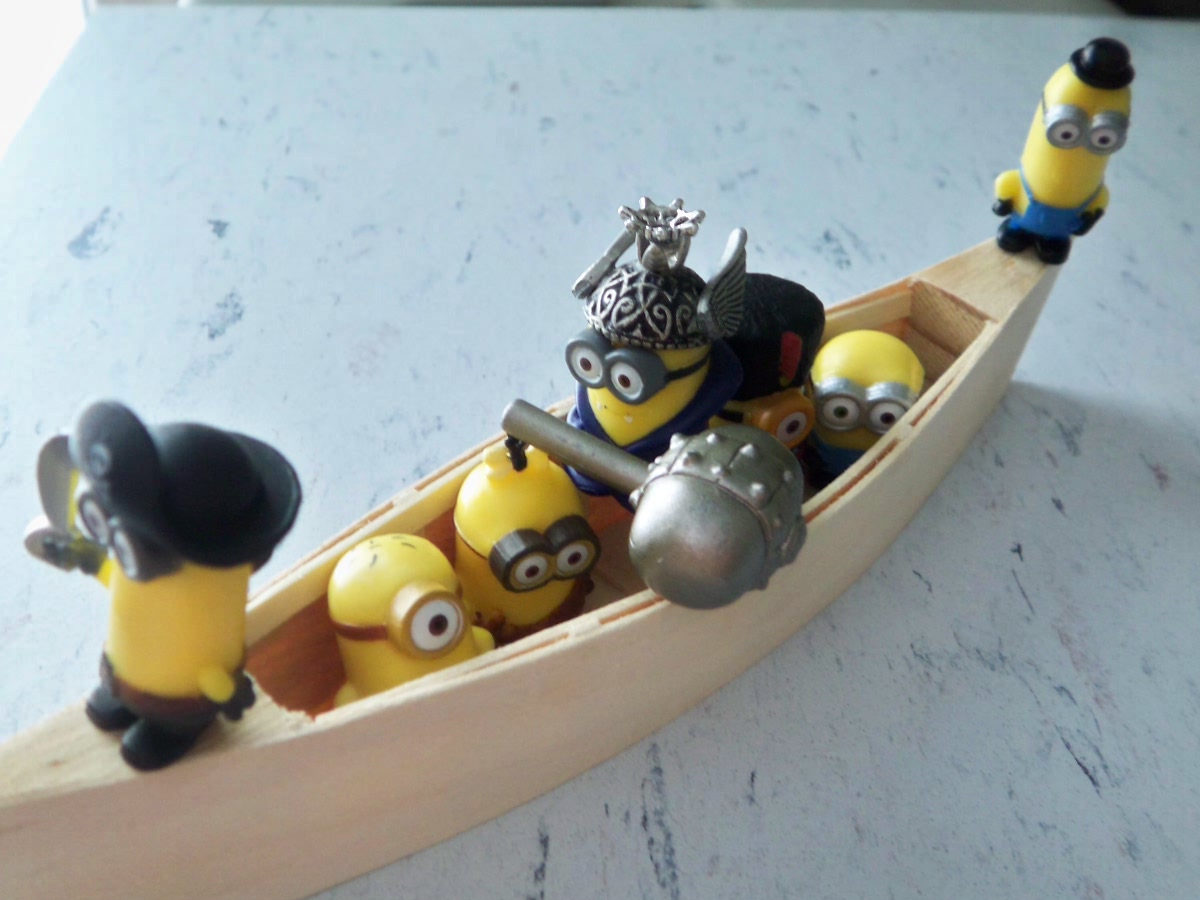 I think they were Viking songs.....although I did catch a "banana" somewhere in the song and when "underwear" came out, I thought they were all going to fall out of the boat they were laughing so hard. I don't know what it is with these guys and underwear....So we are a happy group all together in the shop for sure! Have a great day all!