Click on the pictures to make them larger

Friday, March 17, 2017

Topless Cabinets! Oo! La! La!

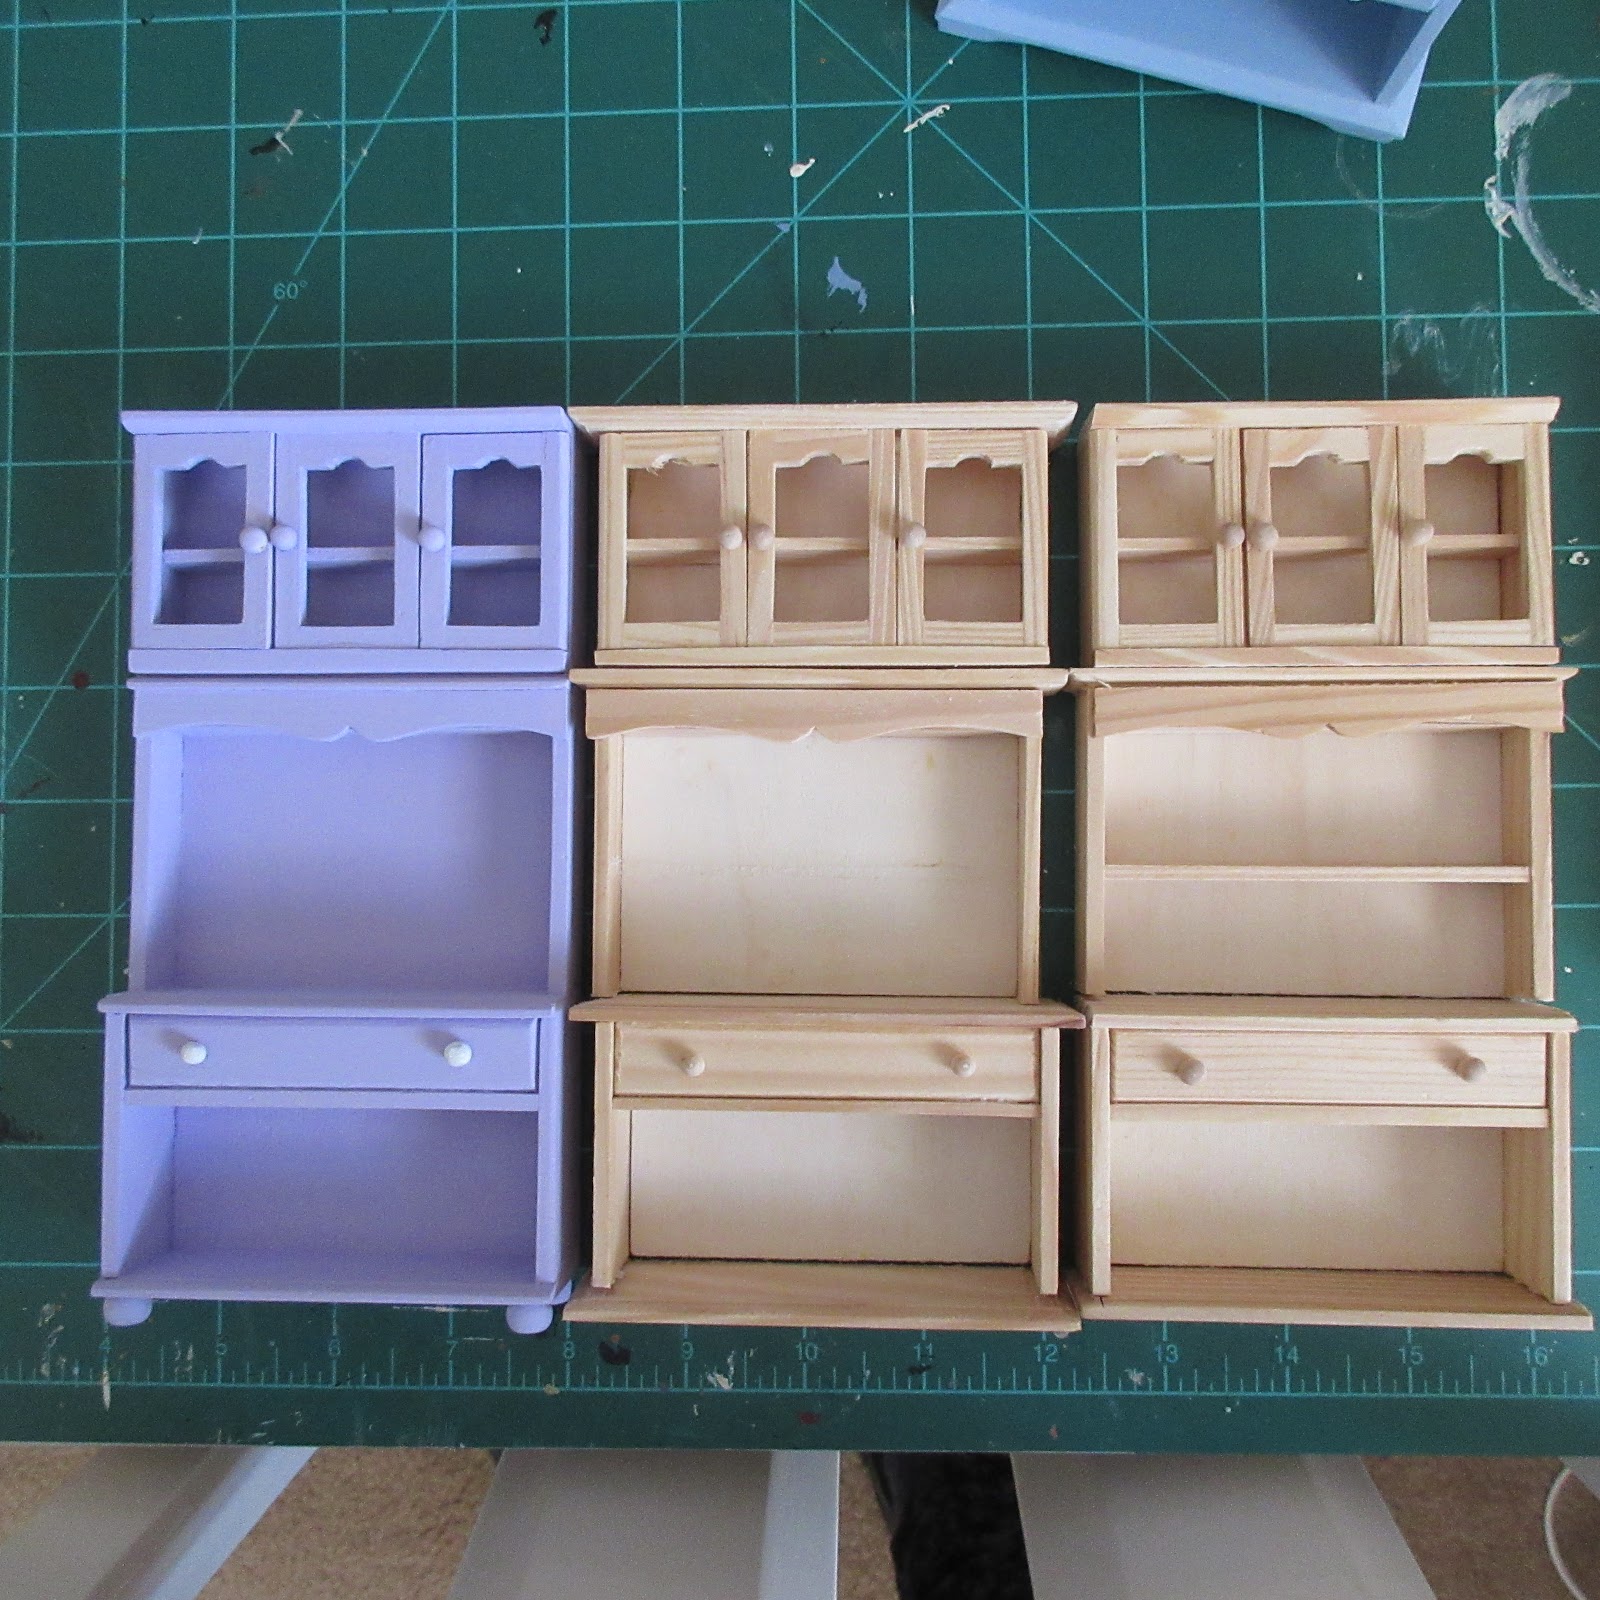
Now that the sideboard is done, I got started on the remaining two fabric bolt display cabinets. This is the one that Dear Hubby is going to cut on the bandsaw.
I'm a chicken when it comes to bandsaws..heard a story years ago about a girl who sawed her hand off by accident in an art class. So, I leave the bandsawing to my Hubby who is much more familiar with it. I have 2 of these cabinets that I need to have the tops cut off of, so Bill set up his saw and very carefully cut them for me.
So now I have the two tops that I need.
I was also left with two topless cabinets that look like they could be made into something too....Ahhh! Don't get sidetracked!
As I was typing, Bob was being very "helpful" by reading everything out loud.
When he got to the word "topless", pandemonium broke out in the shop and before I knew it, all the minions were scrambling up onto my keyboard to take a look-see.
They were all disappointed and I said, "Hey, this is a family blog!" So they all moaned and went back to mind their shops. I smelled banana donuts cooking earlier, so maybe they will share some with me...Yum!  I just set the pieces together on my bench and realized I had a shelf to remove and also some pieces to saw flush with the sides.
As long as these fit tight against each other, they will fit on the back wall of the quilt shop. After a few seconds in the microwave, the shelf was removed.
I thought while I was there, I would try removing that middle door from one of the topless (still talking about the cabinet guys....stay put!)cabinets. Silly minions. I saw a cabinet in Walmart the other day with a shelf in between the two doors and like how it looked. It took a little longer to get the door off, but I succeeded.
This has some real potential, I am going to see what I can do with this after I've done the quilt shop. Oh, and did I mention that I cleaned up another section of my shop?! I have been trying to work around piles of other projects and finally decided to separate and organize all the stuff that wasn't part of the quilt shop. So here it is, all cleaned up and ready to make another mess on! LOL!
Have a great day!

Wednesday, March 15, 2017

Sideboard is done!

With all the news about blizzards and such last night, I was wondering what I was going to wake up to. It did indeed snow on the mountains
and this was what I saw when I opened the blinds on the back door:
It was pretty chilly though, somewhere in the teens this morning! Brrr! Good day to stay in and work on the sideboard. This is how it came out after a second coat and with the knobs painted white.
The clear finish I used on the cutting table seemed a little too shiny so I decided to try this one.
Still more shine than I would like,
I'll have to look for one with a lower gloss. Who would think that "satin finish" would be this shiny? I thought a doily would look nice on the top. I searched through my scrapbooking stuff but came up empty. Then I remembered that I have some small paper doilies that I like to use under teacups up in my cupboard. After looking it over, I cut a section out
and glued it to the top with glue stick.
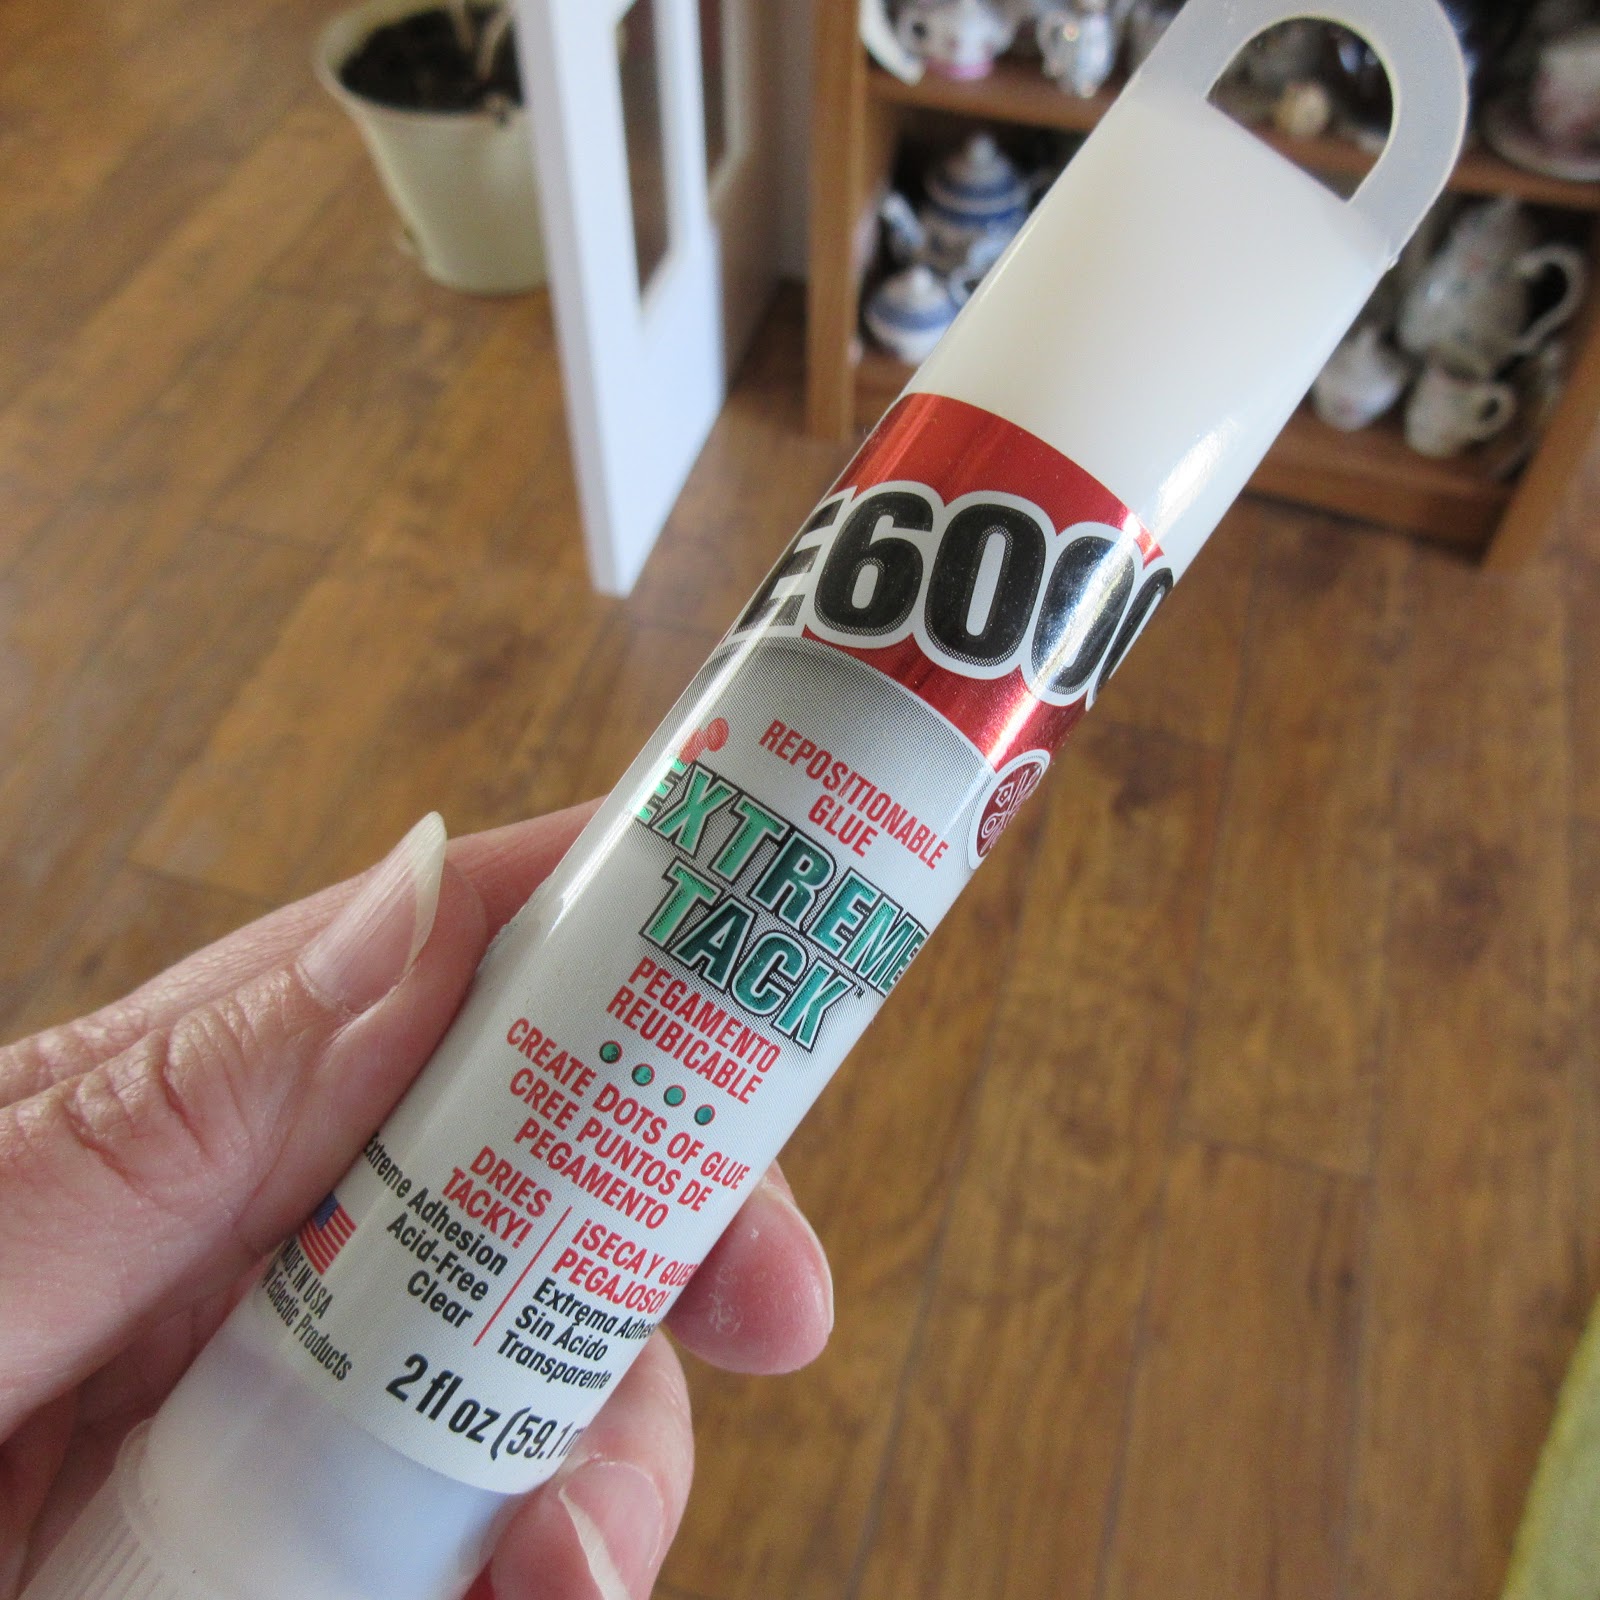
Also discovered something, don't use glue stick on paper doilies...it kind of filled up the holes and got a little gunky. I should have remembered to pull out the E6000 Extreme Tack, I think it would have worked better.
The next thing I need to tackle is the lavender cabinet that will hold fabric bolts. I painted the knobs white and need to sand and second coat the top where the doors are.
I still need to saw the tops off of a couple more Michael's hutches to build the other two and I can't for the life of me remember how I did it on the first one. I had cut these about two years ago and set them aside for another project so it has been awhile. Dear Hubby has agreed to cut them on the bandsaw,
so I will post pictures so you can see him at work. Hope you enjoy the pictures today, there are alot of them! Have a great day!

Monday, March 13, 2017

Painting the Sideboard and more...

This morning didn't start well. I learned that you don't put cracked pop-tarts in the toaster. Part of it broke off and caught fire. I turned and saw a small flame coming out of the toaster! Dealt with that right quick and continued on with my day. At noon I decided that I would pop one of those small banquet berry pies in the microwave. I always use the minimum time on the microwave just in case. I was supposed to leave it in there until it was "golden brown and emitting steam". Well it wasn't brown and there seemed to be quite a bit of steam. When I opened the microwave door, it wasn't steam, but smoke! Good grief, I burned this too. So as you can imagine, it was with much trepidation that I entered my shop this afternoon. I figured I'd be pretty safe with a bottle of paint and a brush. After thinking about the color I should paint the sideboard, I remembered that my sister-in-law had mentioned that she also liked blue, so I dug out my Folkart Baby Blue paint
and gave it a go.
These hutches are made of pine which has a grain pattern that is far too large to look in scale, so I always like to use paint on them. I did up four of them awhile back and was very happy with the results.

So this little sideboard got its first coat of baby blue and was set aside to dry.
The minions were curious about the smoke in the air earlier in the day and they had a great old time teasing me about my cooking skills. They said next time I should stop by their Outback Steakhouse and they would cook for me. I think I might just take them up on it tomorrow! Have a great day!

Saturday, March 11, 2017

Sideboard instead...


 I sat looking at that what-not shelf yesterday and decided it didn't really go with the rest of the furniture. I saw an idea on Pinterest and could see that a couple of Michael's hutches could be turned into what I had in mind. Here are the two hutches that I started with:
The first thing I had to do was get them apart as I was going to use different pieces from each one. Most of these are the same size, so you can interchange the parts. They are glued together with hot glue and the fastest way to get them apart is in the microwave. You have to be very careful with your time though as the pitch in the pine that these are made of will light on fire! Yes, I do have a scorched one tucked away somewhere. A safer way is to boil them in hot water until they loosen. Well, do you think I wanted to go out to the kitchen and wait for water to boil? Nope! I put the first one in the microwave and set the time for 30 seconds. I checked it after 10 seconds and put it back in for another 10. Most of it came apart after this, but the fake drawer front needed the final 10 to come free. By the time you get to the last 10 seconds, the hutch will be hot and you will need potholders to hold it. I finally had all the pieces free that I needed and took them to the shop.
The first thing I wanted to do was build a real drawer on the back of the fake drawer front. I cut a bottom piece the same size as the drawer opening and added some strip wood for the back and sides.
After this was dry, I glued on the front.
The next step was to add trim along the back and sides of the top.
All this occurred after considerable sanding and I think I can still smell pine in my nose...remind me next time to wear a dust mask when I do this. I have to hide my dust mask otherwise the minions sneak and draw funny faces on it with my markers. Last time I put it on and turned around, they all started laughing hysterically. I said, "What?" I looked in the mirror and I had a funny nose and monster teeth...wiseguys. Anyway, where was I...oh yeah, I used the piece of trim that came off the top of the Michael's hutch along the back of the top. I then cut short pieces of popsicle stick for each side and shaped them a bit with my xacto knife. I used the bottom of the second hutch for the base after adding a piece of strip wood between the legs on each side.

Into the clamps it went and I poked around looking for some snacks to pose on it.
Once it was dry, I did some touch-up sanding and staged it for a picture.
I thought I might paint it a shabby chic white at first, but I think a nice soft green will go well with the lavender and pink of the other pieces; decisions, decisions. Have a great day!


Thursday, March 9, 2017

This and That....

I went over to visit my sister-in-law today and she is getting so excited to set up shop in her new quilt shop! :) She makes beautiful quilts and wall hangings in full size and all her corners line up perfectly! Her precision is unmatched and she has a great color sense...hmm, maybe I should get her to build a dollhouse. Last night I had trouble sleeping, so went into the shop to putz. The tiny cups and saucers that I found at Michael's came on a card like this:
After gluing the cups and saucers together, I glued a teaspoon over the hole on each set.
I set those aside to dry and decided to put together a Chrysnbon what-not shelf for the ladies to display all their goodies upstairs next to the tea table.
Mmmm, I can smell the chocolate cake now! While the glue was drying on that, I started cutting up some strip wood for more fabric bolts. I bought a pack of twelve 3/4" X 1/8" strip wood to use for this. The original pieces I started using are just under an 1/8" so these will be a little different....I guess they came from a different fabric company...that's my story and I'm stickin' to it! LOL! I started measuring and cutting each one but soon realized that cutting over 100 of these was going to take time so I had to come up with a faster way.
I've seen my Dear Hubby use a piece of tape when he has to do repeated cuts or drill holes, so I measured and stuck a piece of tape to my miter box and now just quickly go from one to the next.
Pretty good thinking for 1 in the morning...My thumbs started getting tired so I pulled out the package of Tiny Turnings to try out another idea.
By now it is 2:30 in the morning and I am getting googly eyed so I set the turnings aside for another day. The sandman was calling, so I turned out the light and went to bed. So this afternoon after starting up my bread machine, I went into the shop and pulled out some Minwax Polycrylic and put the first coat on the cutting table.
I think one coat will do it! So I set that aside to dry and came into the living room to put up my feet. Not for long! The ladies want more tea and they're wondering when that chocolate cake will be arriving. I'll have to tell them to go over to the minion's Buns and Roses bakery and pick up a few things..they could use the exercise! LOL! Have a great day!

Wednesday, March 8, 2017

Work on the cutting table...

Every great fabric shop deserves a sturdy cutting table. The first coat of paint really brought up the grain and I had to hunt up my super fine sanding paper and have a go at it.
I could see after this that it was going to need a second coat. Once I started looking at the table, I thought, "You know what...there needs to be a stretcher between those two legs..."
"But I don't want to add a stretcher now!" Well, no sense arguing with myself about it, it had to be done. We don't need some rambunctious quilter leaning too hard on this thing and injuring themselves now do we...So I dug around in my wood pile and found some square stock that would do the trick. A quick measure, cut it on my little power saw and glued it in place. (This picture is more like the real color, it's not really bismo pink! LOL!)
I decided to give the top a second coat and put a first coat on the new stretcher.
When I checked back a little later, everything was dry and I touched up here and there with my sandpaper. The lower part got a second coat and the top received a third coat...
the shopkeeper that works here is a little rough on things, so hopefully she will be careful with the scissors. ;) I'll let that dry overnight and then use some water base clear coat over the paint. After that, we'll paint the storage shelves a bit more and make some more bolts of fabric! Have a great day!

Monday, March 6, 2017

Back in the shop at last!

Oh my! Life has been busy and when we came back from the bicycle trip, I just couldn't seem to get the spark back to work in my shop. I'd stand in the doorway and sigh and go back to laundry, cleaning, or crocheting. I sure crocheted alot of kitchen towels and dishcloths! LOL! We talked about moving, we talked about staying and finally put our little beach house on wheels up for sale and it sold in one weekend. We came to appreciate our home more and more and it seems this is where we are to be for the time being. Little did I know that I just needed a new project to get the juices flowing again. I was able to reconnect with my dear sister-in-law after many years of no contact. She now lives nearby and loves to quilt and make all kinds of things. I wanted to make something special for her as she admired my tea shop many times. How about a quilt shop with ladies having tea upstairs? I wandered into the shop and started looking through drawers and boxes for things to put in it. The more I found, the more excited I became. I found a two room, roombox,
sewing machine,
and some fabric I've been saving for forever that looks like mini quilts. A Chrysnbon table and chairs,
small teacups and saucers that were on clearance at Michael's
and lots of window kits that have been kicking around for ages. Before I knew it, I was asking dear hubby to cut more window holes
and assembling the windows.
I've made a few bolts of fabric out of some mysterious pieces of wood that I later realized were stair treads for some staircase long ago. All of the fabric is from my sister-in-law and most of it has a story attached to it so it will be nice memories for her. When I visited with her yesterday, I went through some of her fabric stash and came home with 109 pieces of different fabric! Looks like I will be busy making fabric bolts for awhile! :)

And where would all these bolts be displayed? Surgically altered Michael's hutches!
I have two more of these to build, so I will start taking pictures of all the processes so you can see what is happening. I found an old House of Miniatures furniture kit
and turned it into a cutting table with the help of the door punch-out and a couple of cut down newel posts.
So I am back at it; I know that there are minion houses to finish and the Steampunk Summerhouse needs its interior done, but I am excited to get this shop done for my sister-in-law and it's nice to see the spark back! I even cleaned up my workbench this morning, Woo! Hoo!
Have a great day!